
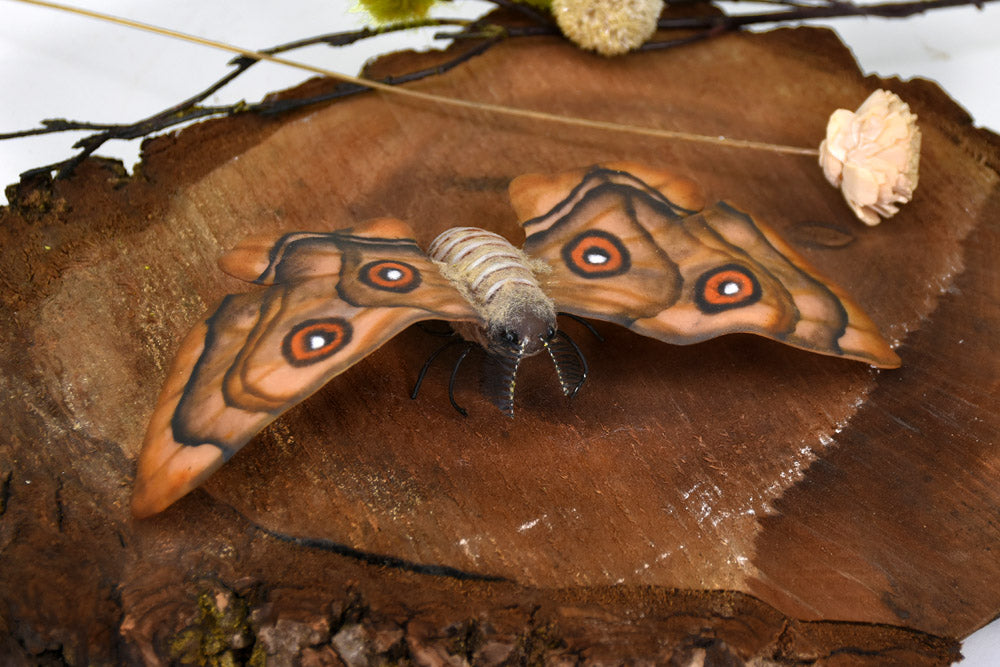
Super Sculpey Living Doll™ Death Hawk Moth Sculpture Tutorial
Super Sculpey Living Doll™ Death Hawk Moth Sculpture Tutorial
Read More
Create this phenomenal sculpture in an afternoon and get ready for the amazed reactions of your family and friends when they see it!
TIME TO COMPLETION: 2-3 hours
Read Less
ADDITIONAL SUPPLIES
-
- Paint Brushes
- False Eyelashes
- 2 Glass Cabochon Eyes
- Soft Pastels or Color Pigments
- Mica Powder
- Flat Nose Pliers and Cutting Pliers
- Metal Wire
- Varnish
- Superglue
- Flocking Powder (optional)
Project Instructions
Step 1
Step 2

Step 3

Step 4

Step 5

Step 6

Step 7

Step 8

Step 9


Step 10

Step 11

Step 12

Step 13

Step 14


Step 15

Step 16

Step 17


Step 18


Step 19


Step 20

Step 21

Step 22

Step 23


Step 24

Step 25

Step 26


Step 27


Step 28

Step 29

Step 30

Step 31

Step 32

Step 33

Step 34

Step 35

Step 36

Step 37

Step 38

Step 39

Step 40


Step 41


Step 42
