Souffle Watercolor Waves
Souffle Watercolor Waves
Read More
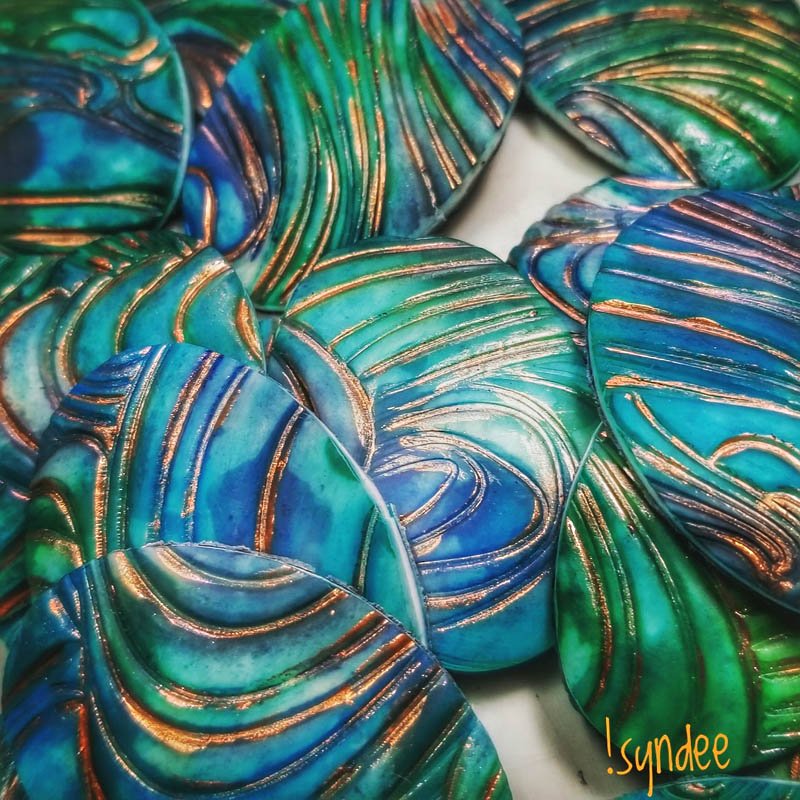
These luscious colors and sweeping patterns evoke the sea. Use the final pieces for pendants, bracelets, even hat bands!
Design by syndee holt
NOTE: Premo Black and White can be substituted for the Souffle. I used Souffle because I was making a hatband and I wanted the lightest clay pieces possible.
Read Less
ADDITIONAL SUPPLIES
Folded Meringue stamp from Judikins; alcohol inks in blues, greens, purple; small spray bottle of rubbing alcohol; cotton balls or pads; copper and bronze Lumiere paints; small paint brush; small spray bottle of water; disposable gloves

Project Instructions
- Getting Started:
Start with clean hands, unwrap and knead clay until soft and smooth, or condition by running clay though a Pasta Machine. We recommend using a designated machine for clay purposes only. When working with multiple colors, clean hands with soap and water or baby wipes (we have found that baby wipes work best) before switching colors. Shape clay, pressing pieces firmly together. Wash hands after use.
- Baking:
Create a stack of Poppy Seed, Igloo and a final layer of Translucent. The Poppy Seed can be a medium layer, the Igloo and Translucent should both be thin layers. Lightly spray the stamp with water and lay the clay stack, Translucent side against the stamp. Cover the clay with a sheet of paper. Place on a hard floor, stamp side up and step on the stamp. Remove the paper and clay from the stamp and admire your perfect stamped image!


Put on the gloves, get the cotton pads ready, remove the caps from your inks selected. Here is the selection that I used.

Begin dripping the ink onto the stamped image (I don’t remove any water left from the stamping process – it kind of acts as a release for the ink giving more color texture). The ink colors will flow into the textures. I leave open space between the colors.

Use the cotton pads to LIGHTLY remove excess ink and blend the colors (again, I don’t mind having ink free areas of the clay). The goal is to leave strong areas of ink in the lower portions of the pattern. Refold or change your cotton pad frequently.

Once the ink is blotted, immediately spray the surface with the alcohol.

Use a clean cotton pad to lightly wipe the upper surfaces of the clay to remove some of the ink – creating the watercolor effect. Repeat these two steps as needed.

Use your selected cutter (I used the second to largest of the Sculpey Oval cutters for my hat band segments) to cut out your pieces. Bake according to the directions above. (NOTE: I bake my pieces on a 5 inch metal bowl to give them a slight curve for the hat band).
Once the pieces are baked and cooled, I used a very small brush to add a Copper/Bronze highlight ( I mixed the colors 1:1) in the recesses of the texture to highlight the pattern.


