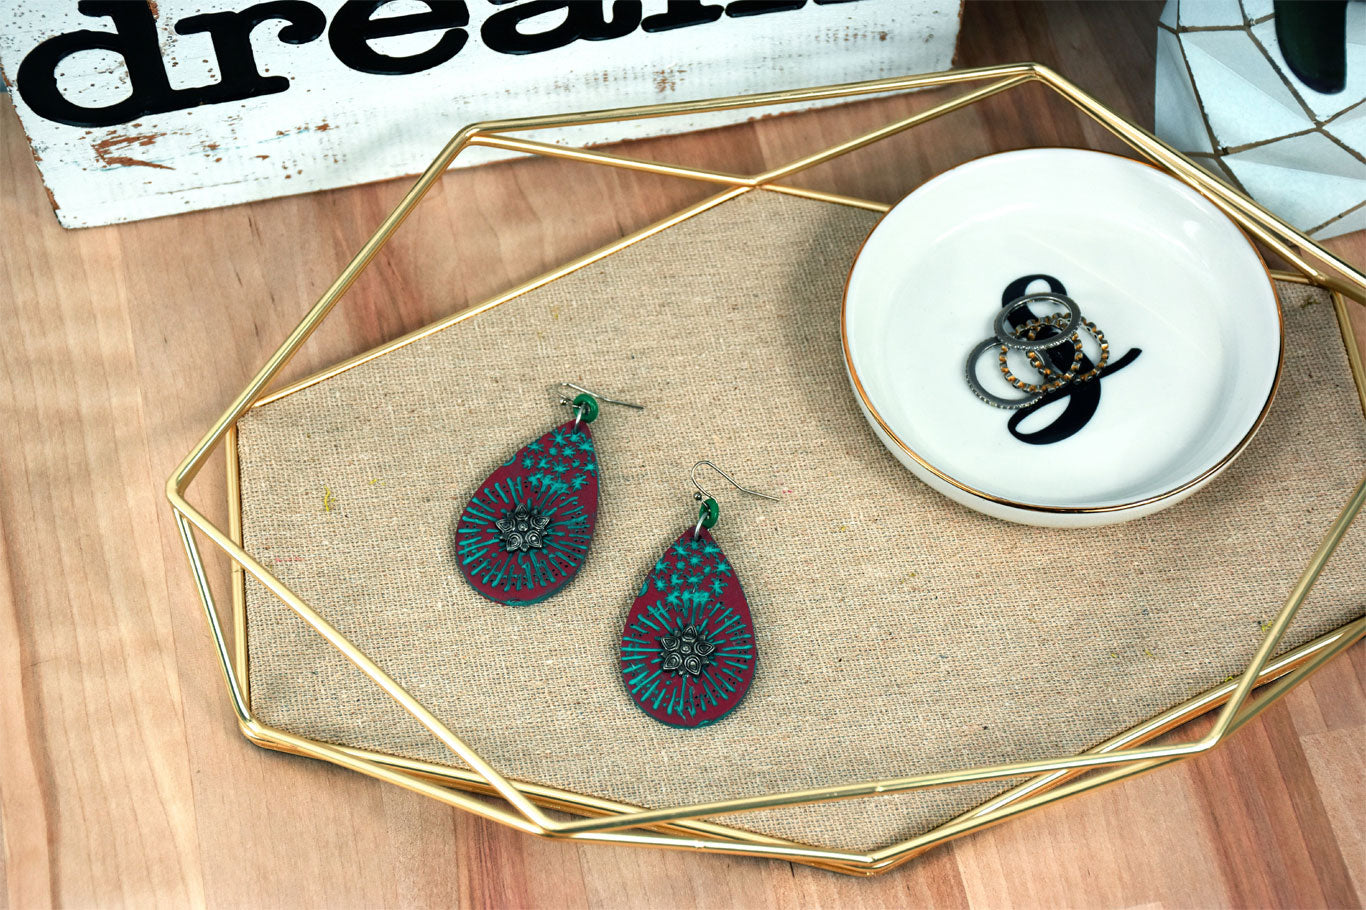
Souffle Textured Multimedia Earrings
Souffle Textured Multimedia Earrings
Read More
These quick and easy earrings combine on trend color combinations and mixed media (from your craft stash!)
Design by syndee holt
Nature Texture Sheet coming soon!
Read Less
ADDITIONAL SUPPLIES
Turquoise craft paint

Project Instructions
- Getting Started:
Start with clean hands, unwrap and knead clay until soft and smooth, or condition by running clay though a Pasta Machine. We recommend using a designated machine for clay purposes only. When working with multiple colors, clean hands with soap and water or baby wipes (we have found that baby wipes work best) before switching colors. Shape clay, pressing pieces firmly together. Wash hands after use.
- Baking:
Sheet the conditioned Cinnamon clay out on the second to widest setting on the Clay Conditioning Machine. Lightly spray the selected texture with water (it acts as mold release so the clay won’t stick). Place the sheet of clay on the selected texture and press firmly. (alternate method is to put a sheet of paper on top of the clay on the texture sheet, put it all on a firm surface floor and step on it! Remove the texture sheet and peel the paper from the clay.) Use the largest teardrop cutter (or size to fit) to cut out the pattern as shown. Repeat to make the second earring.


Trim the metal flanges on the decorative brad and press into place as shown. Remove the brad and set aside

Use the needle tool to make a hole in the top of each teardrop to attach to the ear wires after baking. Bake according to the directions in Step 1 (you can remove the brads if they are not metal).

Once the clay has baked and cooled, remove the brads and use the paint brush to apply paint to the entire surface of the earring. Quickly use the baby wipe to remove the excess paint from the surface.


Once the paint has dried, glue the brads into place and add the jump rings and ear wires. NOTE: I used some 10mm silicone jump rings in turquoise in place of a metal jump ring at the top of each earring.


