Skip to product information
1 of 1

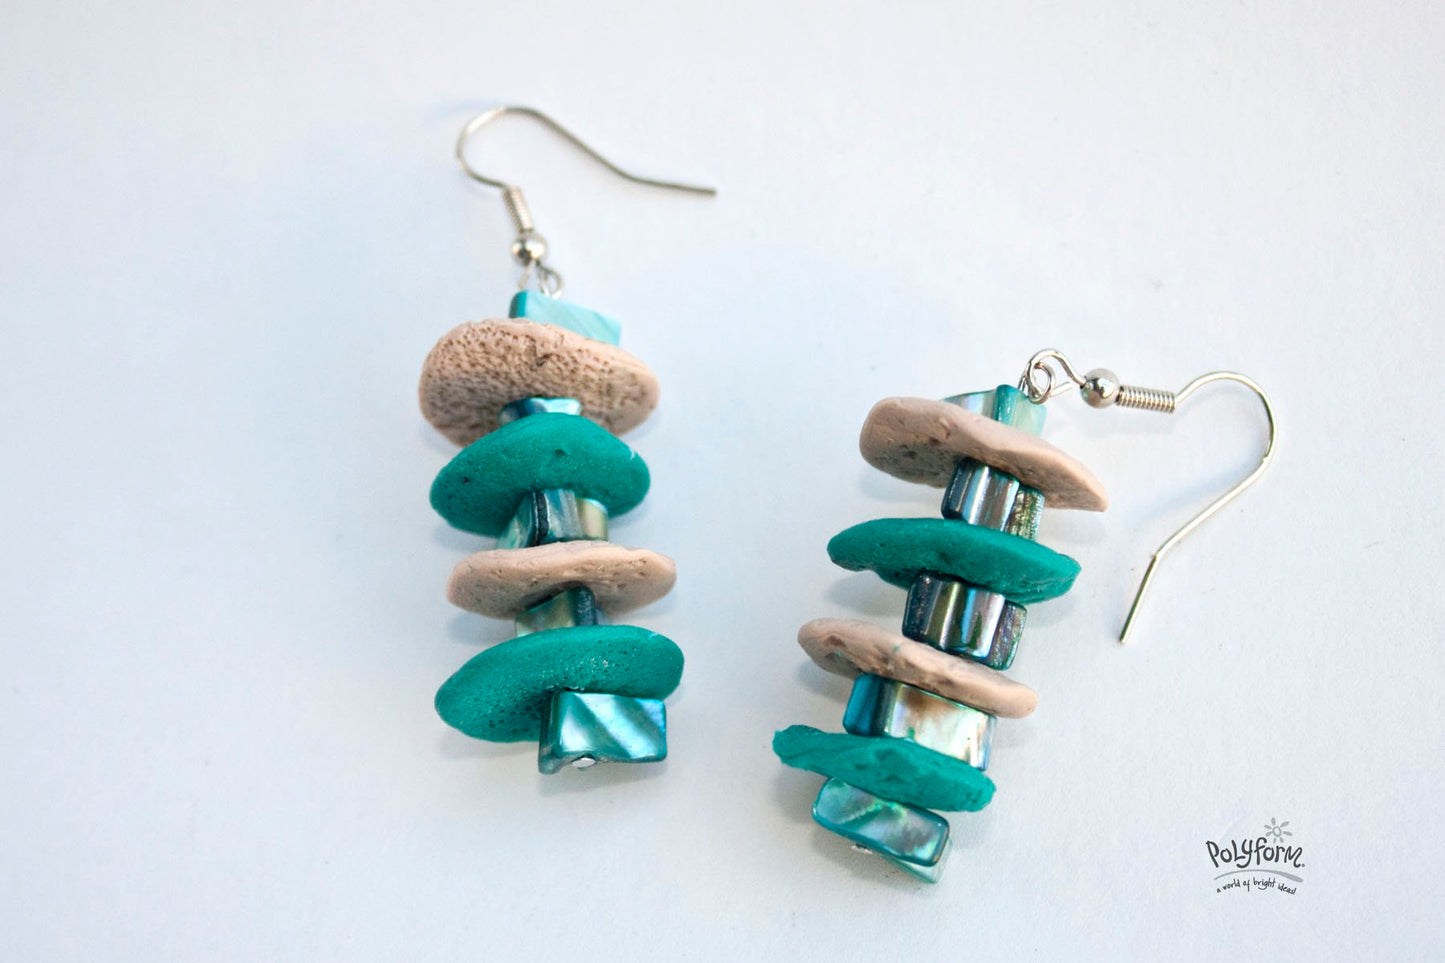
Sculpey Soufflé "A Day at the Beach" Earrings

Sculpey Soufflé "A Day at the Beach" Earrings

Read More
Sculpey Soufflé clay is a perfect material to capture subtle impressions, such as the look of sand and pebbles in stone.  Don't happen to have any sand or pebbles on hand?  How about salt? I've used combinations of table salt and Kosher salt to create the textures on these Sculpey Soufflé pieces!
Read Less
ADDITIONAL SUPPLIES

Small bowl with mixture of table and Kosher salt, 10 Blue shell beads, Earring findings – 2 wires 2 head pins, Basic jewelry tools – small wire cutters, small round nose pliers, Sheet of plain white paper|Small bowl with mixture of table and Kosher salt, 10 Blue shell beads, Earring findings – 2 wires 2 head pins, Basic jewelry tools – small wire cutters, small round nose pliers, Sheet of plain white paper
View full details
Project Instructions

step 1

Getting Started Polymer clay may stain. CLAY MAY DAMAGE UNPROTECTED FURNITURE OR FINISHED SURFACES. DO NOT USE polymer clay on unprotected surfaces. We recommend working on the Sculpey clay mat, wax paper, metal baking sheet, or disposable foil. Start with clean hands and work surface area. Knead clay until soft and smooth. For best results, clean your hands in between colors. Shape clay, pressing pieces together firmly. Bake on oven-proof glass or metal surface at 275°F (130 °C) for 30 minutes per ¼" (6 mm) thickness. For best baking results, use an oven thermometer. DO NOT USE MICROWAVE OVEN. DO NOT EXCEED THE ABOVE TEMPERATURE OR RECOMMENDED BAKING TIME. Wash hands after use. Baking should be completed by an adult. Begin by preheating oven to 275 °F (130 °C). Test temperature with oven thermometer for perfectly cured clay. For best results, condition all clay by running it through the Clay Conditioning Machine for several passes on the widest setting. Fold the clay in half after each pass and insert the fold side into the rollers first.

step 2

Roll ¼ of the package of Sea Glass out on the #1 setting on the Sculpey Clay Conditioning Machine. Use the round cutter to cut out 4 pieces of clay for each earring Repeat with Sandcastle.

step 3

Stack 2 cut outs of the same color on top of each other and use your thumb and forefingers to gently pinch the edges down. The pieces don't have to be perfectly round, in fact it’s better when they aren't! Make 4 stacks for each color of clay.

step 4

Once you have all 8 pieces completed, place each piece into the bowl with the mixed salts and gently press the salts into the surface of the clay. Set each piece onto the piece of white paper.

step 5

Use the skewer from the bead baking rack tool to pierce the center of each bead. Use the skewer from the Bead Baking Rack to pierce each bead through the center of the bead. Bake the pieces on the bead baking rack according to the directions above . Once the beads are baked and cooled, soak them for at least 30 minutes in a cup of water to dissolve the salt. Dry the beads using a towel.

step 6

String a pair of each color on the head pin, alternating with the shell beads. Trim the top of the head pin to about ¼ inch. Grasp the top of the pin with the tip of the needle nose pliers and rotate towards you to create a loop. Reopen the loops slightly and slip the ear wire onto the loop before reclosing the loop. Repeat with the other earring.