Skip to product information
1 of 1

Sculpey Soufflé™ Toothbrush Holder

Sculpey Soufflé™ Toothbrush Holder

Designed by Precious Nunez
Read More
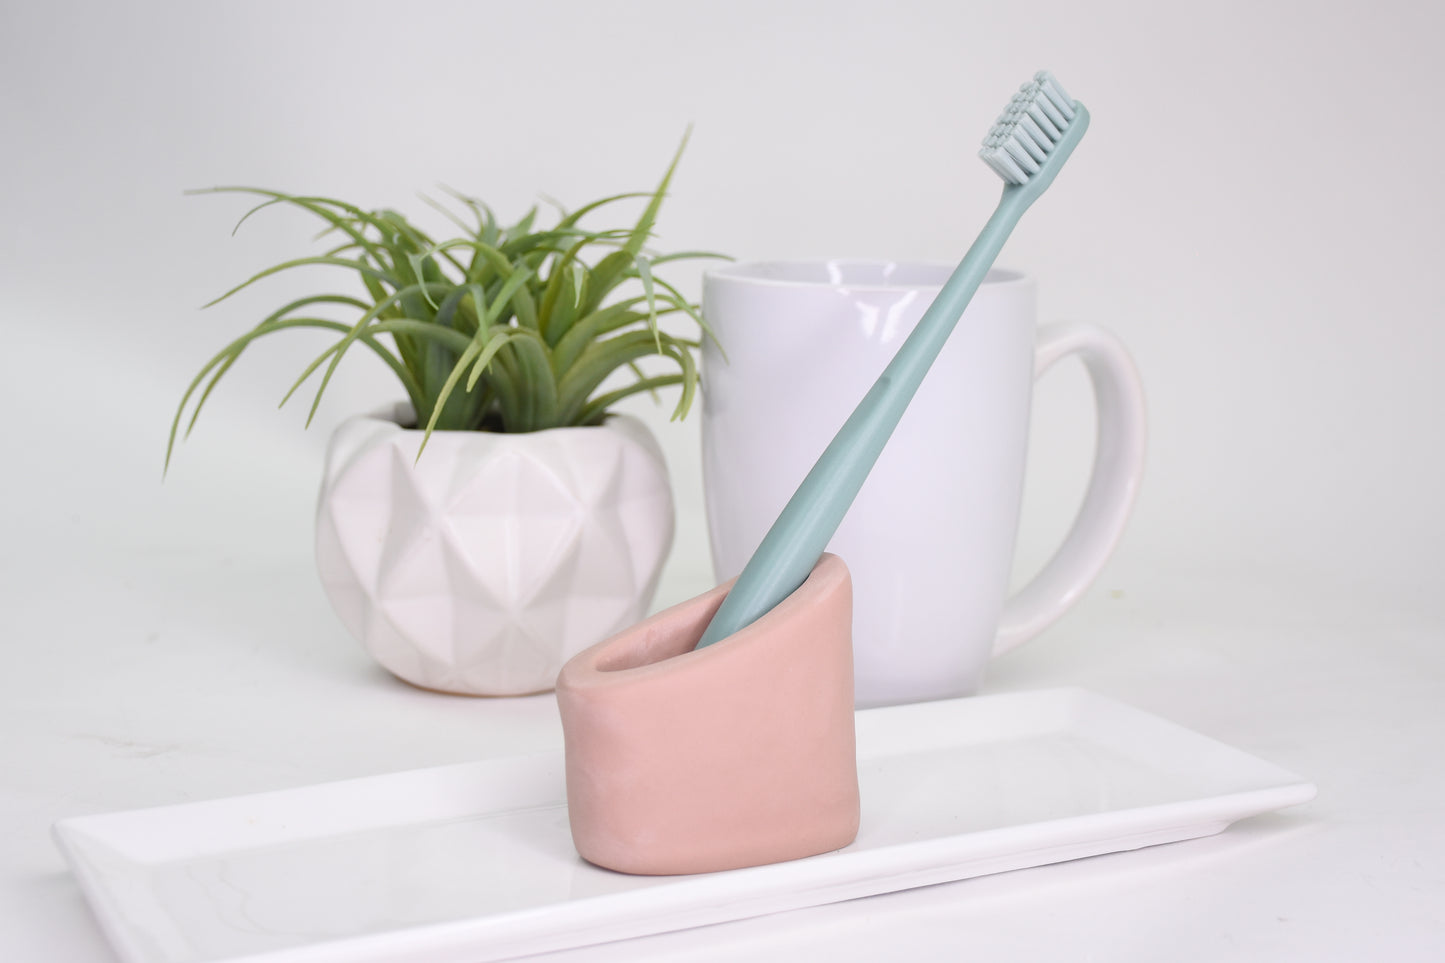
Create a custom toothbrush holder using the all-new Sculpey Souffle in Almond Rose! This color will add a calming warmth to almost any decor. TIME TO COMPLETION: 1 hour including baking/curing
Read Less
ADDITIONAL SUPPLIES
  • Toothbrush
  • Small flat palette
  • Large and medium metal ball tool
View full details
Project Instructions

Step 1

Getting Started:

Please make sure your work area is covered and you are not working on an unprotected surface. We recommend working on the Sculpey® Oven-Safe Work Mat, wax paper, metal baking sheet, or disposable foil. Uncured clay may damage unprotected furniture or finished surfaces. Be sure to cover your crafting area appropriately.

Start with clean hands, unwrap and knead clay until soft and smooth, or condition by running clay though a Pasta Machine. We recommend using a designated machine for clay purposes only. When working with multiple colors, clean hands with soap and water or baby wipes (we have found that baby wipes work best) before switching colors. Shape clay, pressing pieces firmly together. Wash hands after use.

Baking (also called Curing):

Begin by preheating oven to 275 °F (130 °C). After you are done creating; for best results bake/cure clay on an oven-proof surface such metal, aluminum foil, an index card or the Sculpey® Clay Mat at 275°F (130 °C) for 30 minutes per 1/4" (6
mm) thickness according to package directions. Oven safe glass or ceramic
surfaces are also acceptable for baking/curing; however please note that the
baking/curing times may take longer as the glass or ceramic surfaces take
longer to heat up. For best baking results, use an oven thermometer. DO NOT USE
MICROWAVE OVEN. DO NOT EXCEED THE ABOVE TEMPERATURE OR RECOMMENDED BAKING TIME.

Step 2

Roll a large ball of clay and form a mount as pictured.
Gently roll into a cylinder shape as shown.

Step 3

Press down onto the center to push down, then take your large ball tool and push down to create a well.

Step 4

Pinch the side walls to add height.

Step 5

Continue to widen the well and pinch the walls to roughly create the shape of a toothbrush holder.

Step 6

Rub down the sides with your fingers while supporting the base shape to smooth out the sides.

Step 7

Press down the opening at an angle with the palette to flatten the opening and create a slope.

Step 8

some and perfect the inside of the holder with the ball tool to smooth the walls.

Step 9

Bake/cure according to Step 1 above. Here is a look at my completed toothbrush holder before baking