
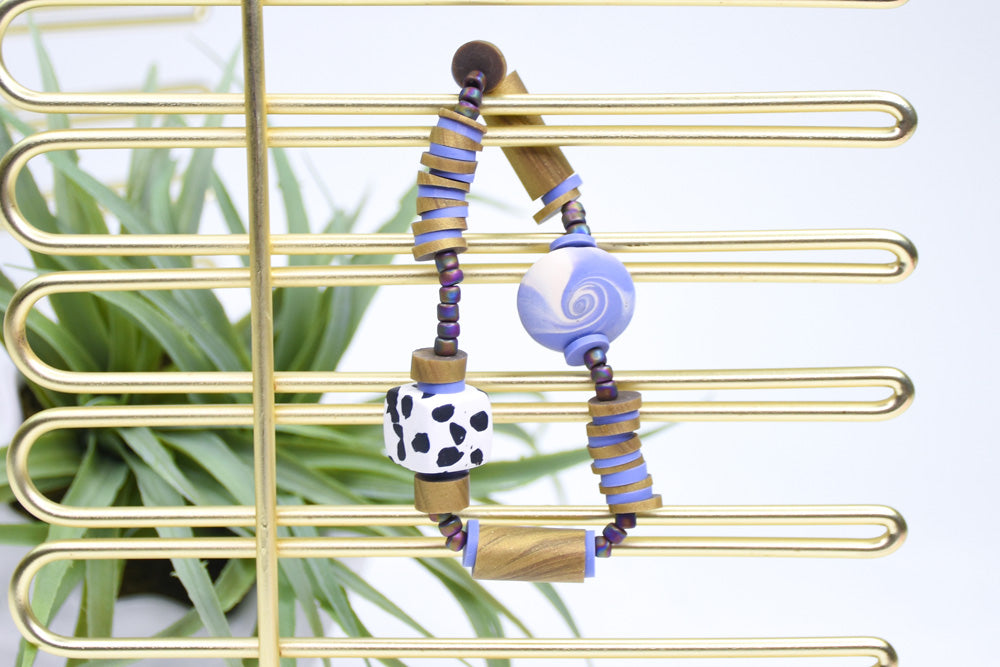
Sculpey Soufflé™ Thistle Multi Bead Bracelet
Sculpey Soufflé™ Thistle Multi Bead Bracelet
Read More
Add a subtle pop of color to a bracelet with a classic neutral color scheme with Sculpey Soufflé™ Thistle. Thistle is a multi-purpose color that can serve as a blue, purple or even grey accent color in your favorite color palette.
Read Less
ADDITIONAL SUPPLIES
- 20” Stretchy Bead Cord
- Scissors
- Coordinating seed beads
Project Instructions
Step 1
Step 2

Step 3

Step 4

Step 5

Step 6

Step 7

Step 8

Step 9

Step 10

Step 11

Step 12

Step 13

Step 14

Step 15

Step 16

Step 17

Step 18
Step 19

Step 20

Step 21

Step 22
