Skip to product information
1 of 1

Sculpey Soufflé™ Origami Necklace

Sculpey Soufflé™ Origami Necklace

Designed by Precious Nunez
Read More
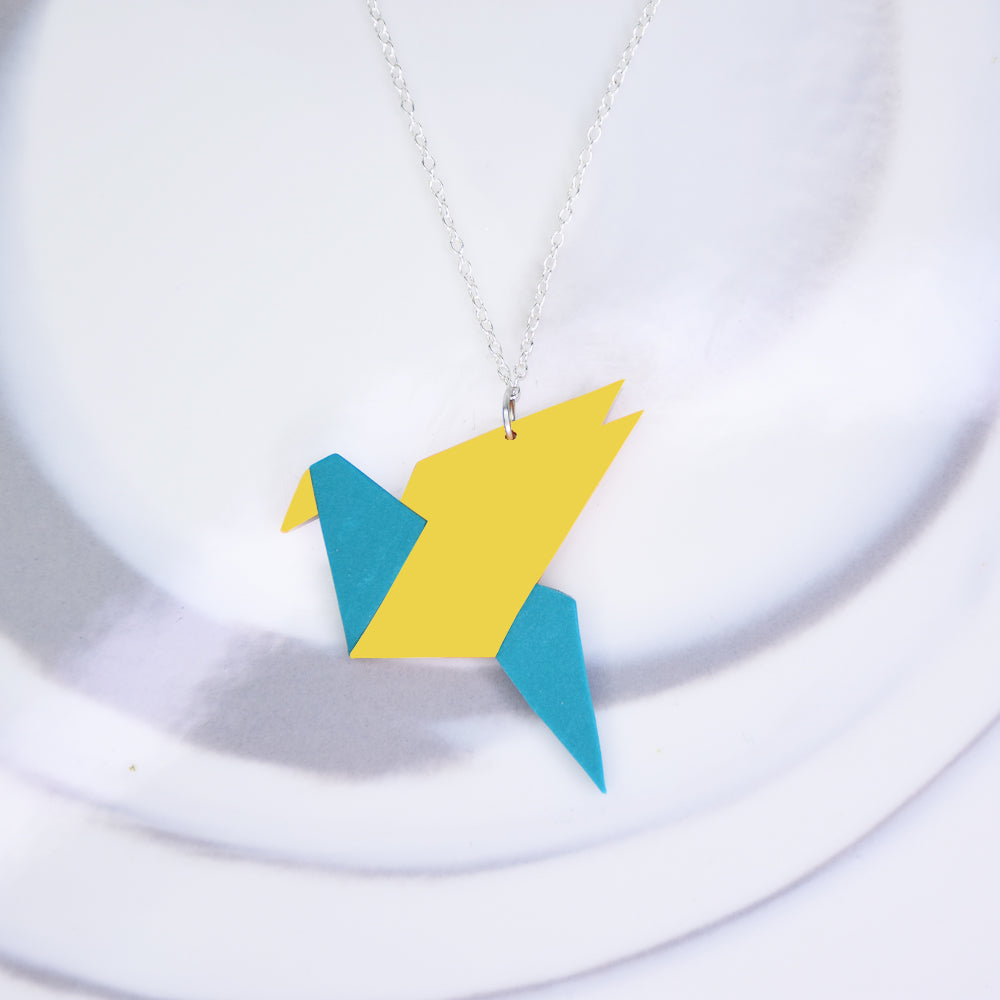
Make a unique origami necklace using the brand new Sculpey Souffle in Honey Mustard! This is a quick and fun tutorial to follow, make yourself and a friend your very own origami necklace! TIME TO COMPLETION: 20 minutes to make / 30 minutes to bake
Read Less
ADDITIONAL SUPPLIES
  • Cardstock/thick paper
  • Printer (optional)
  • X-Acto knife and cutting mat
  • Jewelry pliers
  • Small craft drill
  • 6mm jump rings
  • 4mm jump rings
  • Chain necklace
  • Lobster clasps
  • Micro pen (optional)
View full details
Project Instructions

Step 1

Getting Started:

Please make sure your work area is covered and you are not working on an unprotected surface. We recommend working on the Sculpey® Oven-Safe Work Mat, wax paper, metal baking sheet, or disposable foil. Uncured clay may damage unprotected furniture or finished surfaces. Be sure to cover your crafting area appropriately.

Start with clean hands, unwrap and knead clay until soft and smooth, or condition by running clay though a Pasta Machine. We recommend using a designated machine for clay purposes only. When working with multiple colors, clean hands with soap and water or baby wipes (we have found that baby wipes work best) before switching colors. Shape clay, pressing pieces firmly together. Wash hands after use.

Baking (also called Curing):

Begin by preheating oven to 275 °F (130 °C). After you are done creating; for best results bake/cure clay on an oven-proof surface such metal, aluminum foil, an index card or the Sculpey® Clay Mat at 275°F (130 °C) for 30 minutes per 1/4" (6
mm) thickness according to package directions. Oven safe glass or ceramic
surfaces are also acceptable for baking/curing; however please note that the
baking/curing times may take longer as the glass or ceramic surfaces take
longer to heat up. For best baking results, use an oven thermometer. DO NOT USE
MICROWAVE OVEN. DO NOT EXCEED THE ABOVE TEMPERATURE OR RECOMMENDED BAKING TIME.

Step 2

Draw or print a 2D origami bird on cardstock. Cut each segment with an X-Acto knife on a cutting mat for a clean-cut stencil.

Figure out which segments will have each color and label them with a micro pen. H= Honey Mustard, S= Sea Glass.

Step 3

Roll each color of clay through the pasta machine one at a time on the thickest setting. Place the segments on their corresponding color so they stick to the clay.

Step 4

Precisely cut each segment with the X-Acto knife removing all excess clay till you have the pieces as shown.

Step 5

Assemble the segments in the order they were originally placed from your reference drawing, tightly join each piece together.

Bake/cure according to Step 1 above.

Step 6

Drill a small hole where you’d like the piece to dangle and attach a jump ring using your pliers.

Step 7

Attach your origami piece on the middle of the necklace through the chain link and close with pliers.
Attach the smaller jump rings and lobster clasp on the ends of the necklace where you’d like it to close.

Here is my finished origami pendant!