step 1
Getting Started Polymer clay may stain. CLAY MAY DAMAGE UNPROTECTED FURNITURE OR FINISHED SURFACES. DO NOT USE polymer clay on unprotected surfaces. We recommend working on the Sculpey clay mat, wax paper, metal baking sheet, or disposable foil. Start with clean hands and work surface area. Knead clay until soft and smooth. For best results, clean your hands in between colors. Shape clay, pressing pieces together firmly. Bake on oven-proof glass or metal surface at 275°F (130 °C) for 15 minutes per ¼" (6 mm) thickness. For best baking results, use an oven thermometer. DO NOT USE MICROWAVE OVEN. DO NOT EXCEED THE ABOVE TEMPERATURE OR RECOMMENDED BAKING TIME. Wash hands after use. Baking should be completed by an adult. Begin by preheating oven to 275 °F (130 °C). Test temperature with oven thermometer for perfectly cured clay. For best results, condition all clay by running it through the Clay Conditioning Machine for several passes on the widest setting. Fold the clay in half after each pass and insert the fold side into the rollers first. step 2
Cut the block of Concrete clay into pieces and run through the Sculpey Clay Conditioning Machine on #1 setting a couple of times until the clay is slightly flexible. Set the machine to #2 and run the clay through again. The sheet of clay should be slightly larger than your selected switch plate. Place the switch plate face down on the sheet of clay.step 3
Use the Super Slicer blade to trim the edges to about ¼ inch larger than the switch plate. Gently roll the switch plate up onto one of the long edges and use the Super Slicer to trim off the excess clay by sliding the blade along the metal edge of the plate. Repeat this on all four sides so that the front of the plate is completely covered, but there is no clay on the back edges of the plate.step 4
Lay the covered plate face down and use a craft knife to cut out the actual switch area. step 5
Use the etch n pearl tool (or a bamboo skewer) to poke a small hole through the clay in the center of each of the screw holes from the back of the plate.step 6
Flip the plate over to the front and find the small hole you just poked in one of the screw holes. Insert the etch n pearl and roll it around in the hole to make the top of the hole larger than the bottom of the hole. This will help the screw to set nicely in the finished plate. Repeat for both screw holes.step 7
Make a quick “patty” of Concrete clay and use the Sculpey Style and Detail tools to make lots of textures on the top surface of the clay. This is like doing the Mokume Gane technique but with just one color of clay!step 8
Use the Super Slicer blade to slice off very thin slices of this top surface and look at all the rough edges and holes you get! Lay the slices on a clean sheet of paper and continue cutting slices until the patterns lessen.
step 9
Roll another small piece of the Concrete Souffle clay through the Sculpey Clay Conditioning Machine on the #1 setting and use a piece of rough sandpaper to texture the surface. step 10
The ball part of the Style and Detail tool can be used to rough up the edge on another small piece of clay. (The lines in the clay were made with an old credit card!)
step 11
Finally, on another small sheet of clay (rolled through the Sculpey Clay Conditioning Machine on the #1 setting), we can use the Sculpey Technique Design Block that creates lots of holes. step 12
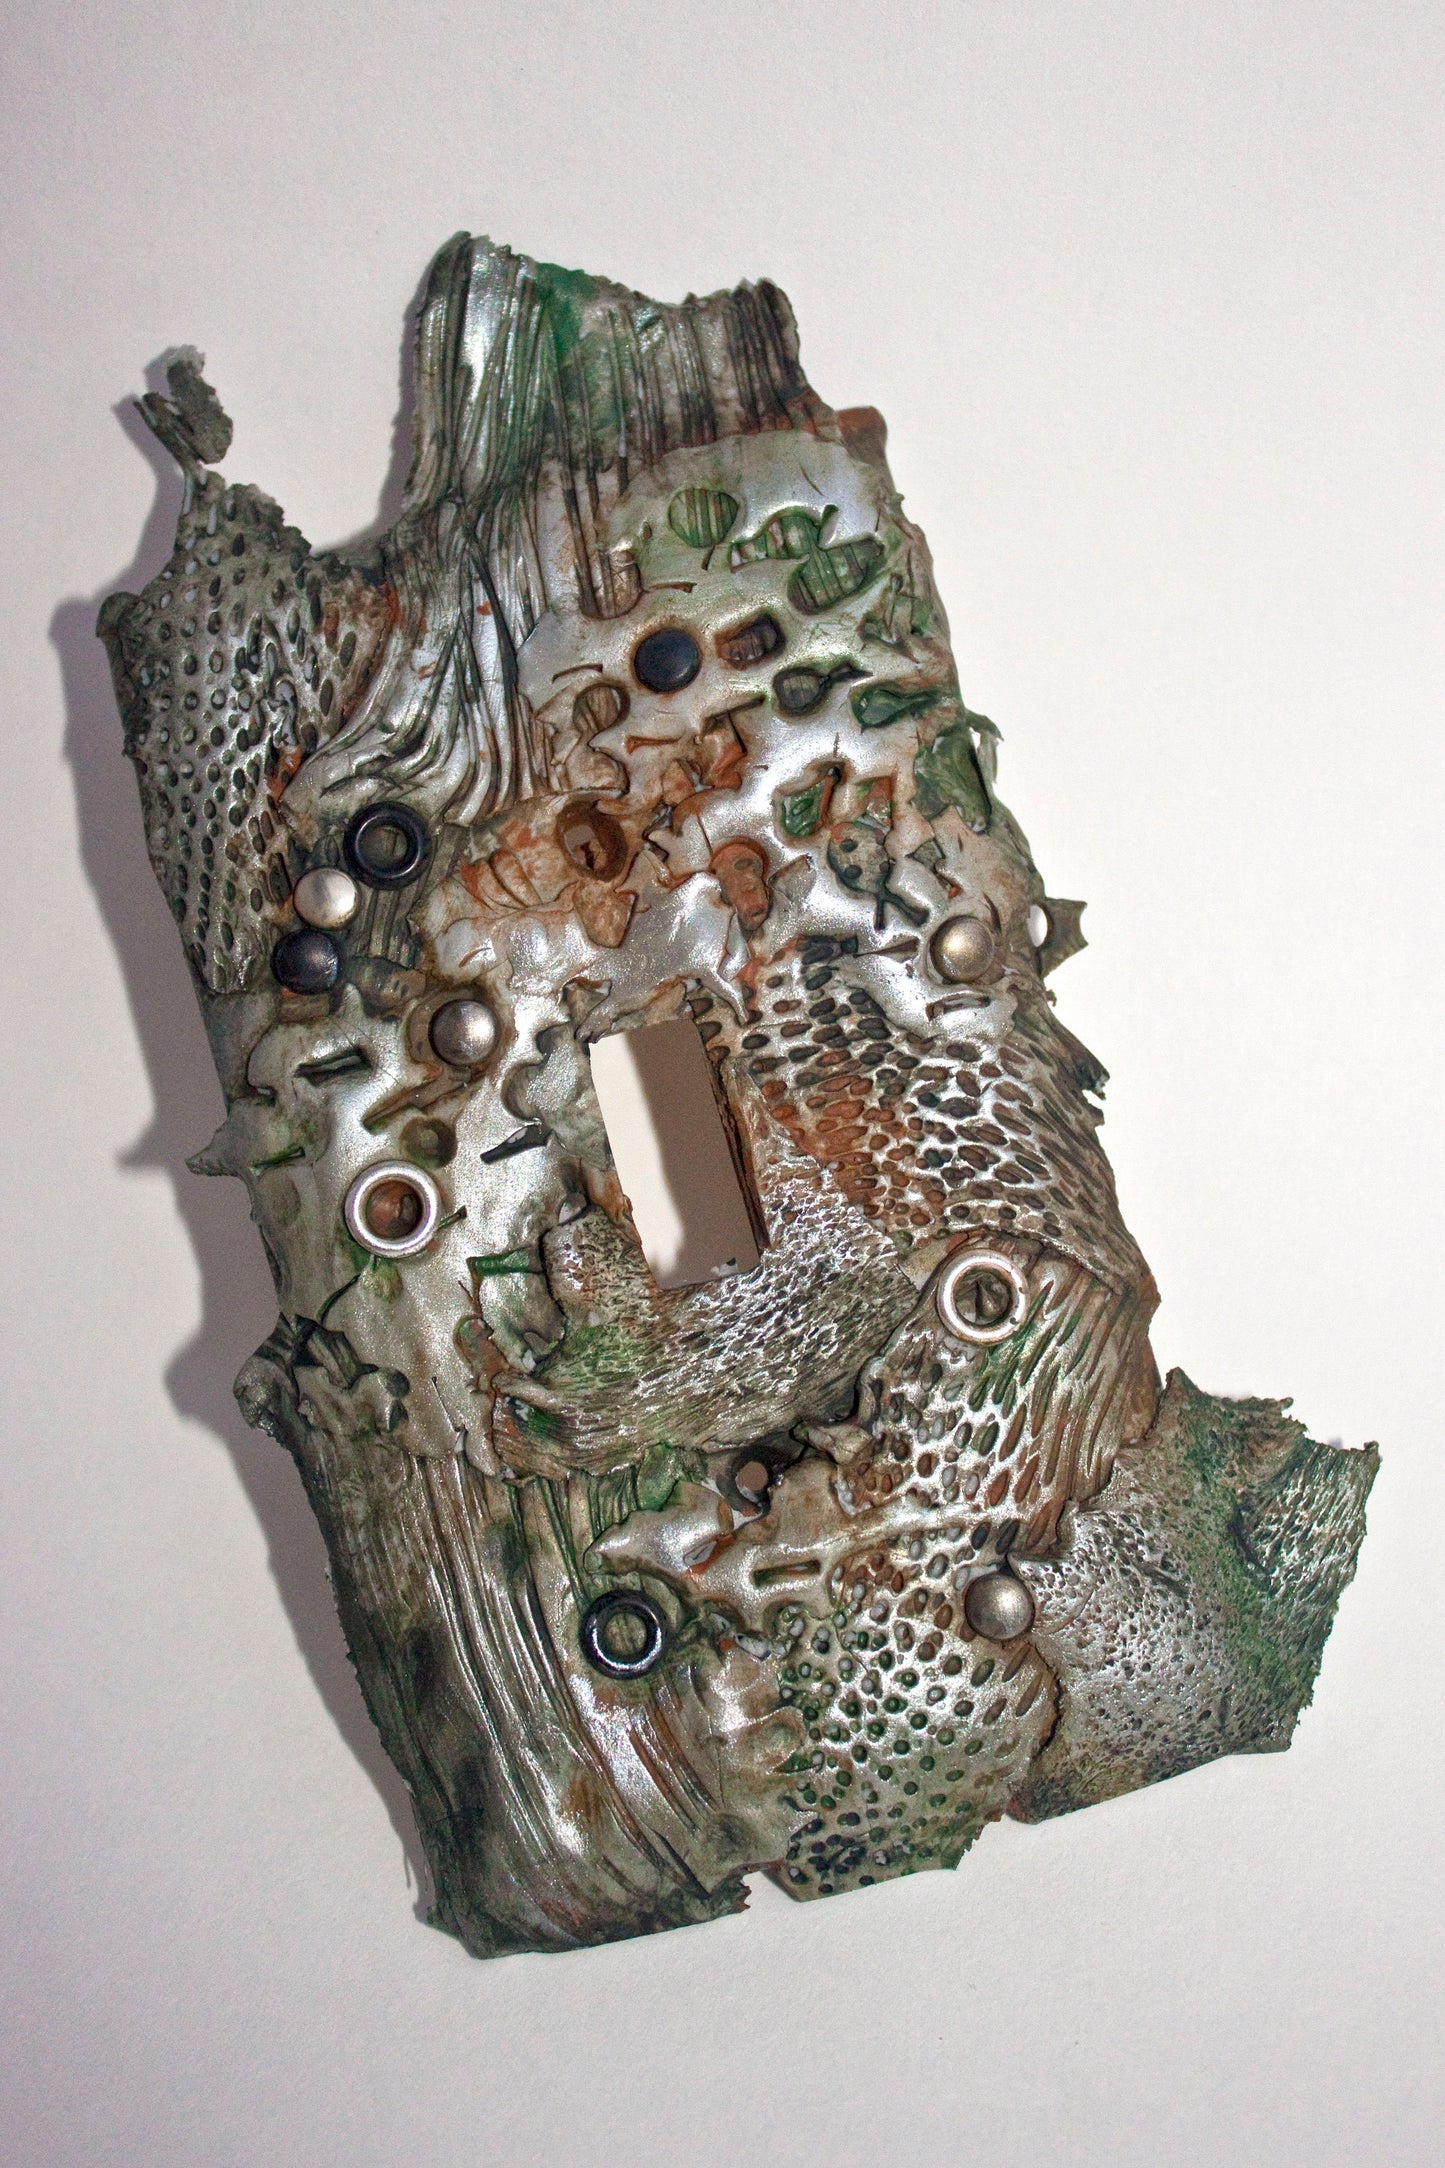
Tear off small pieces of each of these textures and begin to collage them onto the covered switch plate. You can pull and stretch the clay to distress the textures and surface of the clay even more. Notice that I'm allowing the clay to come off the edge of the switch plate.
step 13
Don't forget to add some of the slices we made for the faux Mokume Gane stack! Once the entire surface is covered with bits and pieces of textured clay, use the craft blade to recut the switch area in the center. You can trim off any excess clay on the edges that you don't wish to keep.
step 14
Add some grommets and brads by pushing them into the clay. (Use wire cutters to cut off most of the metal clips on the back of the brads). You can add some watch parts or gears to make it a little more like traditional steam punk. step 15
Touch the tip of your finger lightly into the silver mica powder and rub it across some of the upper areas of the textures. This will add metallic highlights to the final piece.
step 16
Bake the completed piece in a preheated oven according to the clay package directions. Once the clay has cooled, remove it from the oven. (CAREFUL! That metal switch plate can still be hot!)
step 17
Put a small amount of each of your selected paints onto a empty clay package wrapper (they are perfect little palettes!) Use the brush to apply the paint to a quarter of the switch plate, adding all three colors (but don't clean the brush in-between colors!). Make sure to get into all the nooks and crannies!


