Sculpey Premo™ Mica Texture Earrings
Sculpey Premo™ Mica Texture Earrings
Designed by Amy Koranek
Read More
Read Less
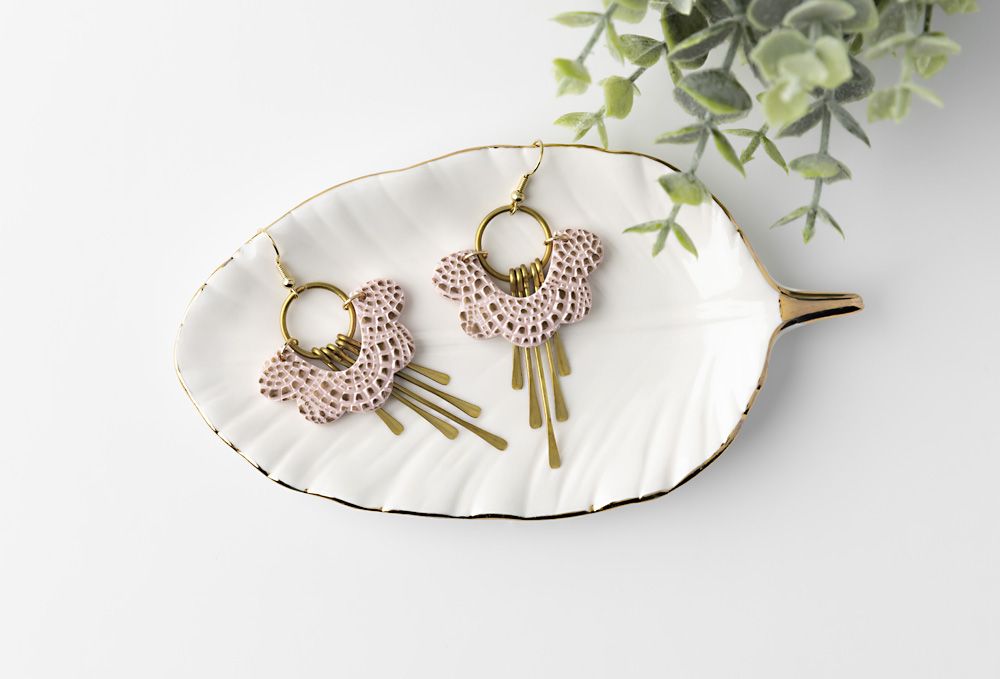
Sculpey Premo™ Light Pink is the perfect contrast color for these wonderful brass earring findings. Add a texture that you can also highlight with matching mica powder.COMPLETION TIME:45 Minutes to make, bake, and assemble
ADDITIONAL SUPPLIES
- Texture mat (mine is from Roclayco.com)
- Scalloped cutter (mine is from Roclayco.com)
- Antique brass mica powder (mine is from Jacquard Products)
- Brass dangles (mine is from Etsy)
- Gold tone ear wires (2)
- 4 mm Gold tone jump rings (4)
- Flat nose pliers

Project Instructions
Step 1
- Getting Started:
Start with clean hands, unwrap and knead clay until soft and smooth, or condition by running clay though a Pasta Machine. We recommend using a designated machine for clay purposes only. When working with multiple colors, clean hands with soap and water or baby wipes (we have found that baby wipes work best) before switching colors. Shape clay, pressing pieces firmly together. Wash hands after use.
- Baking (also called Curing):
Step 2
Roll Light Pink Premo™ to a 1/8” thick sheet. I made my sheet as large as the texture mat so I would have a large area of textured clay to choose from. This is 1/2 bar of the clay.
Step 3
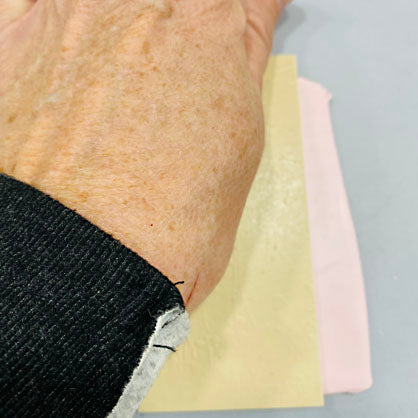
To make a deep texture, first use heavy hand pressure to make the texture sheet bite into the clay.
Step 4
Being careful not to move the texture sheet, roll over it with heavy pressure using the roller to impress the entire sheet
Step 5
Carefully peel back the texture sheet.
Step 6
Line up the cutter on the clay so that there will be a similar pattern on each cut piece. Cut two scalloped shapes.
Step 7
Line up the clay pieces to the findings to make sure the clay shape is open enough to swing freely around the brass findings once cured. Make any adjustments necessary in the raw clay.NOTE: the original brass findings had 7 hanging tassels. I removed the two longest ones to make my finished design more delicate. I used flat nose pliers to open and close the big jump ring to easily remove the largest dangles.

Step 8
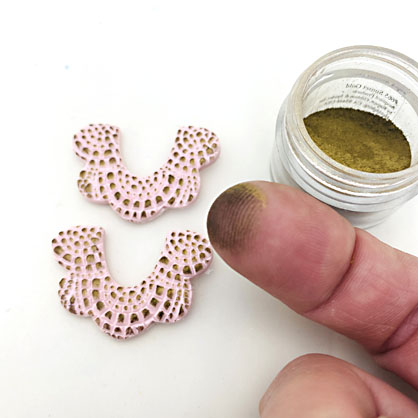
Add mica powder highlights to the raised surface of the texture. Dip a fingertip into the mica powder and then swirl your fingertip in the cap of the mica powder container to release excess powder.Highlight the raised areas by carefully dragging your fingertip over the surface. Repeat as much as needed to cover all the raised areas.

Step 9
Place the raw clay pieces over the findings to make sure once again that they lay nicely around and over the findings.Where the top corners of the clay come into close contact with the large jump ring, poke a hole on each side so that you can connect the clay to the ring after curing. br>
Bake the clay pieces draped over the metal findings following the baking instructions for Sculpey Premo™. Allow to cool completely before handling.

Step 10
Assemble as shown. Use flat nose pliers to open and close jump rings connecting the clay pieces to the large brass rings. Use flat nose pliers to attach the ear wires.


