
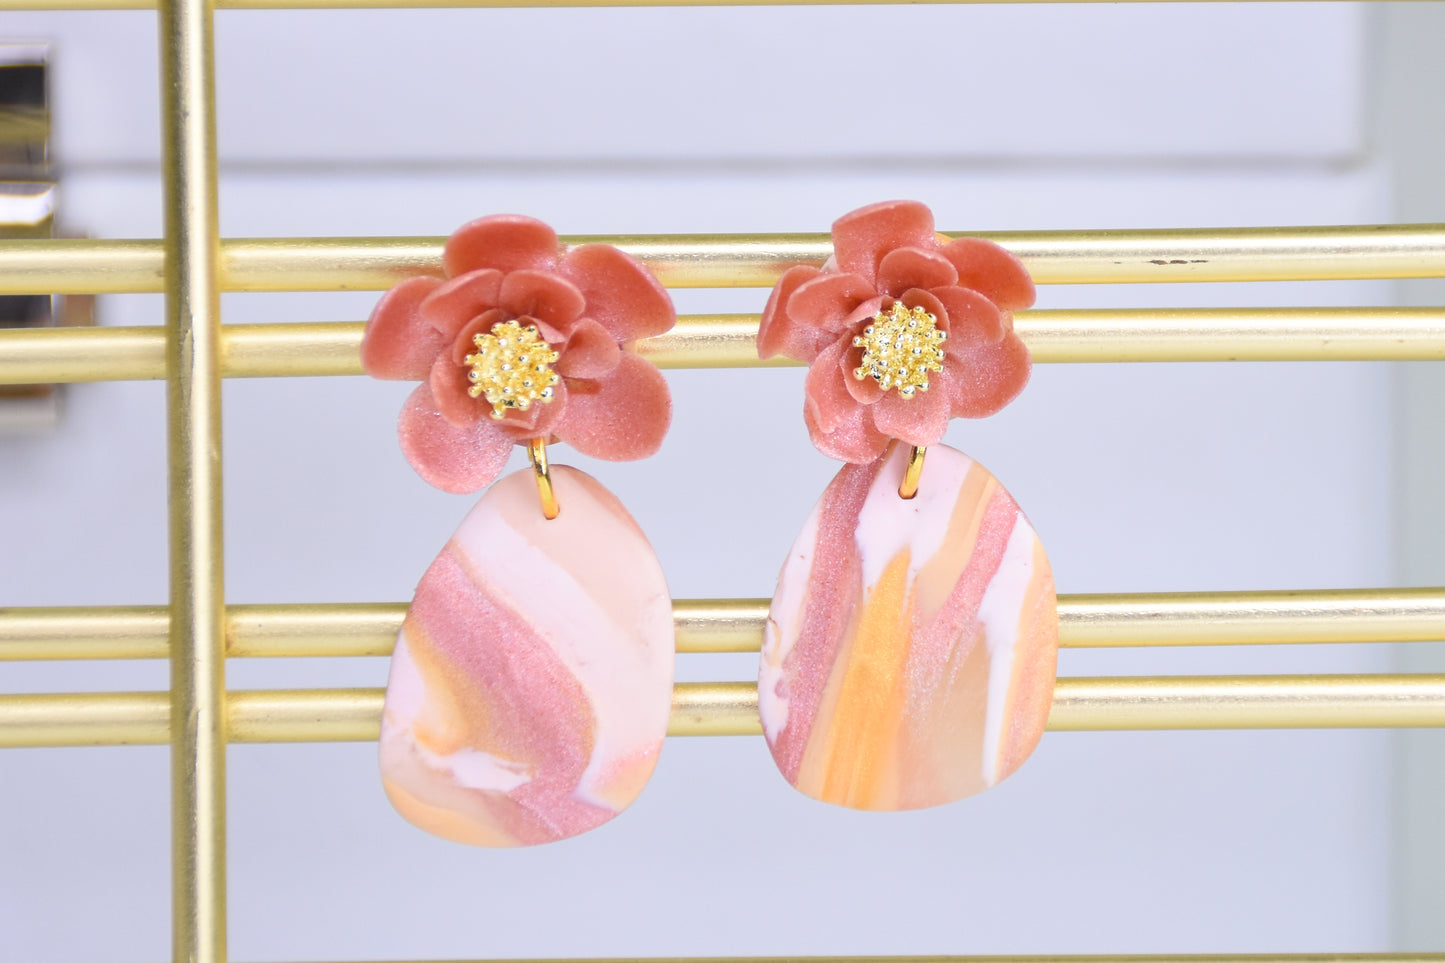
Sculpey Premo™ Faux Stone Rose Earrings
Sculpey Premo™ Faux Stone Rose Earrings
Read More
Create these pretty and elegant earrings using Sculpey’s new Premo Rose Gold Metallic to make the perfect statement piece for your outfit!
TIME TO COMPLETION: 1 hour
Read Less
ADDITIONAL SUPPLIES
- Super glue
- Cornstarch
- Large ball tool
- Small Center stamen (2)
- Floral foam board
- Small circle cutter
- (3) Tiny circle clay cutter
- (2) 7mm gold jump rings
- Imperfect oval clay cutter
- (2) gold earring posts and backings
- Jewelry pliers (round nose/flathead)
Project Instructions
Step 1
Step 2

Step 3


Step 4

Step 5

Step 6

Step 7


Step 8

Step 9

Step 10

Step 11

