Skip to product information
1 of 1

Sculpey Premo™ and Sculpey Soufflé™ Terrazzo Trinket Dish

Sculpey Premo™ and Sculpey Soufflé™ Terrazzo Trinket Dish

Designed by Amy Koranek
Read More
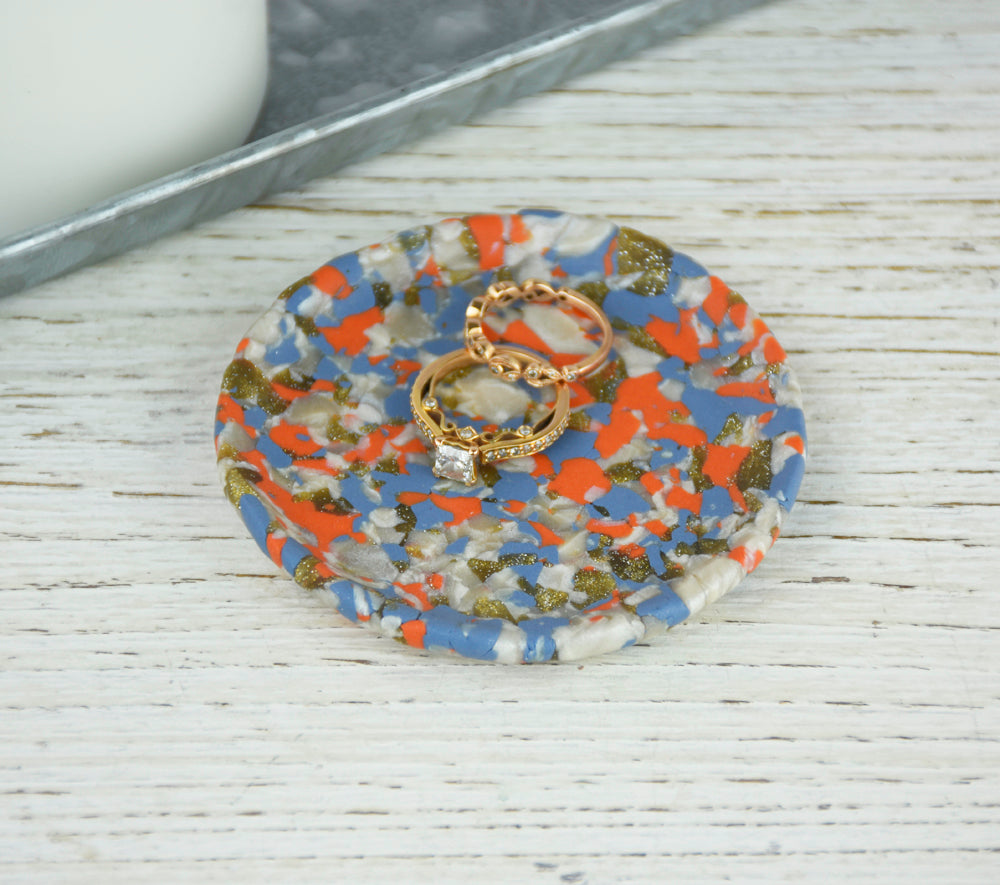
The classic Terrazzo technique is perfectly suited to polymer clay. This beautiful terrazzo bowl will be finished in just about an hour, displaying all the gorgeous clay colors in this multipack. This is a great technique to use leftover bits of clay colors as well. Make a few for yourself and don’t forget your friends!
Read Less
View full details
Project Instructions

Step 1

Getting Started:

Please make sure your work area is covered and you are not working on an unprotected surface. We recommend working on the Sculpey® Oven-Safe Work Mat, wax paper, metal baking sheet, or disposable foil. Uncured clay may damage unprotected furniture or finished surfaces. Be sure to cover your crafting area appropriately.

Start with clean hands, unwrap and knead clay until soft and smooth, or condition by running clay though a Pasta Machine. We recommend using a designated machine for clay purposes only. When working with multiple colors, clean hands with soap and water or baby wipes (we have found that baby wipes work best) before switching colors. Shape clay, pressing pieces firmly together. Wash hands after use.

Baking (also called Curing):

Begin by preheating oven to 275 °F (130 °C). After you are done creating; for best results bake/cure clay on an oven-proof surface such metal, aluminum foil, an index card or the Sculpey® Clay Mat at 275°F (130 °C) for 30 minutes per 1/4" (6
mm) thickness according to package directions. Oven safe glass or ceramic
surfaces are also acceptable for baking/curing; however please note that the
baking/curing times may take longer as the glass or ceramic surfaces take
longer to heat up. For best baking results, use an oven thermometer. DO NOT USE
MICROWAVE OVEN. DO NOT EXCEED THE ABOVE TEMPERATURE OR RECOMMENDED BAKING TIME.

Step 2

To make the dish use 1/4 bar of Pearl and 1/8 bar of each of the other colors.

Step 3

Chop the colors into bits with the Clay Blade.

Step 4

Keep chopping until the bits are very small.

Step 5

Form the bits into a flat circle with your hands.

Step 6

Roll over the circle to flatten and connect.

Step 7

Pinch a rim around the edge.

Bake the dish following the baking instructions in Step 1 above.

Step 8

Here is a look at my finished dish!