
Sculpey Premo™ and Sculpey Soufflé™ Copper Sky Post Earrings
Sculpey Premo™ and Sculpey Soufflé™ Copper Sky Post Earrings
Designed by syndee holt
Read More
Read Less
Sculpey teams up with Super-Tite glues to create these awesome post earrings. The teamwork continues by combining both Sculpey Premo™ Copper and Sculpey Soufflé™ sky tones. TIME TO COMPLETION: 40 minutes to create, 30 minutes to bake
ADDITIONAL SUPPLIES
- Circle Cutters (mine are from Sculpey) 1.75 inch, 1.25 inch and .75 inch
- Super-tite Instant Super Glue Gel
- Antique Gold (or Copper) 8 mm jump rings (6)
- Small stainless steel earring post (2)
- Several pieces of Patty paper or thin paper
- Small piece of graphing paper

Project Instructions
Step 1
- Getting Started:
Start with clean hands, unwrap and knead clay until soft and smooth, or condition by running clay though a Pasta Machine. We recommend using a designated machine for clay purposes only. When working with multiple colors, clean hands with soap and water or baby wipes (we have found that baby wipes work best) before switching colors. Shape clay, pressing pieces firmly together. Wash hands after use.
- Baking (also called Curing):
Step 2
Condition your clay as described above (or use a clay dedicated pasta machine). Roll the clays out to about 1/8-inch thickness with the provided clay roller.
Step 3
Cut length from each color that are about 1/8 inch wide and chop those lengths into small pieces. I prefer to chop a length up from one color, then the next color and mix them as I go. Start with chopping up about 4-5 length of each color.NOTE: I prefer to chop my pieces right on the piece of patty paper I’m going to work on.

Step 4
Once you have a nice pile going, press the pieces together and flatten them slightly with your hand and check to see if they fit your 1.75 inch round cutter. (Of course, YOU can make these earrings to any size you wish!)
Step 5
If you need to add more pieces to your circle (and I did!), just add them to the sides of the rough circle and press them into the stack.Press the pieces together tightly.

Step 6
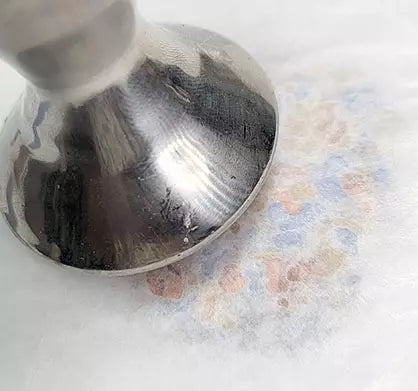
Put another piece of patty paper (or plain paper) on top of the pieces and use a flat surface to press firmly down. (I am using a coffee tamper, but any smooth, firm item will do. How about the bottom of a sturdy water glass?Press firmly because we want this patty to be less than 1/4-inch thickness when done.
Step 7
Of course, you can peel the corner of your top paper up to look at the pressed patty – make sure that all the edge pieces are press in as well. The top of the patty should be smooth.Want to add some more pieces to break up larger sections of color? I just added small squares to the places I want to add more color, put the paper back on and pressed again!

Step 8
Use your 1.75-inch cutter to cut out your pattern.Designer Tip: I like to STAND UP to press on my cutters. I believe that it gives me a cleaner edge. I also use a small block of wood on top to press on to get a more even pressure.

Step 9
Cut your completed patty in half using the long clay blade in your tool kit. I like to use graphing paper to line up clay, find the center, then line the blade up. This way, I am assured that both halves will be evenly sized for my earrings.Set the two halves aside for now.

Step 10
Roll out the rest of the remaining Copper clay, stacking two pieces together to get roughly the same thickness of your patty above.Starting with your 1.75-inch circle cutter, position the next two smaller cutters evenly in this cutter as shown WITH THE CUTTING EDGE UP! We are NOT cutting, but using the cutters to create an indented pattern.

Step 11
GENTLY press evenly down on the cutters and remove them. You should have a wonderful pattern in your clay now!
Step 12
Flip the largest cutter to the cutting edge and finish cutting out the circle of clay, using the outside circle pattern as the edge to cut.
Step 13
Use the cutting edge of the smallest cutter you used to cut out the center as shown. Keep this smaller circle.Split the larger circle in half to create two half circles of clay.
Split the smaller circle in half as well.

Step 14
Here is a look at my components ready to have the holes placed.
Step 15
Line the components for one earring up on the graphing paper, centering them both side-to-side and down a center line as shown.Use your needle tool to create the holes. Once you have the holes, completed, gently turn each component over and insert the needle tool back through the hole again to make sure that the holes are clear and clean.
Repeat for the other set of earring components. Bake as directed in Step 1 above.

Step 16
Once the earring components have baked and cooled, assemble your hardware to create the final earrings. My earring on the right has my jump rings in place and is ready to have the post glued to the back.
Step 17
Here is a final look at my completed earrings.