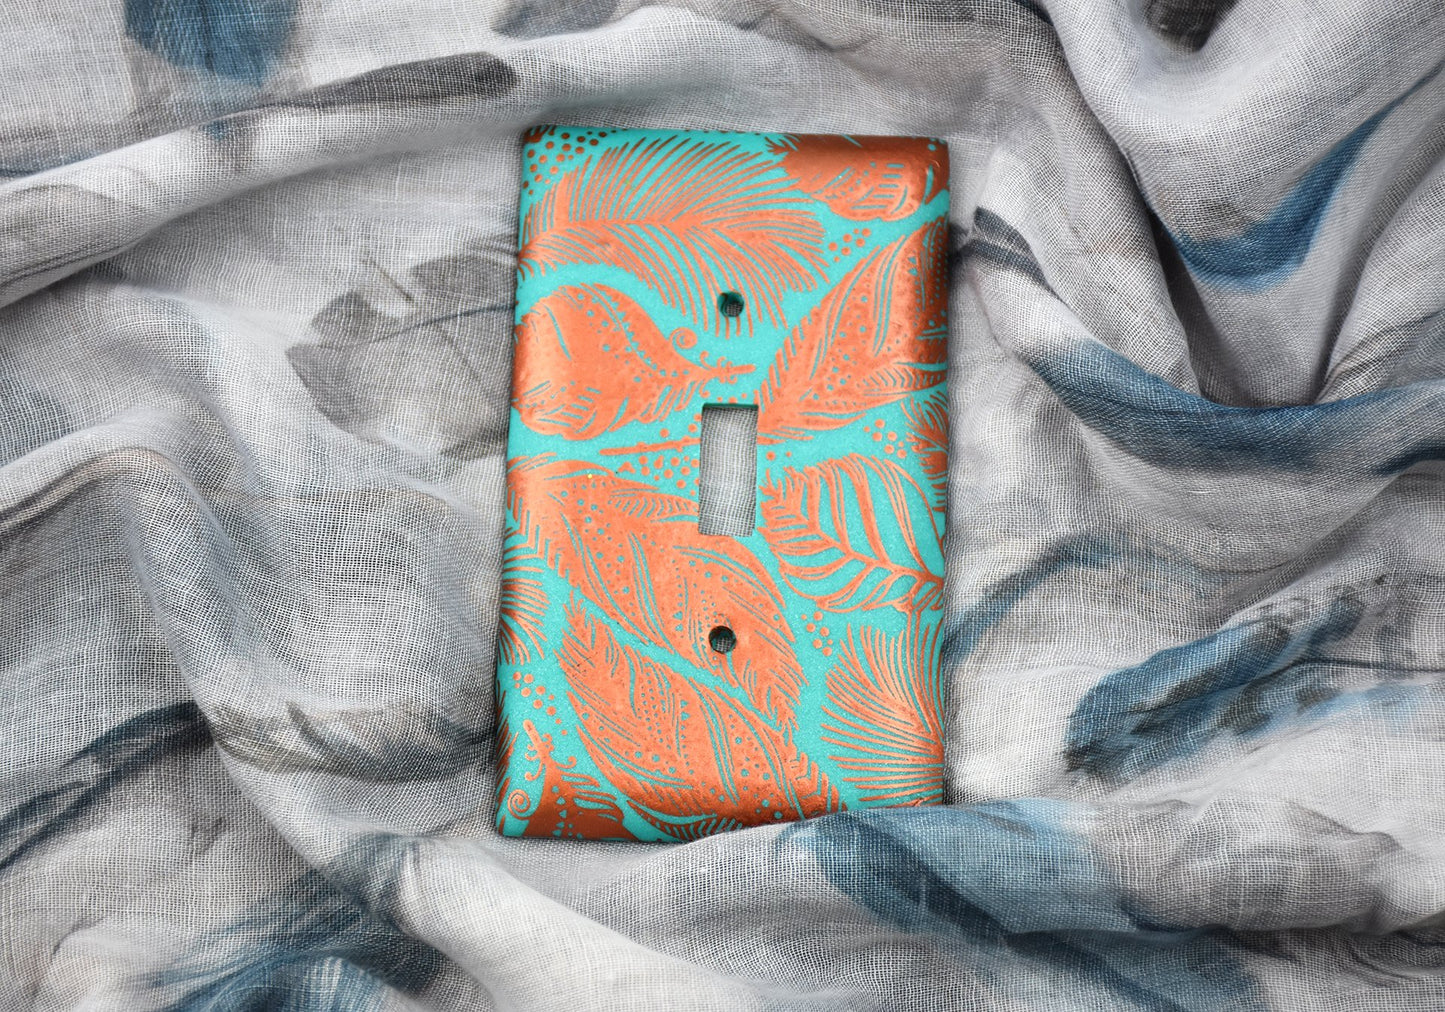
Sculpey III Silkscreened Lightswitch Cover
Sculpey III Silkscreened Lightswitch Cover
Read More
Light switch covers are a great way to refresh your interiors. This gorgeous cover is no exception! It’s so quick and easy to make, you will be adding new covers all over the house..
Design by syndee holt
Read Less
ADDITIONAL SUPPLIES
metal switch plate

Project Instructions
Please make sure your work area is covered and you are not working on an unprotected surface. We recommend working on the Sculpey® Work ‘n Bake Clay Mat, wax paper, metal baking sheet, or disposable foil. Uncured clay may damage unprotected furniture or finished surfaces. Be sure to cover your crafting area appropriately.
Start with clean hands, unwrap and knead clay until soft and smooth, or condition by running clay though a Pasta Machine. We recommend using a designated machine for clay purposes only. When working with multiple colors, clean hands with soap and water or baby wipes (we have found that baby wipes work best) before switching colors. Shape clay, pressing pieces firmly together. Wash hands after use.
Start with clean hands, unwrap and knead clay until soft and smooth, or condition by running clay though a Pasta Machine. We recommend using a designated machine for clay purposes only. When working with multiple colors, clean hands with soap and water or baby wipes (we have found that baby wipes work best) before switching colors. Shape clay, pressing pieces firmly together. Wash hands after use.
- Baking:
Sheet out the Teal Pearl on the second to the widest setting on the Clay Conditioning Machine, creating a sheet that is slightly larger than the silkscreen.

Position the silkscreen shiny side down and apply the Copper paint along the top of the screen using the small paint brush. Make sure that the paint extends the entire length of screen design. Quickly spread the paint, using your spreader, over the entire silkscreen. Immediately remove the screen and submerge in water to rinse it. NOTE: I prefer to rinse mine under running water, so I keep a small plastic bin of water to place the screen in and carry it to the sink. Allow the screened paint to dry thoroughly.


Once the paint is dried, position the switch plate onto the center of the screen. Carefully roll the edge of the plate so that you can trim the longer length, using the edge of the switch plate as a guide for your blade.

Roll the edge of the plate so that a short end is now exposed and trim this length off as well. Repeat for the other two sides.

Once the sides have been trimmed, place the covered plate face down and use the Exacto knife to trim out the switch area, using the plate as a guide to cut.

Use the pointed tool from the Sculpey Clay Tool Starter Set to poke a hole in the center of each screw hole. Flip the plate over, locate one of the poke holes and insert the tool and roll the tool around the hole to enlarge the hole on the top of the clay (so the screw head will fit nice!) Repeat on the other screw hole.


Bake the completed switch plate as directed in Step 1 above. Allow the plate to cool thoroughly before carefully removing it and gluing it back into place. Hang your new room decoration!


