Skip to product information
1 of 1

Sculpey III® Open Heart Bezel Necklace

Sculpey III® Open Heart Bezel Necklace

Designed by Amy Koranek
Read More
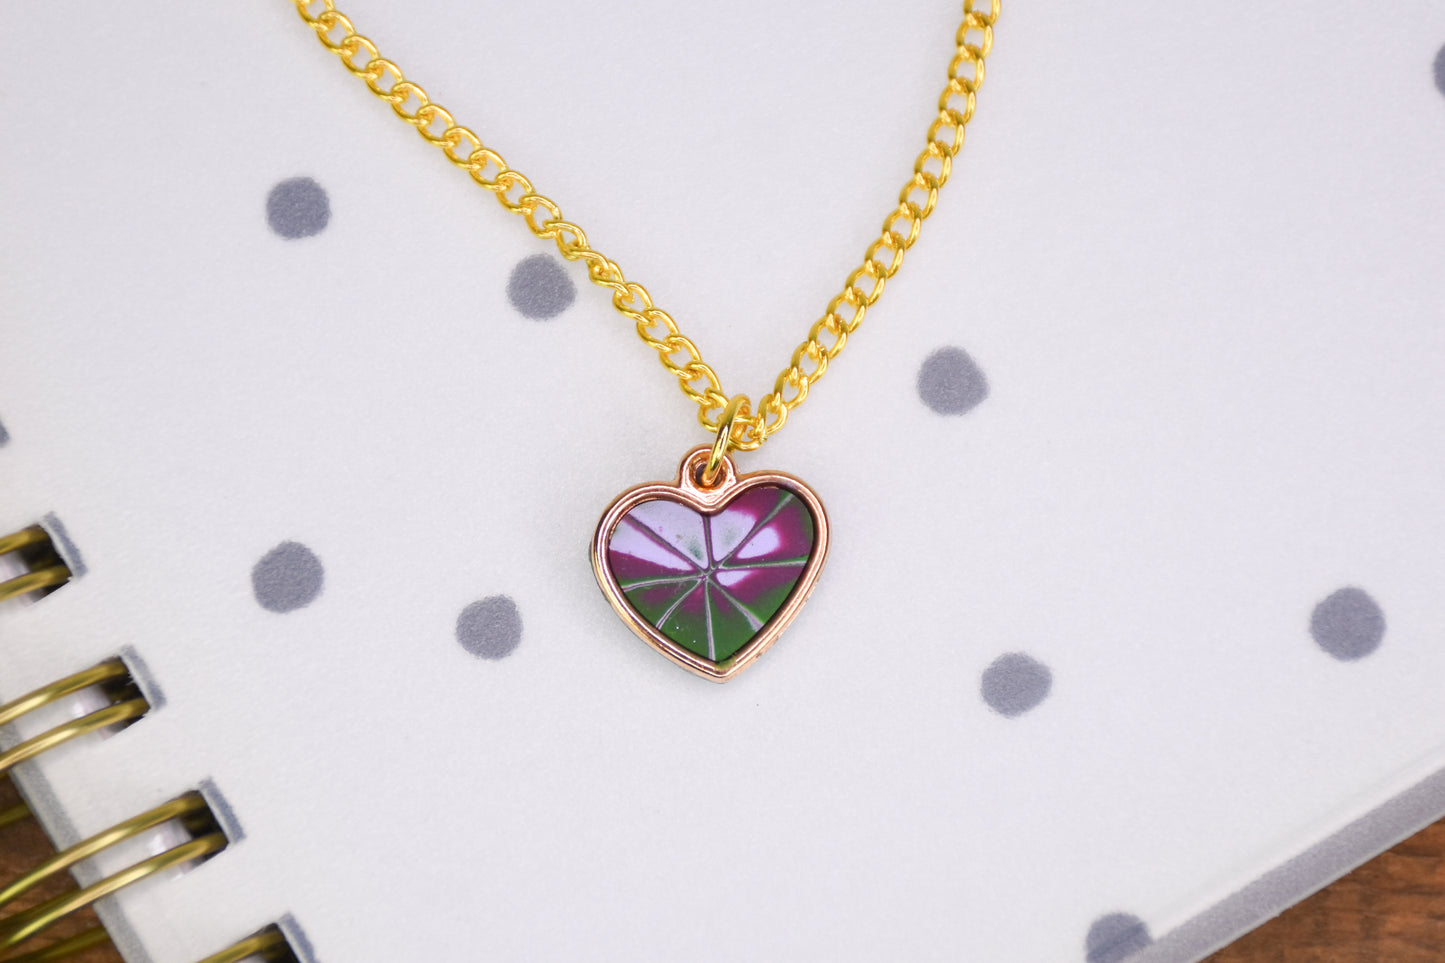
Create a delicate little heart pendant or adapt this tutorial to any open bezel that you may have. The possibilities are endless! COMPLETION TIME: 45 Minutes to make, bake, and assemble
Read Less
ADDITIONAL SUPPLIES
  • Small open heart gold tone bezel
  • 6 mm Gold tone jump ring
  • Gold tone chain with clasp
  • Flat nose pliers
View full details
Project Instructions

Step 1

Getting Started:

Please make sure your work area is covered and you are not working on an unprotected surface. We recommend working on the Sculpey® Oven-Safe Work Mat, wax paper, metal baking sheet, or disposable foil. Uncured clay may damage unprotected furniture or finished surfaces. Be sure to cover your crafting area appropriately.

Start with clean hands, unwrap and knead clay until soft and smooth, or condition by running clay though a Pasta Machine. We recommend using a designated machine for clay purposes only. When working with multiple colors, clean hands with soap and water or baby wipes (we have found that baby wipes work best) before switching colors. Shape clay, pressing pieces firmly together. Wash hands after use.

Baking (also called Curing):

Begin by preheating oven to 275 °F (130 °C). After you are done creating; for best results bake/cure clay on an oven-proof surface such metal, aluminum foil, an index card or the Sculpey® Clay Mat at 275°F (130 °C) for 30 minutes per 1/4" (6
mm) thickness according to package directions. Oven safe glass or ceramic
surfaces are also acceptable for baking/curing; however please note that the
baking/curing times may take longer as the glass or ceramic surfaces take
longer to heat up. For best baking results, use an oven thermometer. DO NOT USE
MICROWAVE OVEN. DO NOT EXCEED THE ABOVE TEMPERATURE OR RECOMMENDED BAKING TIME.

Step 2

Start with equal sized sheets of each color to make the Mokume Gane technique. Make each sheet about 1/8” thick with the Acrylic Clay Roller and approximately 1.5” wide X 2” tall.

Step 3

Stack the colors as shown.

Step 4

Roll over the stack with the Acrylic Clay Roller to seal them together and press out air bubbles. Flatten with the Roller until the stack is double the dimensions in height and width of the original stack.

Step 5

Cut the stack in half with the Clay Blade. Stack the two halves to double the layers.

Step 6

Roll again as you did in Step 4.

Step 7

Cut and stack again as you did in Step 5.

Step 8

Roll the layered sheet to the work surface with your Clay Roller.

Step 9

Without moving or lifting the layered sheet, cut through with the Clay Blade in all four directions and then again in all four intermediate directions as shown.

Step 10

Use the Clay Roller to roll the layered sheet and to heal the cuts that you made In Step 9.

Step 11

Without lifting or moving the layered sheet, carefully shave away the very top layer of clay with a Clay Blade (I like to use a thin flexible Clay Blade here) to reveal the pattern that was cut into the clay in Step 9.

Step 12

Decide which area of the patterned clay you would most like to use to fill the bezel by placing the bezel on the clay.

Step 13

Push the bezel into the clay and then trim around the outside of the bezel to remove excess clay.

Step 14

Carefully lift the bezel. Examine the outsides of the bezel and remove excess clay with fingertips or with a Clay Blade.

Bake the bezel with the clay in it following the baking instructions for Sculpey III® in Step 1 above. Allow to cool completely.

Step 15

Here is the layout for the pendant and chain.

Step 16

Use flat nose pliers to open and close the jump ring, connecting the bezel to the chain.