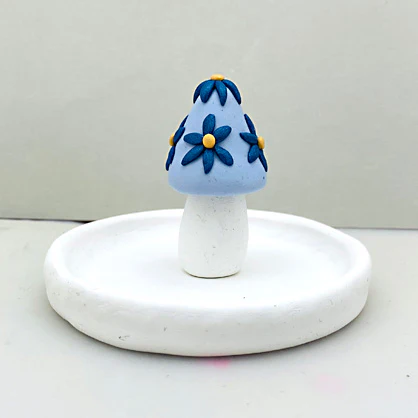
Sculpey III® Mushroom Ring Dish
Sculpey III® Mushroom Ring Dish
Read More
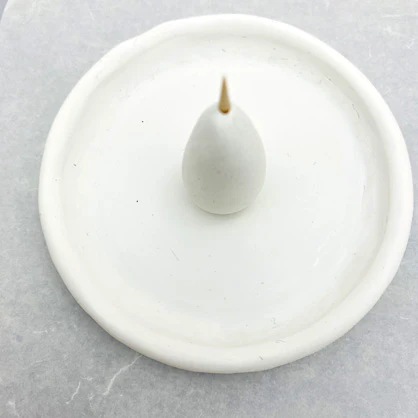
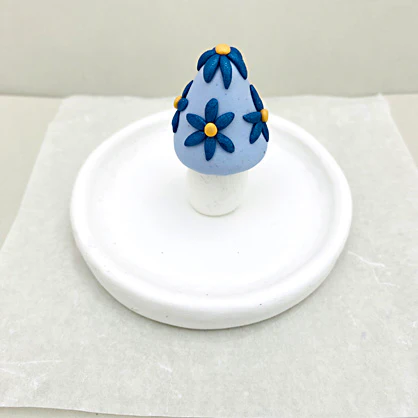
Irresistible items like this clever mushroom ring dish may actually help “clear the clutter” on your vanity. Or why not make one (or two!) for a friend or family member?
COMPLETION TIME:
60 Minutes to make and bake
Read Less
ADDITIONAL SUPPLIES
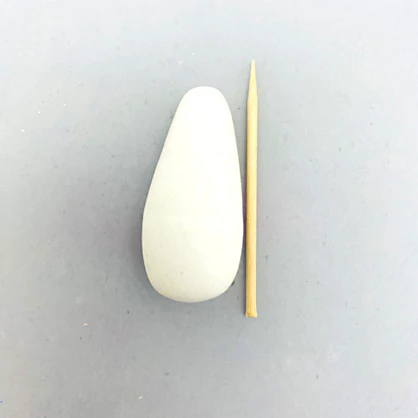
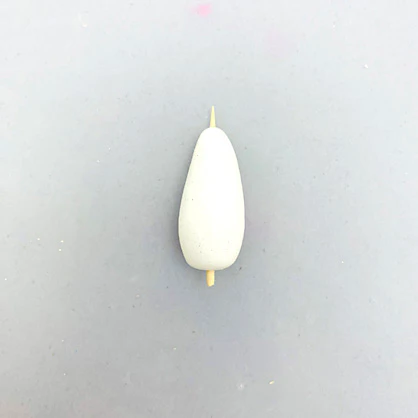
- Toothpick
- Wire cutters or heavy scissors
- 2-3/4” Circle cutter

Project Instructions
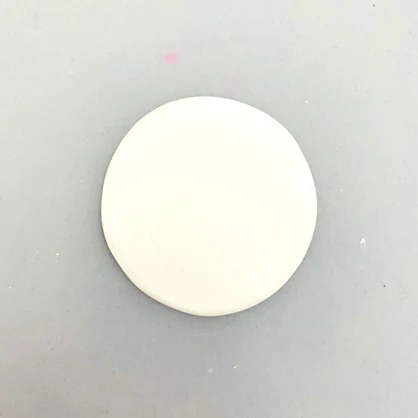
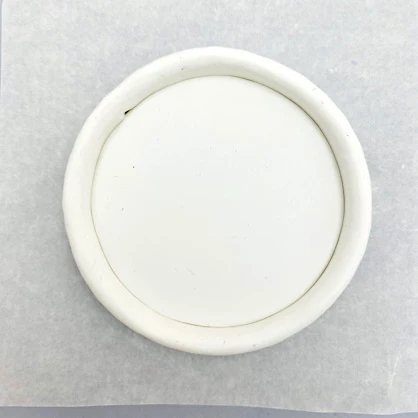
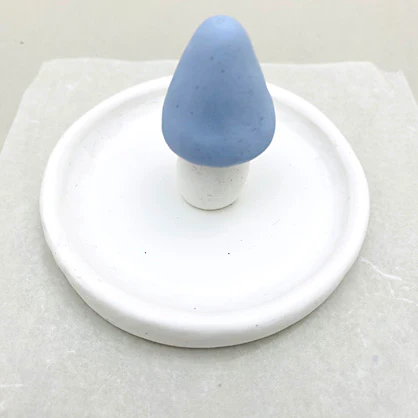
Step 1
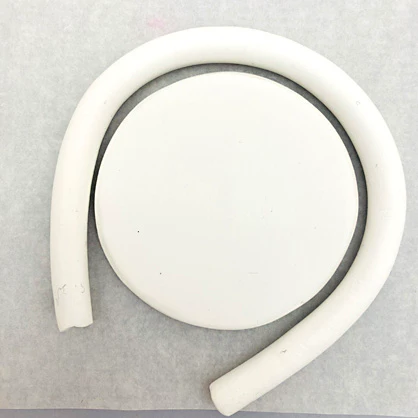
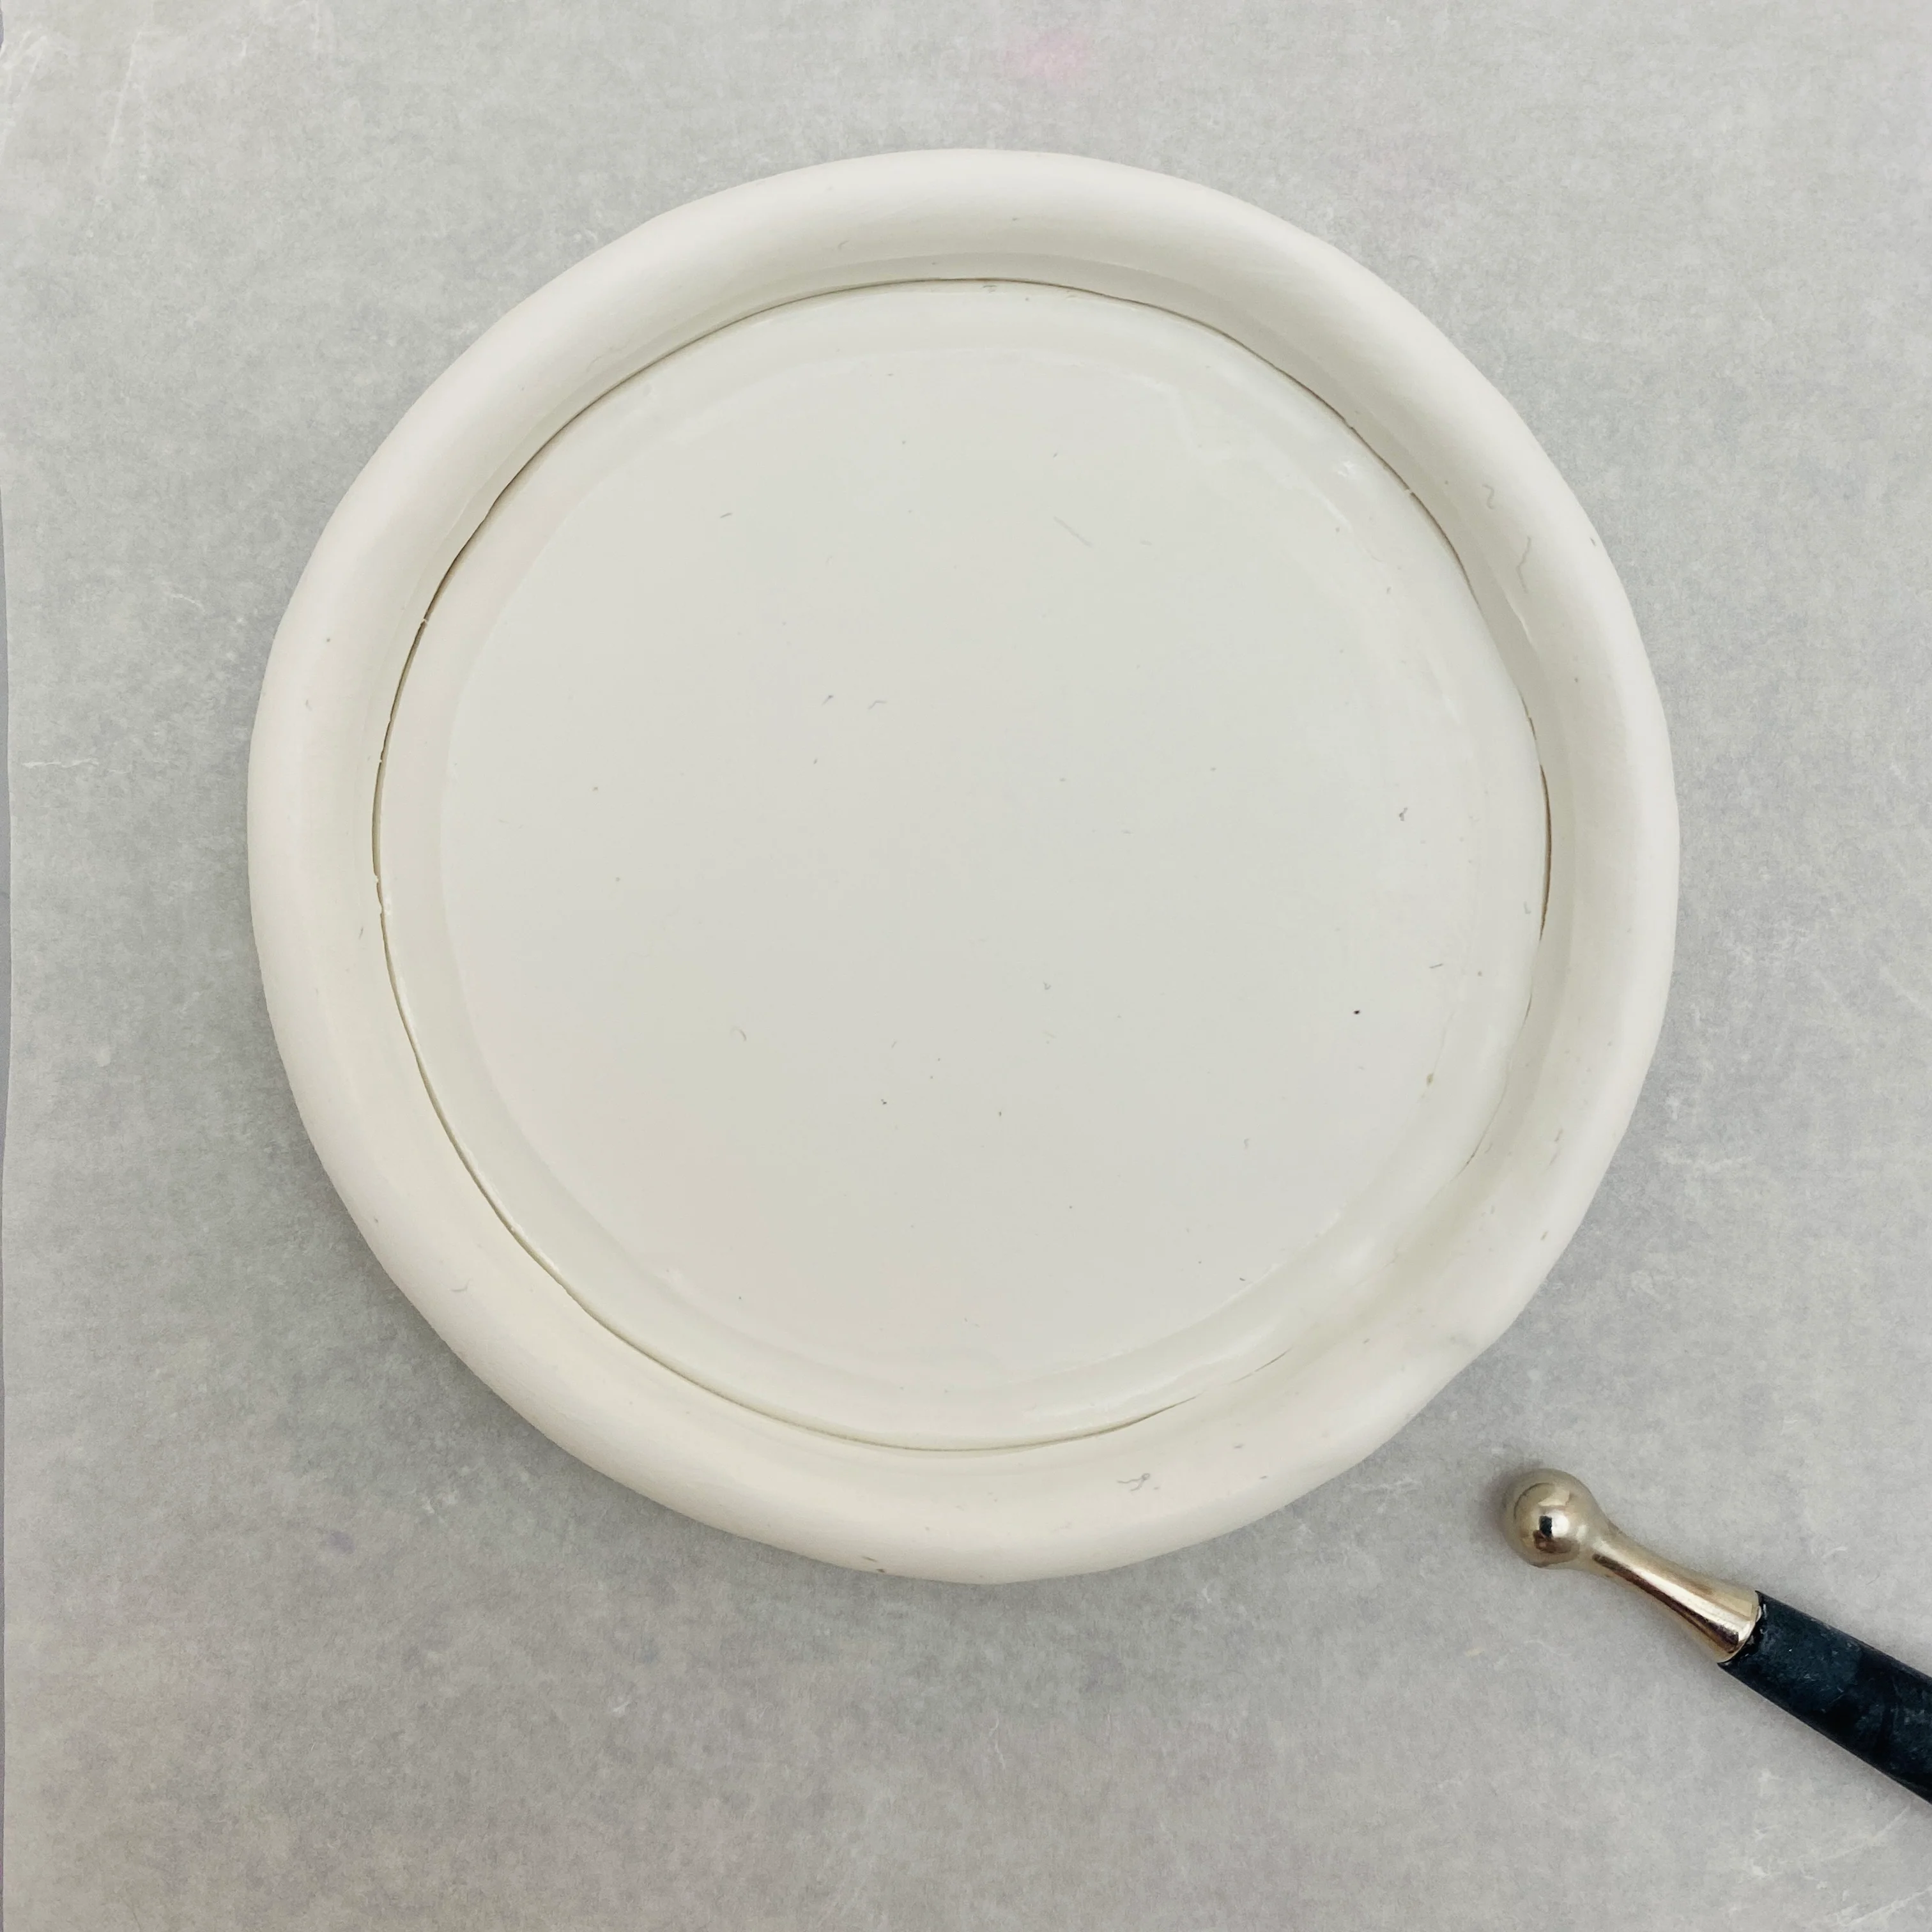
Step 2
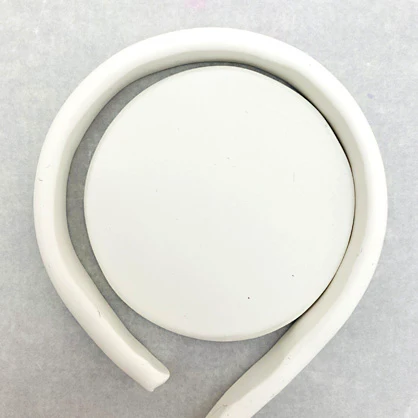
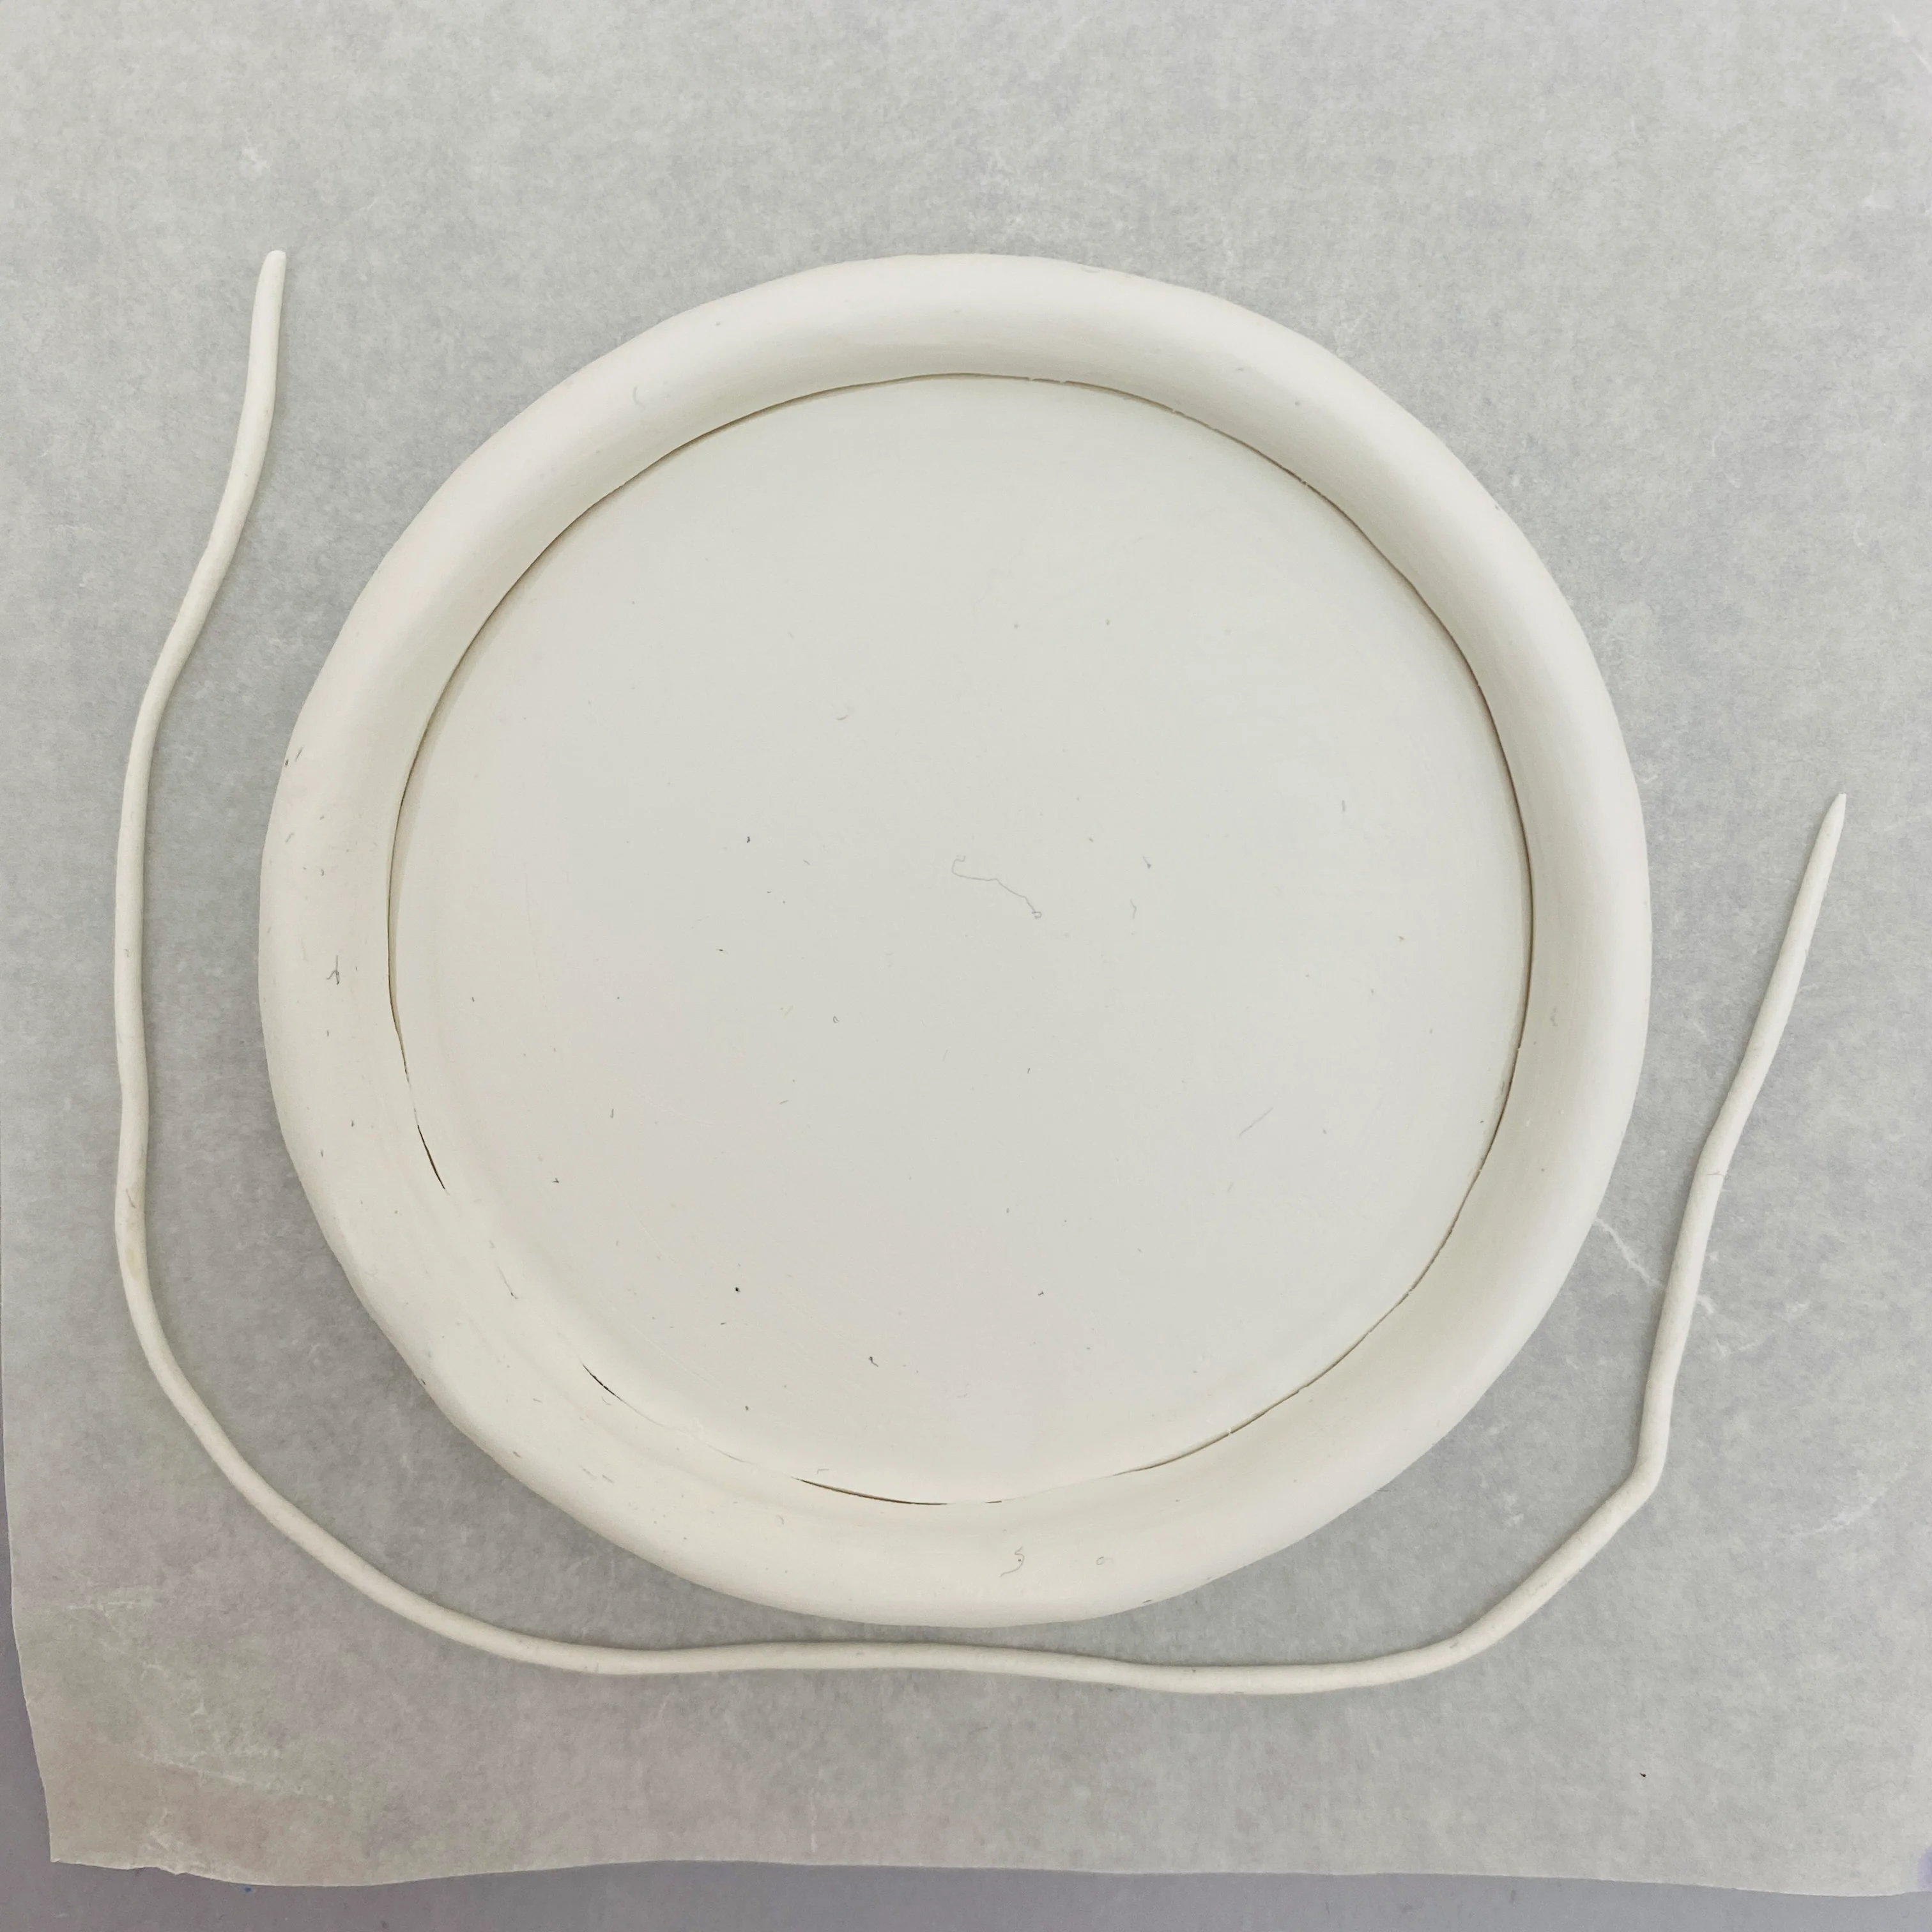
Step 3
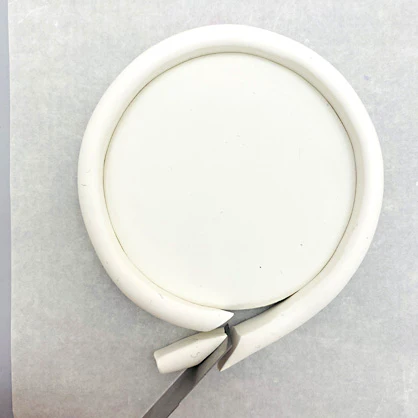
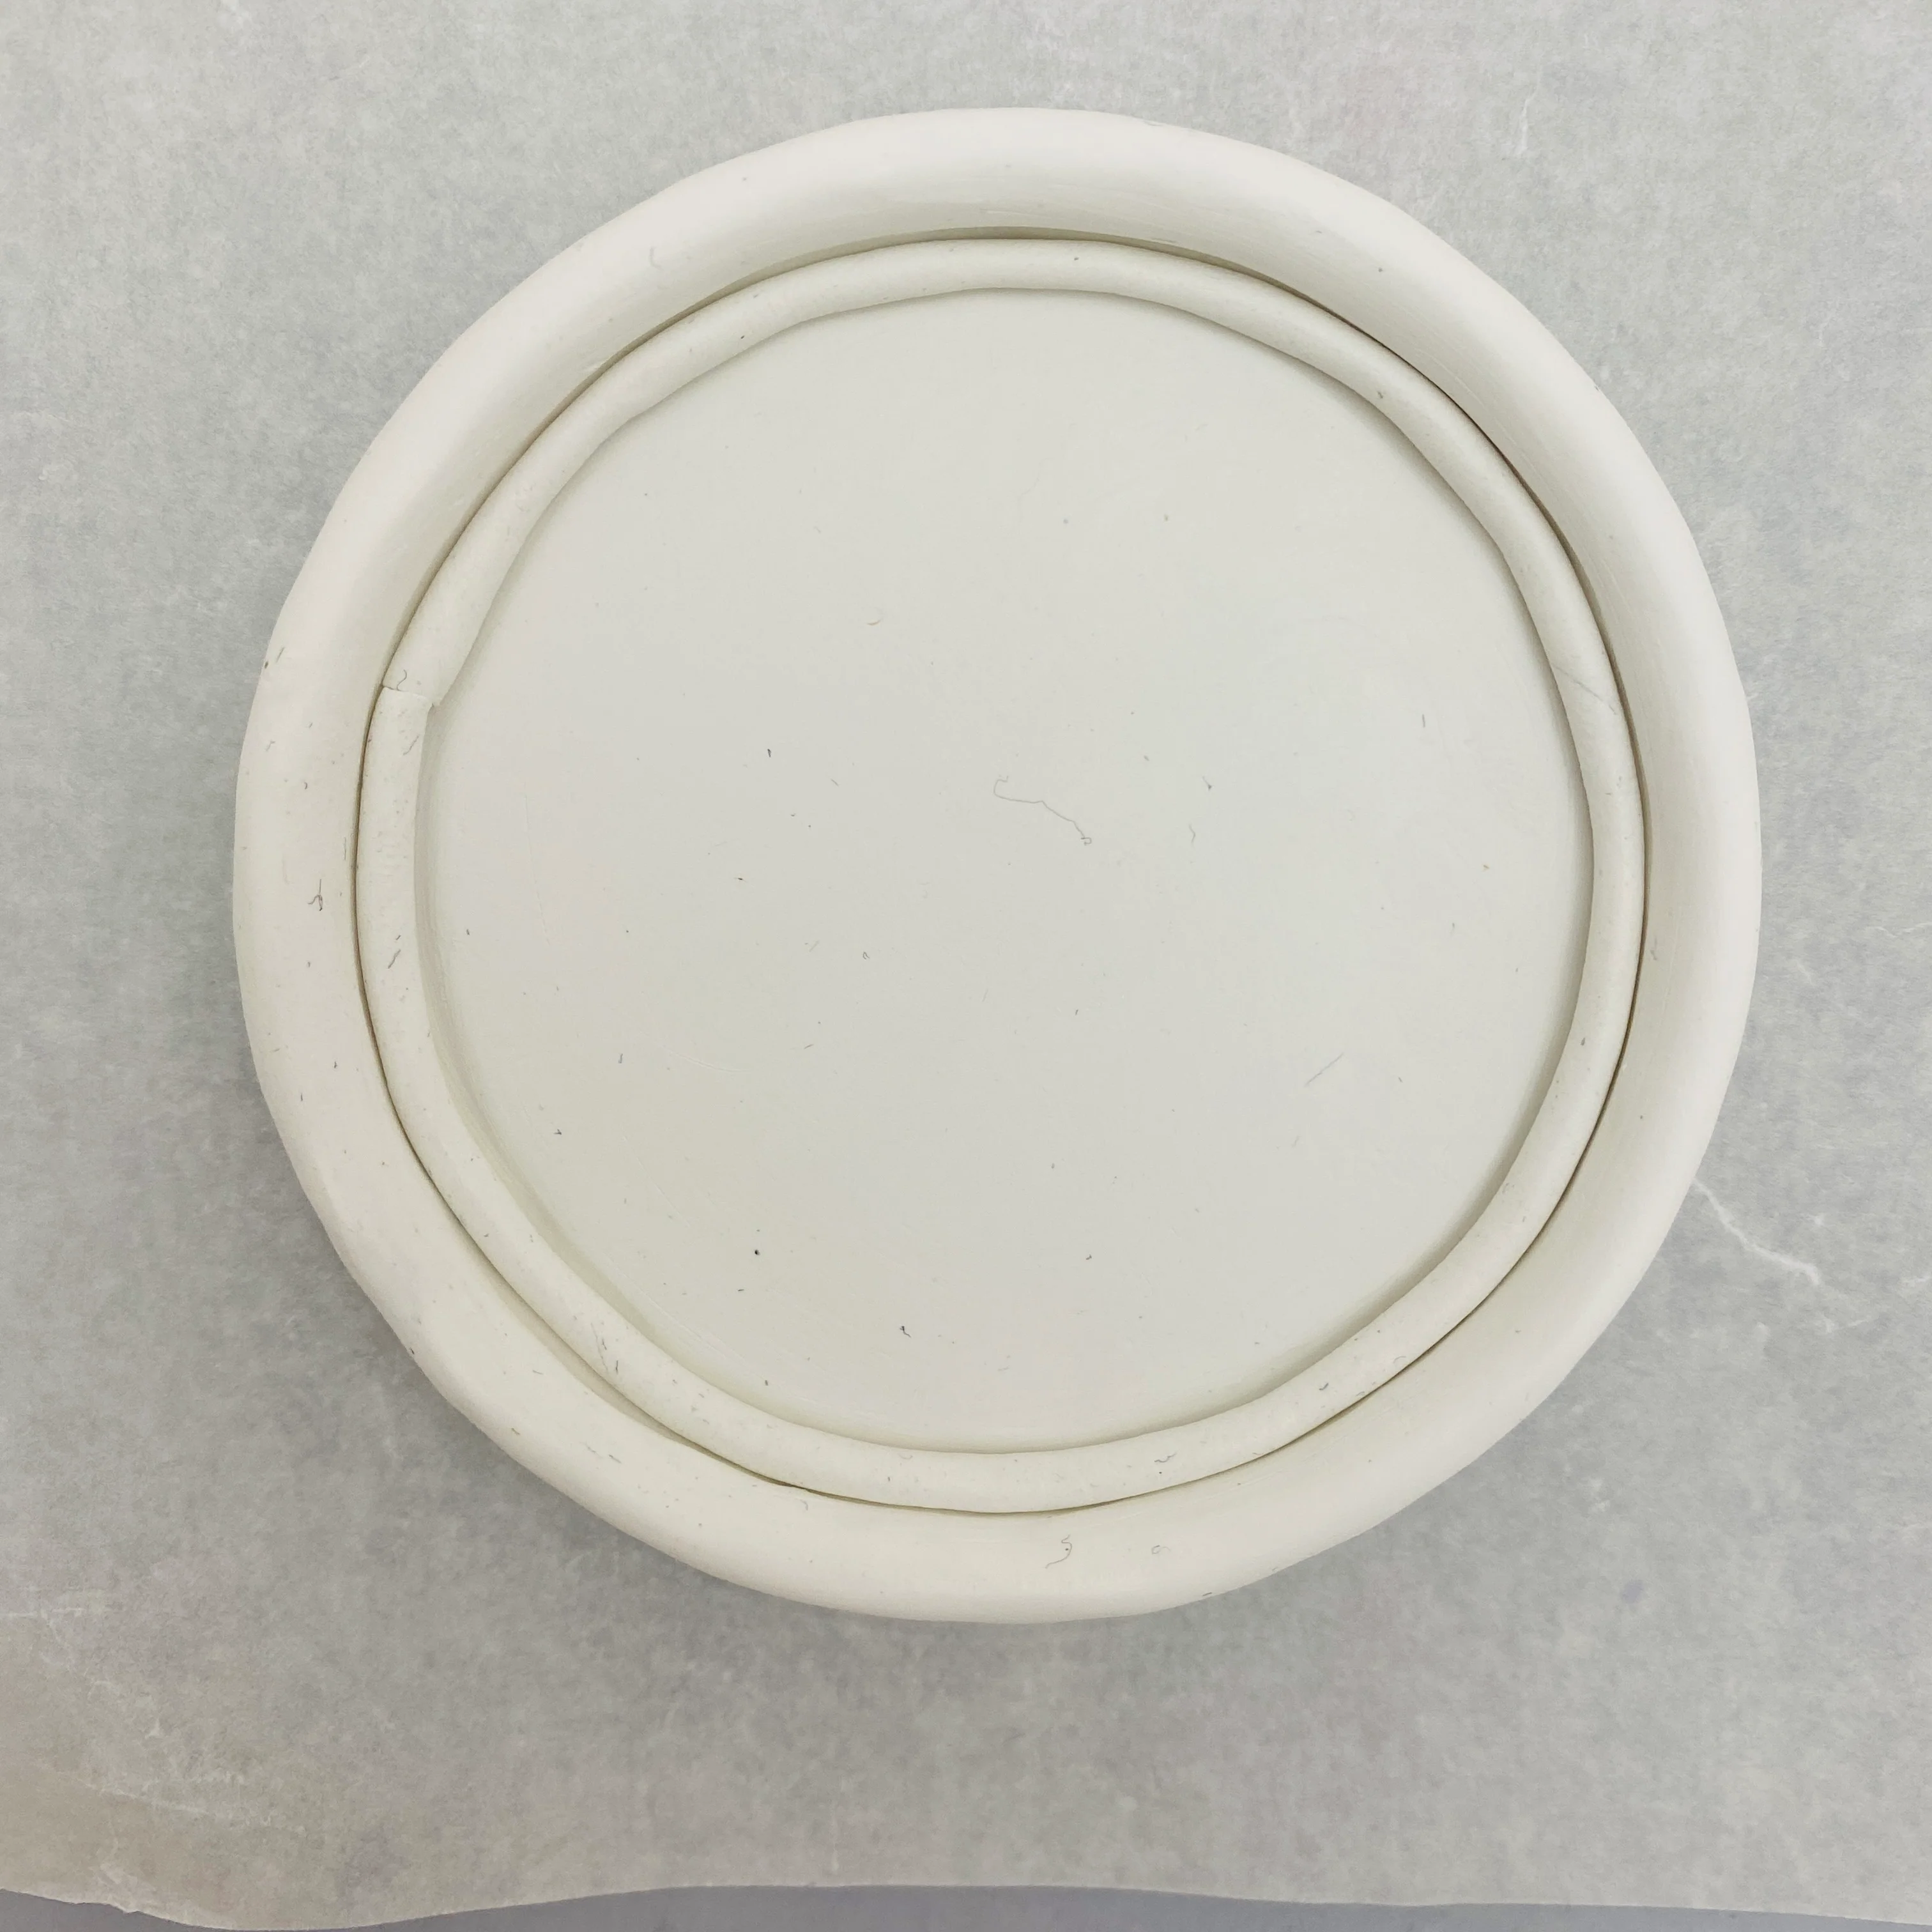
Step 4
Step 5

Step 6
Step 7
Step 8
Step 9
Step 10
Step 11
Step 12
Step 13
Step 14
Step 15
Step 16

Step 17
Step 18
Step 19
Step 20
Step 21
Step 22
Step 23
Step 24
Step 25
Step 26
Step 27