Sculpey III Jelly Roll Pens
Sculpey III Jelly Roll Pens
Read More
These pens are so fun and easy to make, you can make them for everyone on your holiday lists!
Design by Amy Koranek
Read Less
ADDITIONAL SUPPLIES
Pen (We recommend BIC Pens without comfort grip as they work best for this project. The plastic in this brand pen is of a quality that will withstand the baking temperature needed to cure polymer clay)
Pliers for removing the ink stick from the pen

Project Instructions
Your workspace:
Please make sure your work area is covered and you are not working on an unprotected surface. We recommend working on the Sculpey® Work ‘n Bake Clay Mat, wax paper, metal baking sheet, or disposable foil. Uncured clay may damage unprotected furniture or finished surfaces. Be sure to cover your crafting area appropriately.
Getting Started:
Start with clean hands, unwrap and knead clay until soft and smooth, or condition by running clay though a Pasta Machine. We recommend using a designated machine for clay purposes only. When working with multiple colors, clean hands with soap and water or baby wipe before switching colors. Shape clay, pressing pieces firmly together. Wash hands after use.
Baking:
Begin by preheating oven to 275 °F (130 °C). After you are done creating; for best results bake clay on an oven-proof surface such metal, aluminum foil, an index card or the Sculpey® Clay Mat at 275°F (130 °C) for 15 minutes per ¼" (6 mm) thickness according to package directions. Oven safe glass or ceramic surfaces are also acceptable for baking; however please note that the baking times may take longer as the glass or ceramic surfaces take longer to heat up. For best baking results, use an oven thermometer. DO NOT USE MICROWAVE OVEN. DO NOT EXCEED THE ABOVE TEMPERATURE OR RECOMMENDED BAKING TIME.
Prepare the ink pen by gently removing the ink stick with pliers. Set the ink stick aside because it cannot go into the oven.
Cut each bar of clay in half vertically. Set aside one half as you will not be using it for this project. Roll each color through the Sculpey clay conditioning machine on the thickest setting. Stack the colors and trim the rough edges as shown.
*If you do not have a Clay Conditioning Machine you can condition your clay by hand. Break off pieces and knead until soft. Using your Acrylic Roller, roll out one sheet of clay per color. Please note that the thickness of all 3 sheets of clay needs to be the same. Thickness of clay sheets can vary depending on desired end result. We recommend 1/16 of an inch to achieve pen shown.
*If you do not have a Clay Conditioning Machine you can condition your clay by hand. Break off pieces and knead until soft. Using your Acrylic Roller, roll out one sheet of clay per color. Please note that the thickness of all 3 sheets of clay needs to be the same. Thickness of clay sheets can vary depending on desired end result. We recommend 1/16 of an inch to achieve pen shown.

Combined all three colors of clay in a stack and run through the Sculpey Clay Conditioning Machine on the thickest setting.
*If you do not have a Clay Conditioning Machine you can achieve the same results using an Acrylic Roller.
*If you do not have a Clay Conditioning Machine you can achieve the same results using an Acrylic Roller.

Fold the sheet of clay in half the green clay should be on outside. Using your Acrylic Roller gently roll over the folded sheet. Starting with the folded edge, roll the sheet until you get to the end.

Roll the cane gently on the work surface, moving your hands down the cane from the middle to the ends using an even pressure. Keep rolling the cane until it is 5/8” in diameter
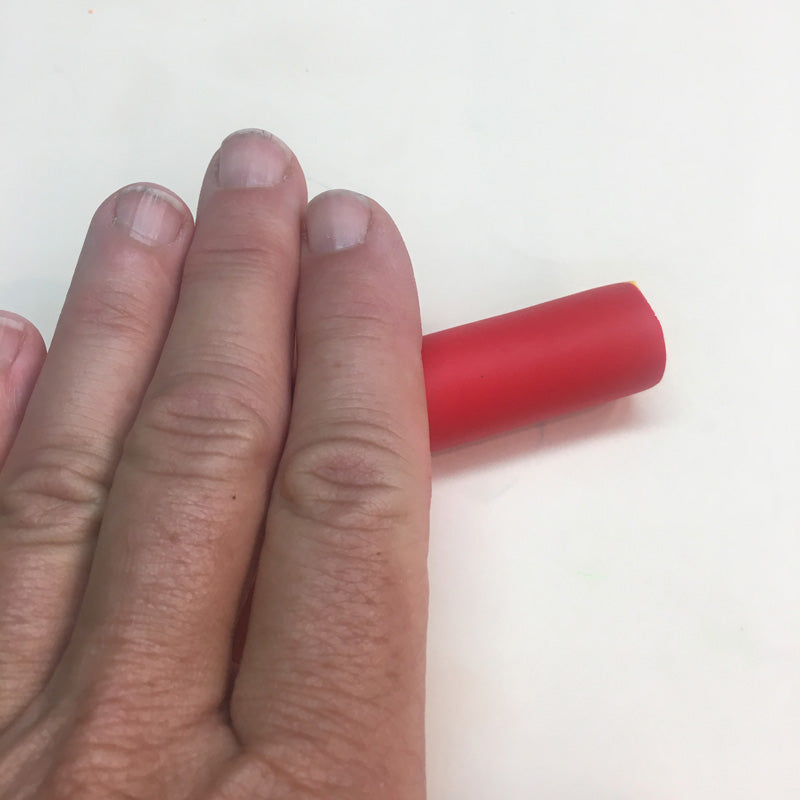
With the slicing blade, gently cut the cane in half to reveal the cool design.

Set 1/2 of the cane aside. Carefully slice pieces from the remaining cane. You’ll need 20-22 slices per pen. It’s important to keep the slices equal in thickness.

Starting at the closed end of the pen barrel, place two slices opposite each other. Place the first two slices so that they extend past the end of the barrel just a little bit. It’s preferable if there’s a little gap between the slices. When you finish the pen later in Step 11 the gaps will fill in. Don’t let the slices overlap each other while putting them in place.
Offset each set of two slices from the previous two so they are staggered all along the length of the barrel. It’s ok if they extend slightly past the open end of the barrel.
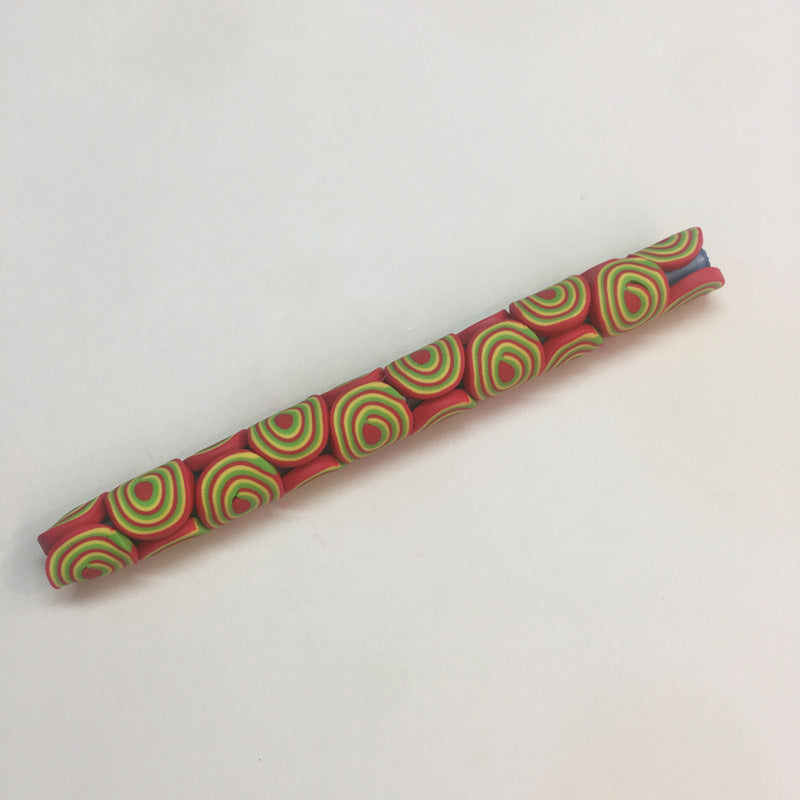
Gently roll the covered pen barrel on your work surface to smooth the slices. As the slices smooth the little gaps will fill in creating a beautiful pattern.
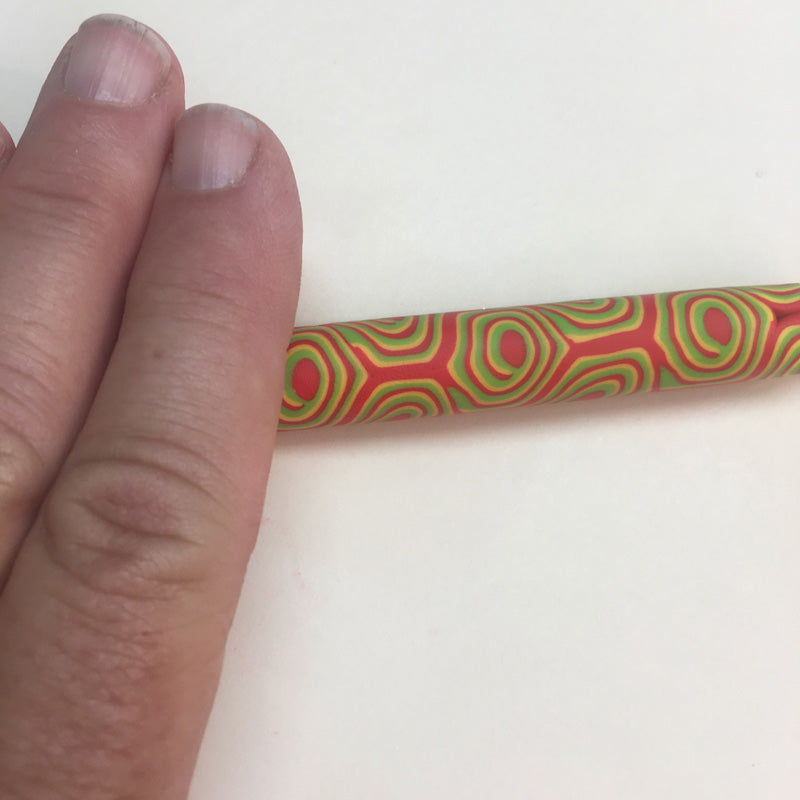
To finish the closed end of the barrel, gently fold the edges of the first two cane slices toward each other and smooth the seam with your fingers.

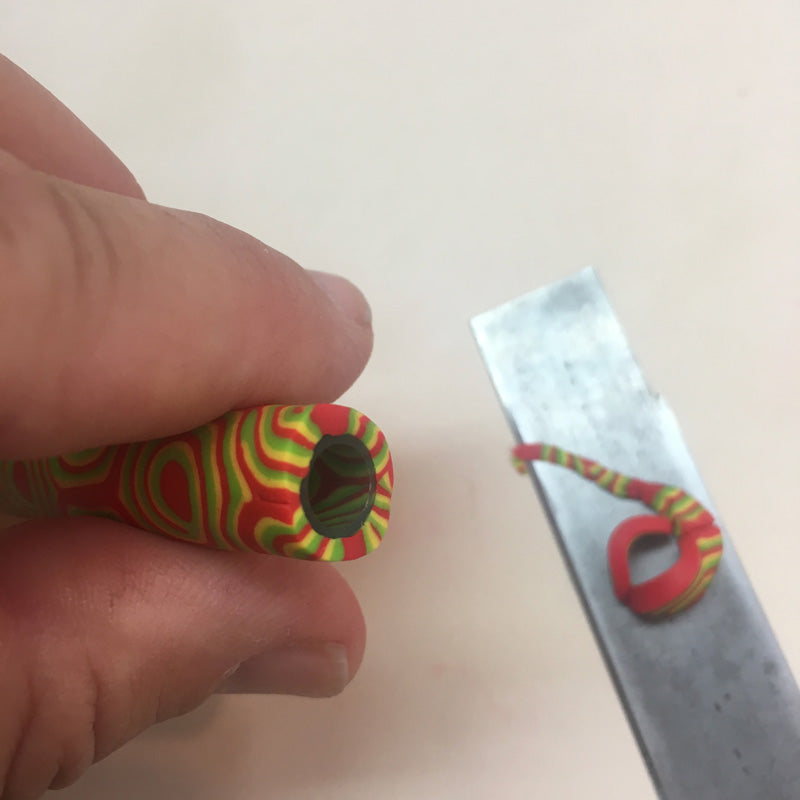
To finish the open end of the barrel, carefully slice the excess clay along the opening with the slicing blade.
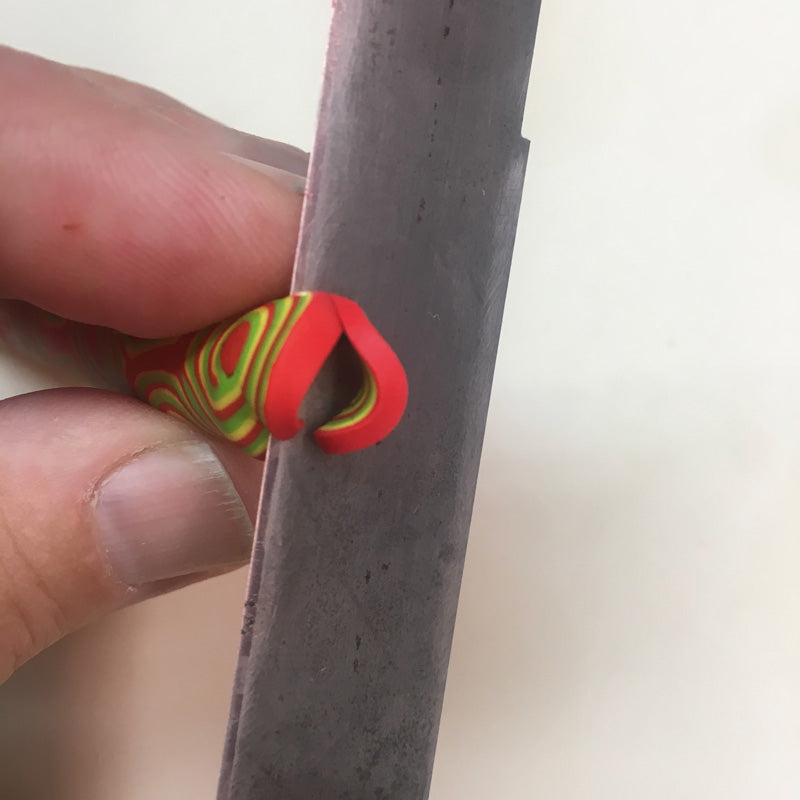
Once the excess is removed, gently smooth the cut edge with your fingers.
Bake the pen barrel according to the baking directions. When the pen barrel is completely cool, you can replace the ink stick. Experiment with all the different color combinations and enjoy!


