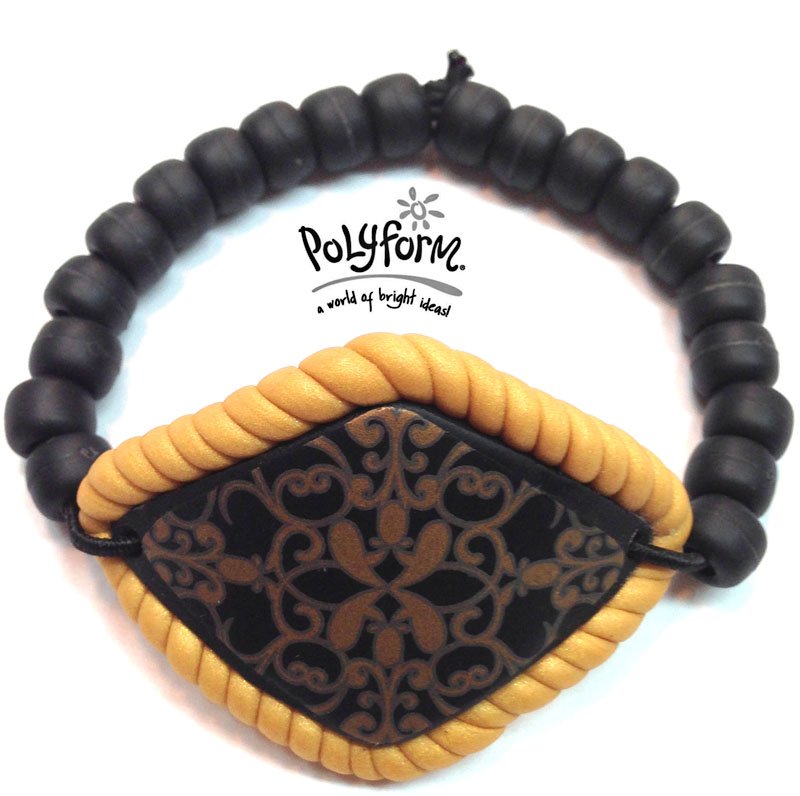
Sculpey® III Filigree Decal Bracelet
Sculpey® III Filigree Decal Bracelet
Read More
Read Less
The curling and twisting lines of Filigree is the inspiration behind this unique piece using the new Clay Decals.
Designed by Amy Koranek
ADDITIONAL SUPPLIES
Small cup of water, Paper towels, Scissors, Pen or pencil, Black stretch elastic (24”), Matte black pony beads (20)|Small cup of water, Paper towels, Scissors, Pen or pencil, Black stretch elastic (24”), Matte black pony beads (20)

Project Instructions
Getting Started:Polymer clay may stain. CLAY MAY DAMAGE UNPROTECTED FURNITURE OR FINISHED SURFACES. DO NOT USE polymer clay on unprotected surfaces. We recommend working on the Sculpey® Work ‘n Bake Clay Mat, wax paper, metal baking sheet, or disposable foil. Start with clean hands and work surface area. Knead clay until soft and smooth. For best results, clean your hands in between colors. Shape clay, pressing pieces together firmly. Bake on oven-proof glass or metal surface at 275°F (130 °C) for 15 minutes per ¼" (6 mm) thickness. For best baking results, use an oven thermometer. DO NOT USE MICROWAVE OVEN. DO NOT EXCEED THE ABOVE TEMPERATURE OR RECOMMENDED BAKING TIME. Wash hands after use. Baking should be completed by an adult. Begin by preheating oven to 275 °F (130 °C). Test temperature with oven thermometer for perfectly cured clay. For best results, condition all clay by running it through the Clay Conditioning Machine for several passes on the widest setting. Fold the clay in half after each pass and insert the fold side into the rollers first.
Sheet Black clay through the Clay Conditioning Machine on the # 1 setting. Fold the sheet in half to make it twice as thick. Gently roll over the folded sheet with the acrylic roller to seal it together. Using the largest diamond cutter, cut out a diamond shape.

Bend the diamond shape over the top of the bangle form. Leave it on the form for the duration of the project so it will be bent.

Using the next largest diamond cutter shape as a guide, trace around the outside of the cutter on the non-cutting side over the area of the decal that you would like to feature on the bracelet.

Carefully cut out the image being sure to remove the line.

Soak the decal in a shallow dish of water for 30 seconds.

Remove the decal from the paper backing and slide it onto the clay piece. Center the decal in the clay piece. Blot away excess water with paper towel. Smooth out air bubbles with the squeegee provided in the kit.

Roll a rope of Jewelry Gold 8” long and 3/16” thick. Double the rope in half. Twist the ropes together. Continue to twist the ropes until they are a little thinner than the Black focus piece.

Cut a starting point at the end of the rope at an angle to match the twists in the rope. Place the rope alongside the edge of the focal piece. Wrap the rope all the way around the focal piece.

Trim the rope again at an angle and finish the wrap so it is complete. Smooth the seam with your finger. Make sure the rope is attached to the focal piece all the way around.

Using the large Etch ’N Pearl tool, poke a hole in each end of the focal piece. Bake the piece on the bangle form according to the directions above and allow to cool completely.

When the piece is completely cool, string the elastic cord through one of the holes. Adjust the cord length to 1/3 of the length coming out one side of the clay piece and 2/3 the length coming out the other side. String 10 pony beads onto both cords.

String 10 more pony beads onto the long cord only and string the long cord through the other hole in the focal piece.

String the long cord back through the last 10 beads so that the cord ends meet in the middle of the beads.

Tie a double knot in the bead cords. Trim and enjoy!


