Skip to product information
1 of 1

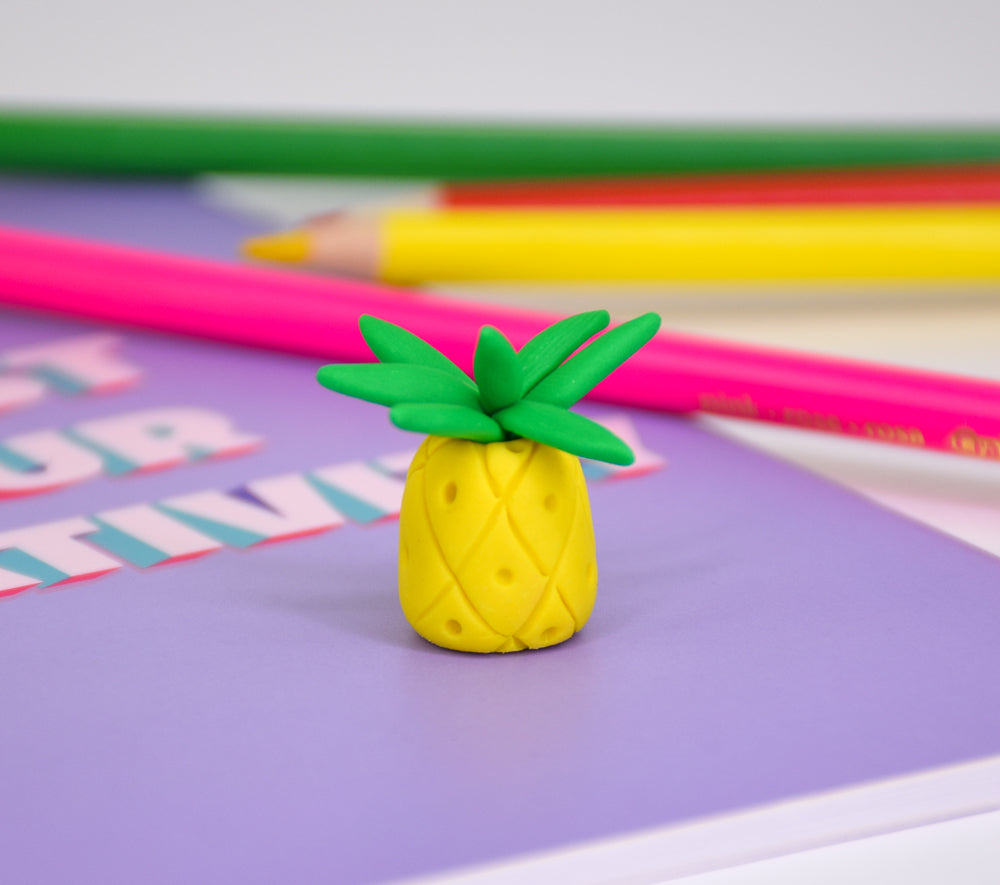
Sculpey Bake Shop Bendy® Miniature Pineapple

Sculpey Bake Shop Bendy® Miniature Pineapple

Designed by Precious Nunez
Read More
This miniature Pineapple makes a fun yet super simple decoration for your desk or work table! It’s great to keep as a stylish fidget to help you out while working. Try out these cool bendy clay features with this tropical pineapple! TIME TO COMPLETION: Approximately 35 minutes
Read Less
View full details
Project Instructions

Step 1

Getting Started with Getting Started with Sculpey® Bake Shop

Bake at 275 °F (130 °C) 15 minutes per 1/4 inch (6 mm) thickness.

To avoid cracking or burning your craft, use an oven thermometer to gauge heat and avoid going over the necessary baking time.

An adult should take care of the baking in a home oven or toaster oven. Never use a microwave to bake the clay.

DO NOT EXCEED THE ABOVE TEMPERATURE OR RECOMMENDED BAKING
TIME.

Please make sure your work area is covered and you are not working on an unprotected surface. We recommend working on the Sculpey Tools™ Oven-Safe Work Mat, wax paper, metal baking sheet, or disposable foil. Uncured clay may damage unprotected furniture or finished surfaces. Be sure to cover your crafting area appropriately.

Step 2

Roll a piece of yellow clay into a ball depending on which size you’d like your pineapple to be .

Step 3

Slightly roll the ball into a tear drop shape making the other end rounded. Gently flatten the bottom of the pineapple so its easier to stand up.

Step 4

Take the flattened spatula tool and make curved indents from the top to the bottom of the pineapple as shown here.

Step 5

In between each cross section, take a small dotting tool and make indents throughout the pineapple.

Step 6

Take a larger dotting tool and make a crater at the top of the pineapple, this is where the leave will stick.

Step 7

Shape eight pineapple leaves out of green clay. More than eight may be added for a fuller look

Step 8

Take three leaves and place them across each other in the crater, take a small dotting tool to secure the leaves to the middle of the crater.
Add more leaves surrounding the first 3 to create the fuller look you desire .

Bake/cure according to the directions in Step 1 above. Enjoy!