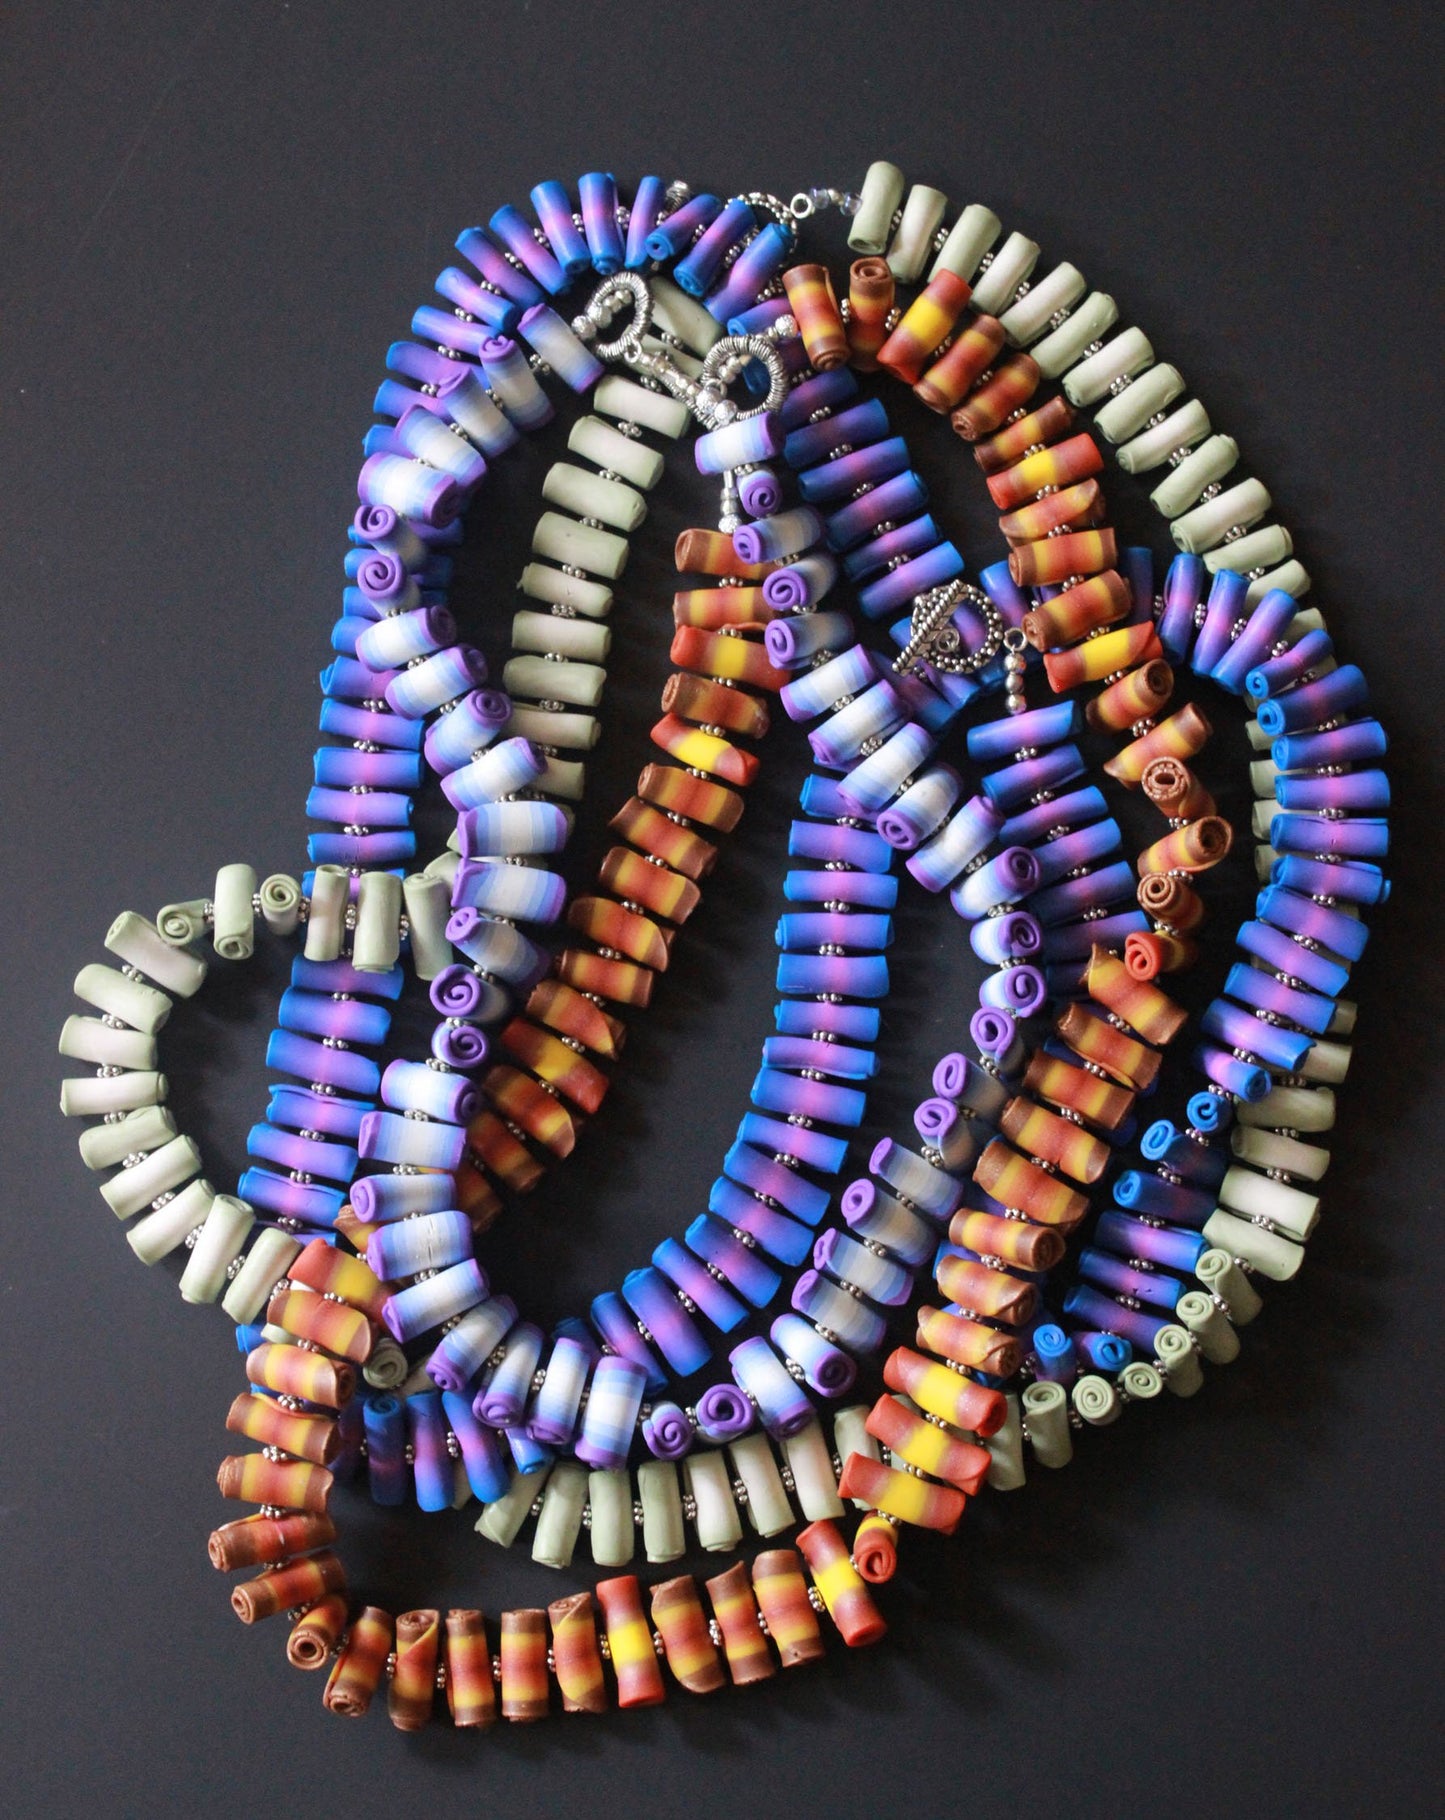
premo! Sculpey Illusions Necklace
premo! Sculpey Illusions Necklace
Read More
Easy-Peasy Necklaces! Created by Kathy Weaver these necklaces are dramatic and funky at the same time. Once you know "how" there are truly easy-peasy. Prior knowledge of Skinner Blend Stacks and/or Skinner Blend Plugs is necessary.
Read Less
ADDITIONAL SUPPLIES
Your favorite stringing supplies and clasp|Your favorite stringing supplies and clasp

Project Instructions
Getting StartedPolymer clay may stain. CLAY MAY DAMAGE UNPROTECTED FURNITURE OR FINISHED SURFACES. DO NOT USE polymer clay on unprotected surfaces. We recommend working on the Sculpey® Work ‘n Bake Clay Mat, wax paper, metal baking sheet, or disposable foil. Start with clean hands and work surface area. Knead clay untilsoft and smooth. For best results, clean your hands in between colors. Shape clay, pressing pieces together firmly. Bake on oven-proof glass or metal surface at 275°F (130 °C) for 30 minutes per ¼" (6 mm) thickness. For best baking results, use an oven thermometer. DO NOT USE MICROWAVE OVEN. DO NOT EXCEED THE ABOVETEMPERATURE OR RECOMMENDED BAKING TIME. Wash hands after use. Baking should be completed by an adult. Begin by preheating oven to 275 °F (130 °C). Test temperature with oven thermometer for perfectly cured clay. For best results, condition all clay by running it through the Clay Conditioning Machine for several passes on the widest setting. Fold the clay in half after each pass and insert the fold side into the rollers first.
Create your Skinner Blend Stack, then cut the stack in half. Reassemble by creating a mirror image. You can choose the light in the center or the darker color inside. It’s your choice! I have found that your stack doesn’t need to be perfect, and sometimes little differences make the necklace more interesting.


Reduce your cane. It is not necessary to trim off edges; once again, the ragged edges can be appealing. I try to reduce down to ½” x ½” cane, or ¾” x ¾” cane.

One at a time, put all your pieces through the pasta machine at a thin setting. I am using #6 on my machine. Make sure that you run the slices AS SHOWN in the photo. Make sure that you are putting all colors through the machine, not a solid color. If any of the pieces come out a little wonky, remember that clay is a forgiving medium. Just tug the shorter side up to meet the other. Or, if you prefer, trim the edge that is not perfect.


Roll all your pieces into cute little roll up beads! Pierce your beads with Polyform Bead Piercing Tool, putting 5-6 beads on each tool, and use the Bead Baking rack for ease. Bake as directed above.


Use your favorite stringing style to whip up these fun necklaces. I use a small spacer bead or seed bead in between each clay bead. These are simple, fun, and eye catching necklaces!!

