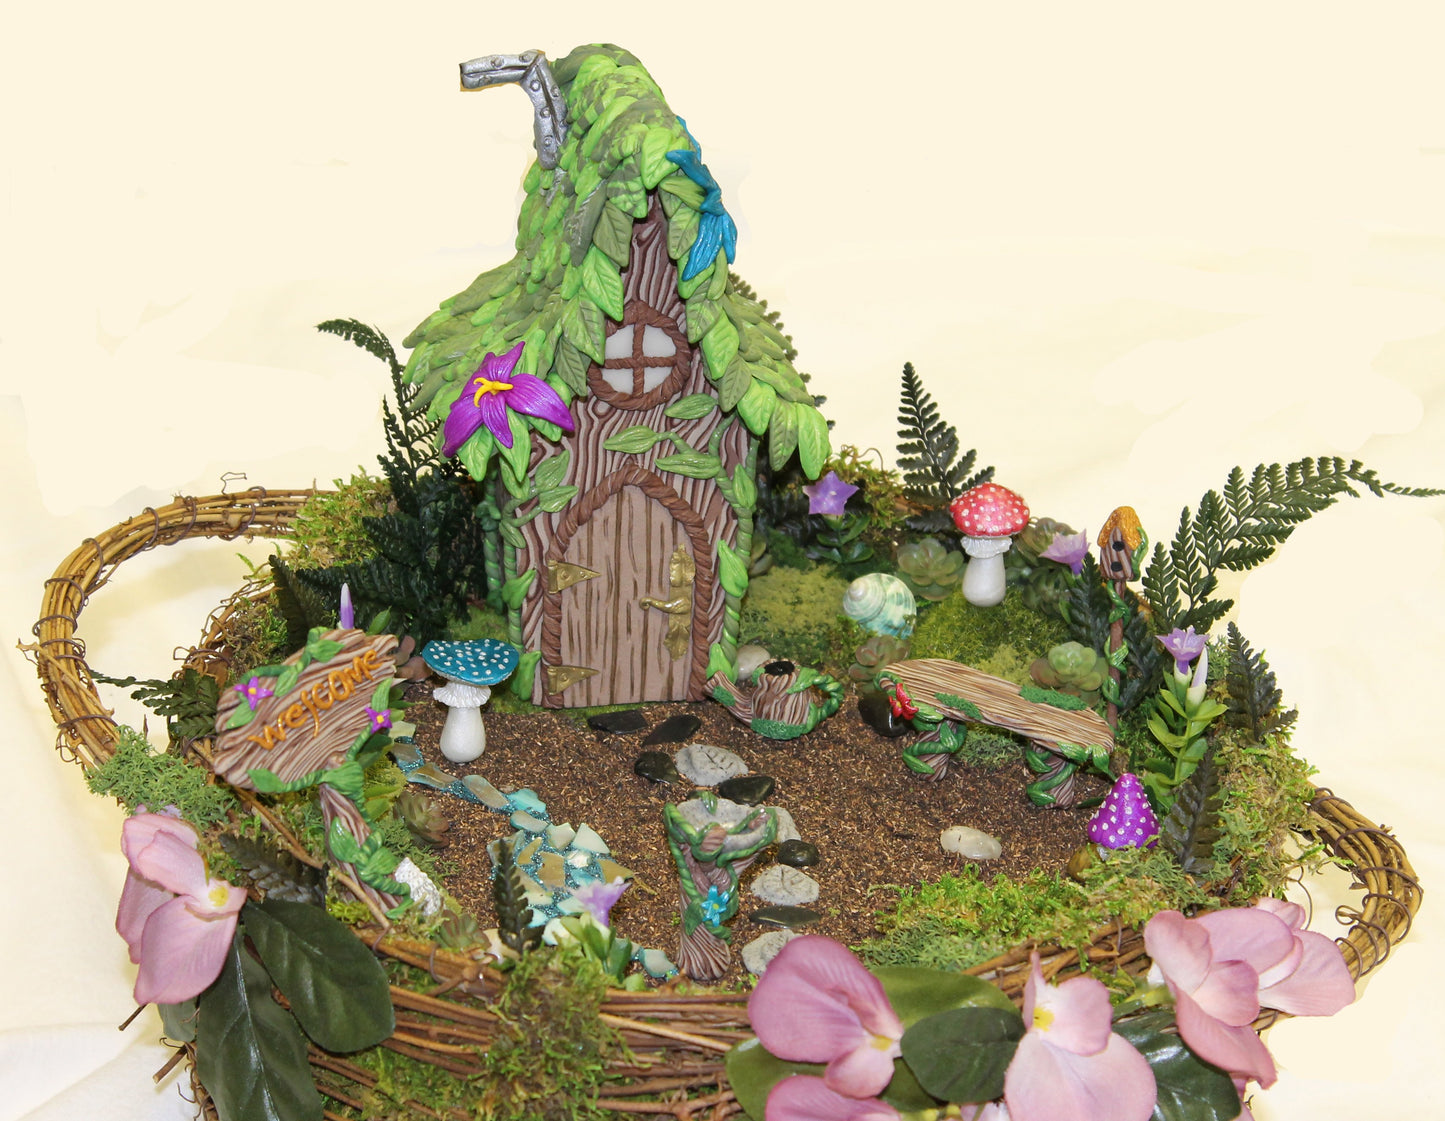
premo! Sculpey Fairy Garden
premo! Sculpey Fairy Garden
Read More
Create a fantasy where your imagination can roam. Trolls and gnomes and fairies will flock to your Fairy Garden.
Created by Alisha Fusco, http://minifanaticus.blogspot.com
Read Less
ADDITIONAL SUPPLIES
Hard bristle paintbrush
Small angled paint brush
X-ACTO Blade
Toothpicks or metal wire
Wood glue
Small unfinished wooden birdhouse: Pre-bake at 275 degrees for 15 minutes to dry. Allow to cool thoroughly before covering.|Hard bristle paintbrush
Small angled paint brush
X-ACTO Blade
Toothpicks or metal wire
Wood glue
Small unfinished wooden birdhouse: Pre-bake at 275 degrees for 15 minutes to dry. Allow to cool thoroughly before covering.

Project Instructions
Do not use unbaked clay on unprotected furniture or finished surfaces. Start with clean hands and work surface area. Good work surfaces include wax paper, metal baking sheet, or disposable foil. Knead clay until soft and smooth. For best results, clean your hands in between colors. Shape clay, pressing pieces together firmly. Bake on oven-proof glass or metal surface at 275°F (130°C) for 30 minutes per ¼" (6 mm) thickness. For best baking results, use an oven thermometer. DO NOT USE MICROWAVE OVEN. DO NOT EXCEED THE ABOVE TEMPERATURE OR RECOMMENDED BAKING TIME. Wash hands after use. Baking should be completed by an adult. Begin by preheating oven to 275°F (130 °C). Test temperature with oven thermometer for perfectly cured clay. For best results, condition all clay by running it through the clay dedicated pasta machine several passes on the widest setting. Fold the clay in half after each pass and insert the fold side into the rollers first.
Roll White Translucent to a # 1 on the Clay Conditioning machine. Make sure the sheet almost wraps around your selected votive.
Carefully lay the Gold Leaf foil sheet on the clay. Use your fingers to smooth out the foil. It will definitely have wrinkles in it – no problem.

Roll the sheet through the Clay Conditioning Machine on the #2 setting.

Roll the sheet through the Clay Conditioning Machine on the #5 setting.

You’ll be wrapping the sheet of clay around the votive. While the sheet is still on your work surface, use the Super Slicer to cut a straight edge to start with. Lay the edge on the votive and carefully wrap the sheet around making sure to smooth and shape with your hands as you go around. When your clay meets the beginning edge, overlap the edge slightly and trim the clay with a scissor, yes a scissor. Now use your Super Slicer and cut through the overlapping seam. Remove the excess bottom piece and the excess top piece. Smooth the seam with your fingers. Trim the top and bottom of the clay so there is a smooth edge. Bake as directed above.


