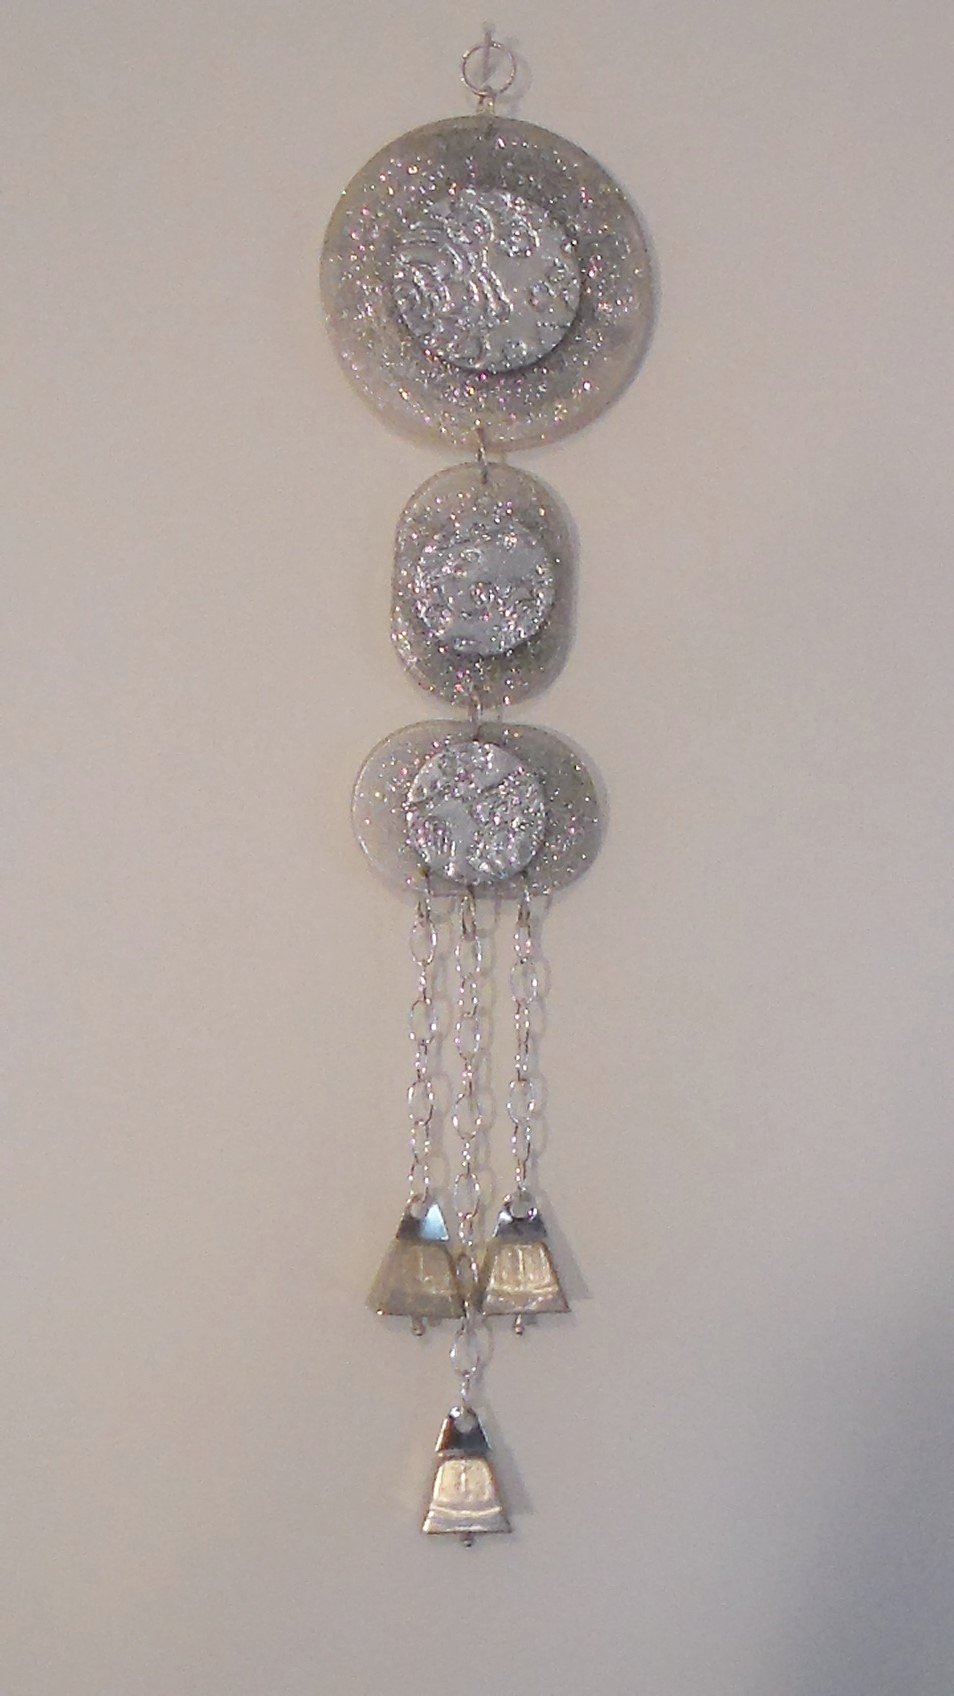
premo! Mixed Media Wind Chime
premo! Mixed Media Wind Chime
Read More
Whether you’re into jingle or bling, this fun project is perfect for you. Make a silvery one like this or go wild with color! It’s so easy you’ll want to make several.
Read Less
ADDITIONAL SUPPLIES
4 ounces ICE Resin
Fine silver glitter
Fast drying clear glue
7 - 15mm silver jump rings
12” lenghth - silver chain
Three 1 inch cow bells
1 - Sour cream lid
2 - Crystal Light lids
Pliers
Pin Drill or electric drill|4 ounces ICE Resin
Fine silver glitter
Fast drying clear glue
7 - 15mm silver jump rings
12” lenghth - silver chain
Three 1 inch cow bells
1 - Sour cream lid
2 - Crystal Light lids
Pliers
Pin Drill or electric drill

Project Instructions
Getting Started:Polymer clay may stain. CLAY MAY DAMAGE UNPROTECTED FURNITURE OR FINISHED SURFACES. DO NOT USE polymer clay on unprotected surfaces. We recommend working on the Sculpey® Work ‘n Bake Clay Mat, wax paper, metal baking sheet, or disposable foil. Start with clean hands and work surface area. Knead clay until soft and smooth. For best results, clean your hands in between colors. Shape clay, pressing pieces together firmly. Bake on oven-proof glass or metal surface at 275°F (130 °C) for 30 minutes per ¼" (6 mm) thickness. For best baking results, use an oven thermometer. DO NOT USE MICROWAVE OVEN. DO NOT EXCEED THE ABOVE TEMPERATURE OR RECOMMENDED BAKING TIME. Wash hands after use. Baking should be completed by an adult. Begin by preheating oven to 275 °F (130 °C). Test temperature with oven thermometer for perfectly cured clay. For best results, condition all clay by running it through the Clay Conditioning Machine for several passes on the widest setting. Fold the clay in half after each pass and insert the fold side into the rollers first.
Fill the round lid and oval lids ½ full with approximately 2oz of ICE resin. Set aside.
Roll a sheet of Sculpey Premo! Accents Silver on the Number 1 (thickest) setting of your clay conditioning machine.
Texture the sheet and cover it in silver glitter. Shake off excess.

Cut out two 2” rounds and four 1½ inch rounds. Bake at 275 for 30 minutes.

Pour a layer of glitter into each lid. Mix the remaining two ounces of resin and fill the molds to the top. Allow to harden overnight.
Glue the textured rounds onto both sides of the three lids.
Remove resin from molds. Drill a hole in the center top and bottom of the round disk and vertically in center top and bottom of one of the ovals. Drill a hole in the horizontal center of the other oval, and three holes across the bottom of the horizontal oval.

Assembling your wind chime:Open rings with pliers and place them in all of the holes you have drilled to connect the disks together. Attach chains to the three rings at the bottom of the horizontal oval. Add the bells on the chain ends.Hang your wind chime and enjoy the sparkly beauty and sweet sound of your new creation.

