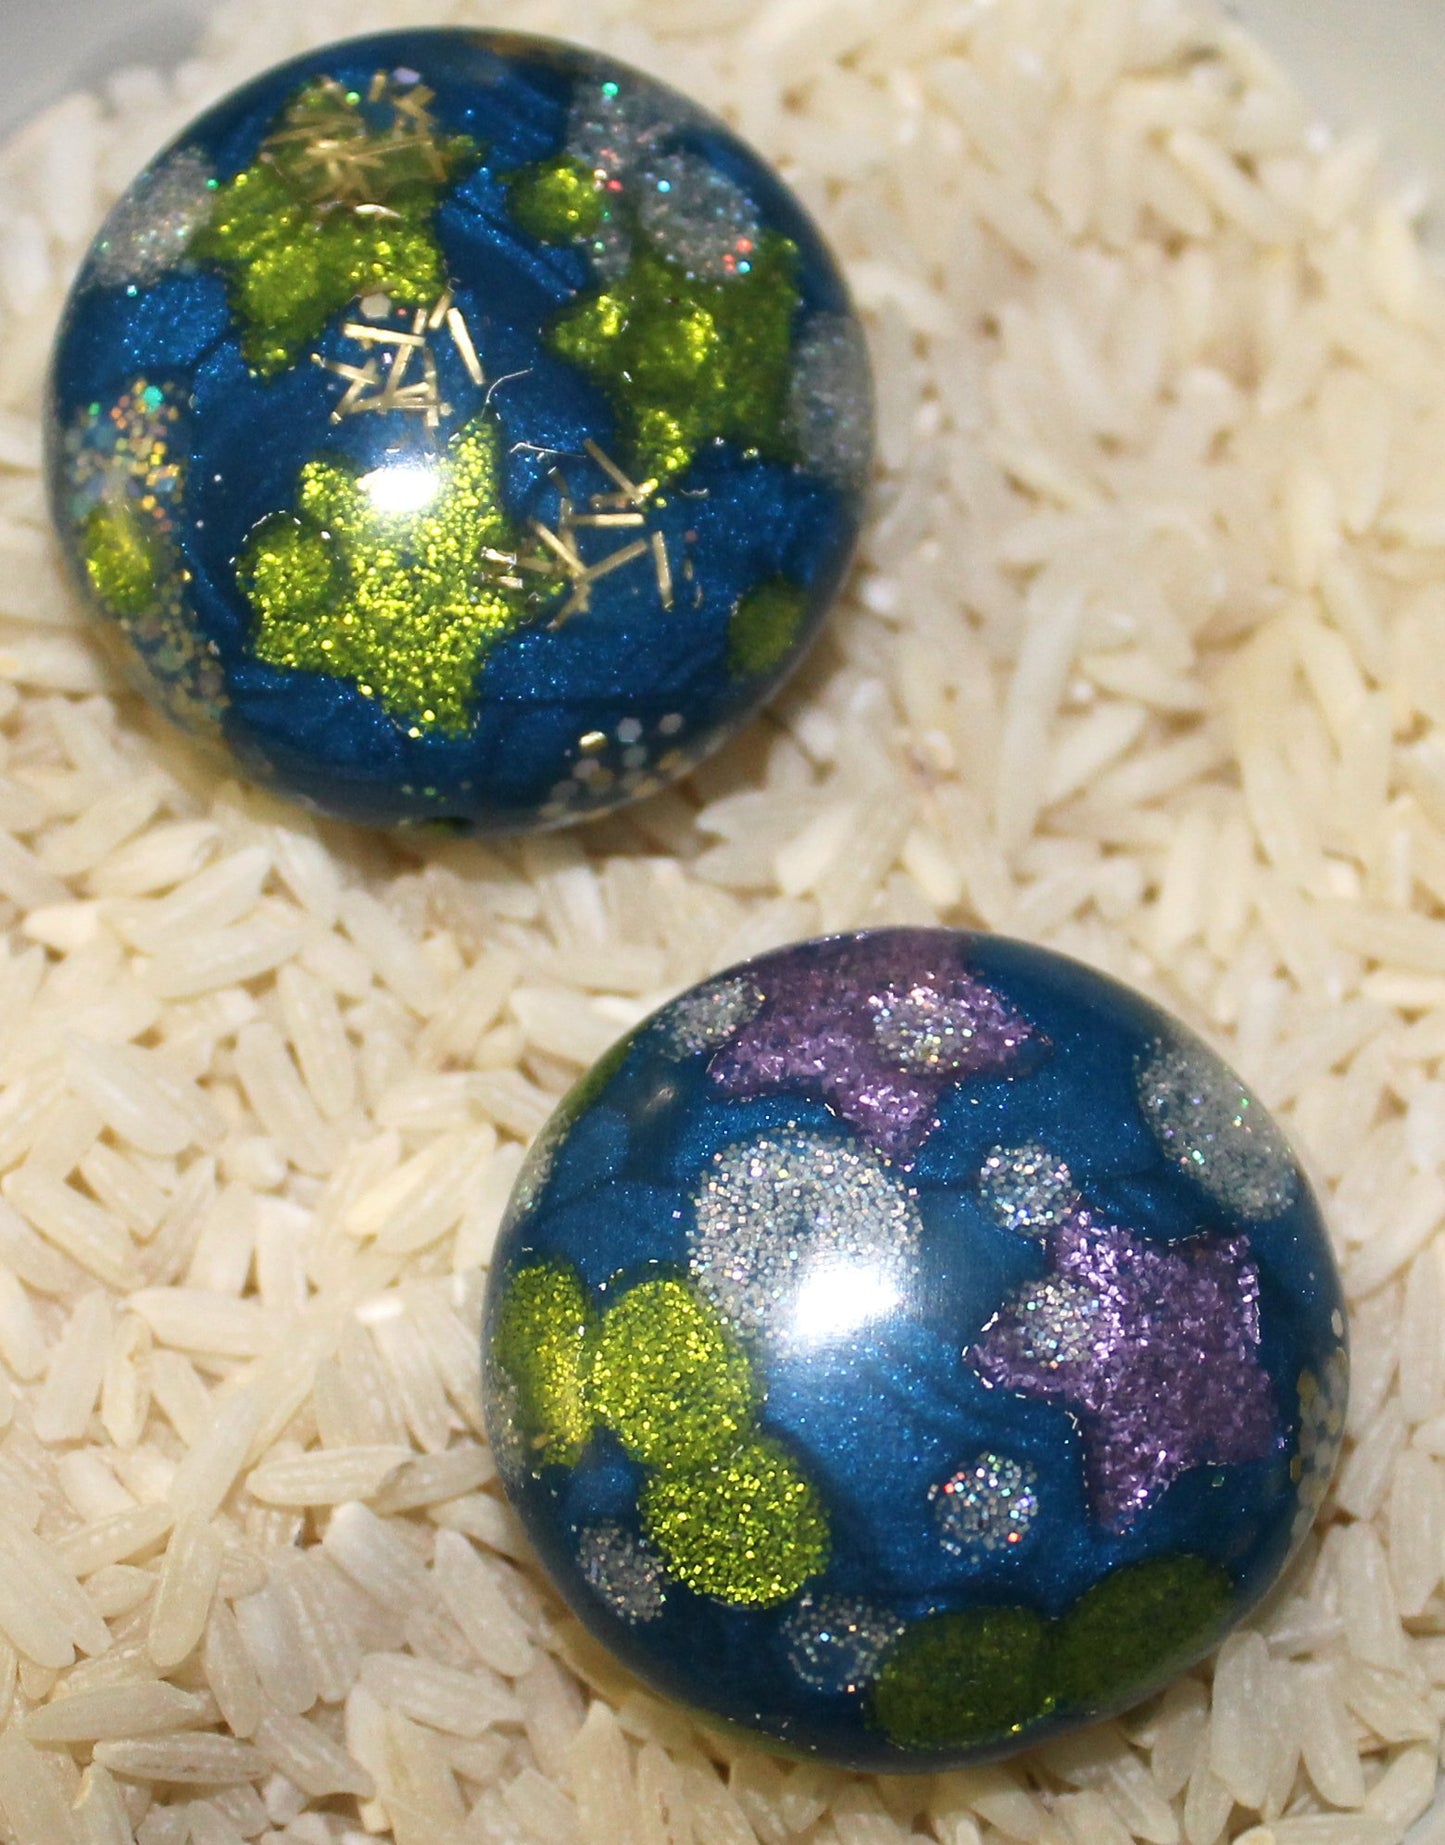
premo! Galaxy Beads
premo! Galaxy Beads
Read More
by Jenny Bezingue
Make a polymer clay bead that looks like glass. The secret is pearl and translucent clays that are combined with glitter, then baked, sanded and buffed to a reflective shine.
Read Less
ADDITIONAL SUPPLIES
Waxed or deli paper, 4-6 colors polyester glitter (do not use aluminum glitter), Craft knife, Tiny shape cutters, Baking sheet with polyester fiberfill, Electric buffing machine with unstitched muslin wheel,Safety glasses|Waxed or deli paper, 4-6 colors polyester glitter (do not use aluminum glitter), Craft knife, Tiny shape cutters, Baking sheet with polyester fiberfill, Electric buffing machine with unstitched muslin wheel,Safety glasses

Project Instructions
GETTING STARTEDDo not use unbaked clay on unprotected furniture or finished surfaces. Start with clean hands and work surface area. Good work surfaces include wax paper, metal baking sheet, or disposable foil. Knead clay until soft and smooth. For best results, clean your hands in between colors. Shape clay, pressing pieces together firmly. Bake on oven-proof glass or metal surface at 275 °F (130 °C) for 30 minutes per 1/4” (6 mm) thickness. For best baking results, use an oven thermometer. DO NOT USE MICROWAVE OVEN. DO NOT EXCEED THE ABOVE TEMPERATURE OR RECOMMENDED BAKING TIME. Wash hands after use. Baking should be completed by an adult. Begin by preheating oven to 275 °F (130 °C). Test temperature with oven thermometer for perfectly cured clay. For best results, condition all clay by running it through the clay dedicated pasta machine several passes on the widest setting. Fold the clay in half after each pass and insert the fold side into the rollers first.
Make ¾"-1" diameter base bead. The darker the color, the more "pop" the glitter will have, so mix a pea-sized ball of ultramarine blue clay into the peacock pearl clay. Mix the color thoroughly, roll into a long snake and twist it. Roll the twisted snake into a ball. This creates swirls in the base bead that will show after the bead is sanded.

Make the glitter sheets. Cut ½ block of translucent clay into slices and condition just until flexible. Roll through clay conditioning machine on successively thinner settings to the #7 setting, about 4" x 8". Lay clay sheet on waxed or deli paper. Pour small piles of glitter on the sheet. Rub the glitter into the clay sheet, creating an even coating of glitter on the sheet. Shake off excess glitter.

Using shape cutters and knife, cut pieces from the glitter sheet, and place them glitter side down on the base bead. Press the appliques firmly into the bead until they are level with the surface. Cover half or more of the bead without overlapping. Roll the base bead between your palms until the appliques are fully incorporated into the surface, with no seams visible between the translucent and colored clay. Add a second layer of appliques, pressing into the surface of the bead. Connect the elements and create groups of shapes.

When bead is covered, roll into a smooth, even surface with no seams around the appliques. There may be excess glitter on the surface of the bead, but don't worry about it – you will sand it off after baking. Place the bead in the palm of your hand with an attractive side facing up. Gently press down on the bead with your other palm, turning the bead, and flipping it over as you press each time to create a lentil-shaped large bead. Use the bead making kit needle tool to drill a hole through the bead. Bake for 45 minutes on the fiber pad from the bead making kit. When bead is fully baked, remove it from the oven and place immediately in a bowl of ice water. Thick polymer clay pieces sometimes crack while baking or cooling because the core of the piece cools more slowly than the outside, and the outside cracks as it cools and contracts. Quenching in cold water helps the entire bead reach a cool temperature at once, minimizing or eliminating cracks.

Put one each of the 4 grits of sandpaper into a bowl of water to soak. When bead is cool enough to handle, sand with wet-dry sandpaper. Begin with the coarsest 400 grit, sanding the surface of the bead until smooth and the glitter appliques come into sharp focus. If needed, spot-sand the appliques that are less clear. When the bead is smooth, sand with the successive grits of sandpaper through 1,000 grit. Wearing safety glasses, buff bead at medium speed until surface is glass-like.


TIPS

