
Premo! Fantasy Owl Journal Cover/Art Piece
Premo! Fantasy Owl Journal Cover/Art Piece
Read More
Read Less
Create this journal cover for your BFF, that budding author in the family, or just as a spectacular gift for someone special!
Design by Velvetorium
ADDITIONAL SUPPLIES
Ceramic tile/wax paper to work on, Black acrylic paint, Paint brush, Wet wipes, Glass rhinestone, Xacto knife/utility blade, Eyes (these are 25mm glass cabochons painted with acrylic paint).|Ceramic tile/wax paper to work on, Black acrylic paint, Paint brush, Wet wipes, Glass rhinestone, Xacto knife/utility blade, Eyes (these are 25mm glass cabochons painted with acrylic paint).

Project Instructions
Getting StartedPolymer clay may stain. CLAY MAY DAMAGE UNPROTECTED FURNITURE OR FINISHED SURFACES. DO NOT USE polymer clay on unprotected surfaces. We recommend working on the Sculpey clay mat, wax paper, metal baking sheet, or disposable foil. Start with clean hands and work surface area. Knead clay until soft and smooth. For best results, clean your hands in between colors. Shape clay, pressing pieces together firmly. Bake on oven-proof glass or metal surface at 275°F (130 °C) for 30 minutes per ¼" (6 mm) thickness. For best baking results, use an oven thermometer. DO NOT USE MICROWAVE OVEN. DO NOT EXCEED THE ABOVE TEMPERATURE OR RECOMMENDED BAKING TIME. Wash hands after use. Baking should be completed by an adult.Begin by preheating oven to 275 °F (130 °C). Test temperature with oven thermometer for perfectly cured clay. For best results, condition all clay by running it through the Clay Conditioning Machine for several passes on the widest setting. Fold the clay in half after each pass and insert the fold side into the rollers first.
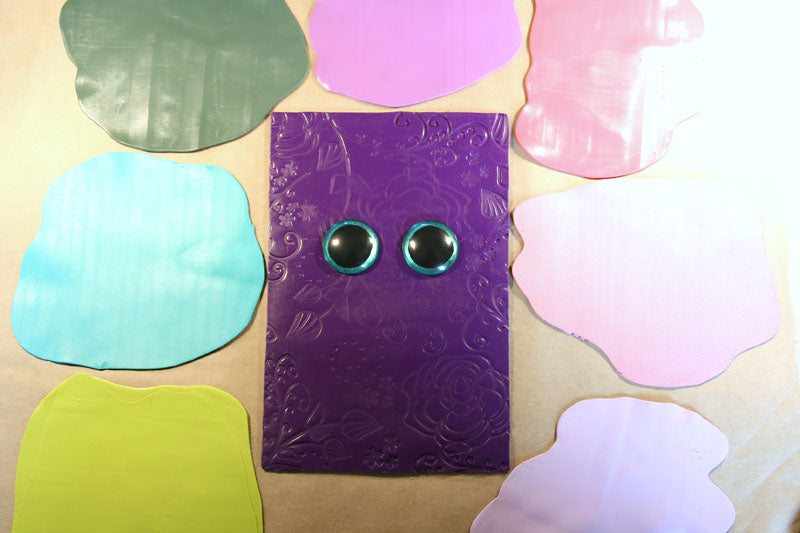
Roll out some Purple clay on the thickest level of your clay conditioning machine and cut to A6 size (NOTE: A6 is 105 × 148 millimeters or 4.13 × 5.83 inches)

Use a floral Sculpey texture sheet on your clay

Roll out your other clay colors on level 4 on your clay conditioning machine and decide where your glass eyes will be placed
Cut out some feather shapes. Here, I used a cutter from the Premo Mini Metal Cutters set.

It would be useful to sketch the outline of your owl’s shape with a ball tool before you begin, then start placing your feathers! You can place the colors however you like, but I am starting with Wasabi.

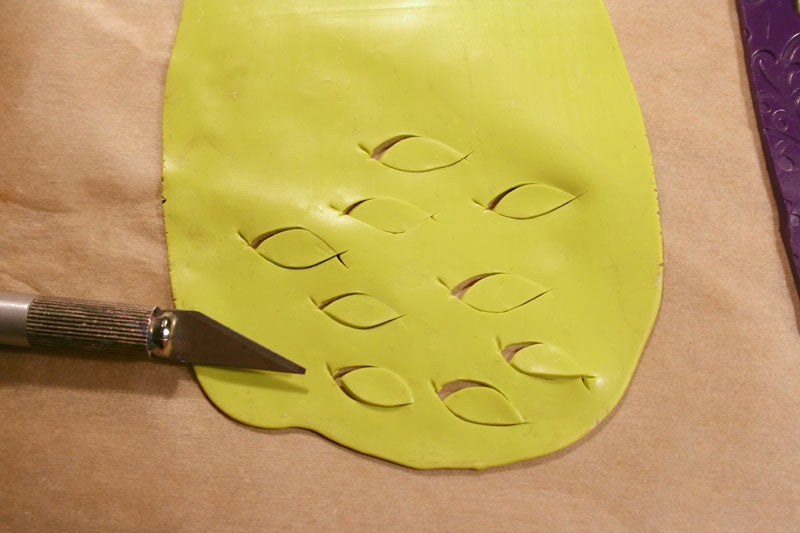
Add texture to the feathers with an Xacto knife or utility blade. Drag your blade gently down the middle of your feather (not too hard; we don’t want to cut it in half) and then complete the texture by pressing into the clay at an angle all along each side, as shown here.

Continue with this process, using a different color for each row, until the chest is complete!

For the head feathers, we are going to cut them by hand with our blade as we need them to be of varying sizes.
Roll out some purple clay at level 4 on your clay conditioning machine and cut two semi-circles. Place these over the eyes as shown and blend into the surrounding clay. We will texture these eyelids later; for now, start adding your smaller feathers to the head. Start from the outside and work your way in towards the eyes.

Use the flat Flexible Tip Shaper end of your Sculpey Style and Detail Tools to flatten the feathers around the eyes so that we can add detail here later.

Remember to texture your feathers as you go!

Roll out a long cone-like shape of Jungle clay, flatten the sides with your fingers and add 2 nostrils. This will be the owl’s beak.

Place small balls of purple clay around the eyes and press into them with a ball tool. These will help hold the eyes in place and also cover the bottom of the feathers.

Create a dot border around the whole owl with your ball tool.

Now is the time for finishing touches before baking! Add texture to the eyelids by creating lots of vertical lines with your blade, place the beak and add any other embellishments such as rhinestones. Bake according to the directions in Step 1.

Now that your owl is baked, we need to accentuate the small details. Cover your piece in black acrylic paint (don’t cover too much at once; work in small areas).

Wipe the excess paint from the high surfaces with a wet wipe. The paint will remain in the crevices and create an ‘antiqued’ look.

Glaze if you like, and you’re done! You can now glue your creation to a journal or into a nice frame.
