
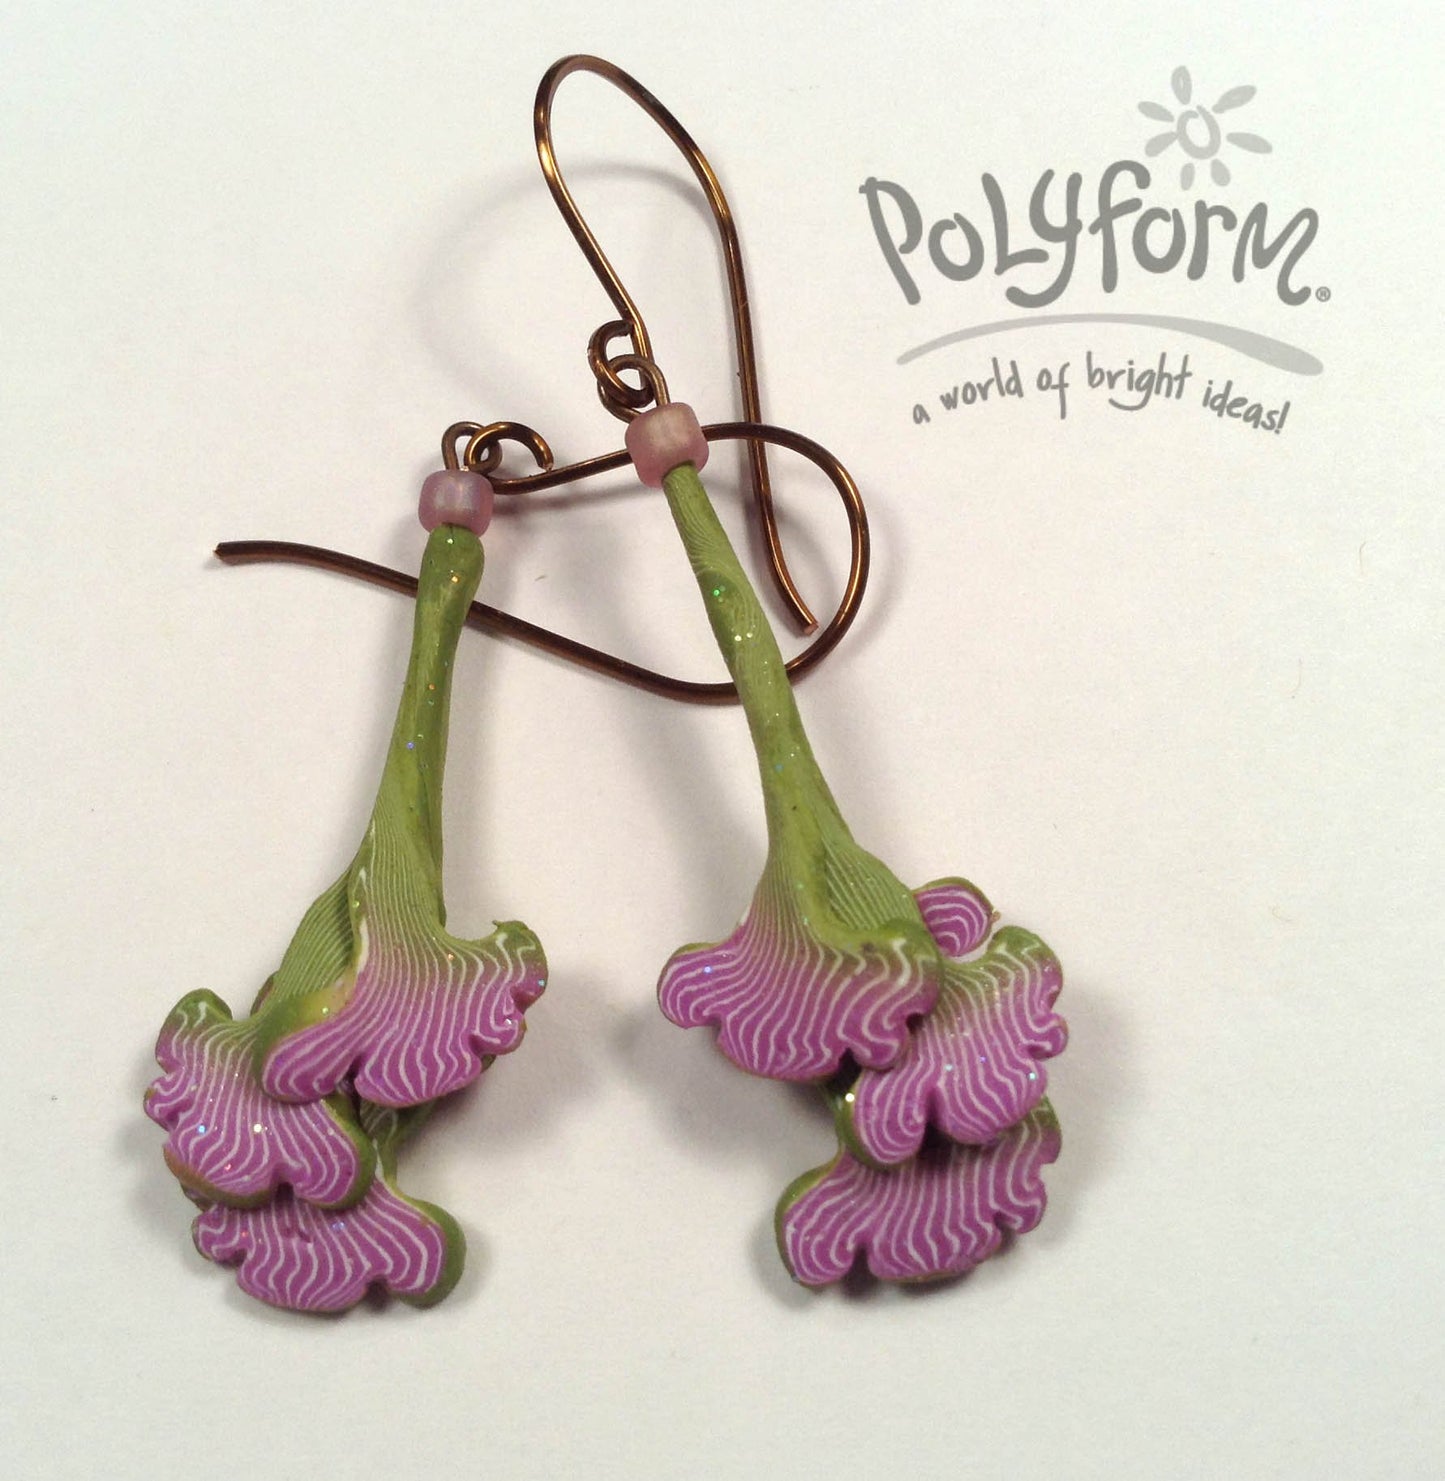
Premo! Extruded Tassel Blossom Earrings
Premo! Extruded Tassel Blossom Earrings
Read More
Designed by Mari O'Dell
The extruder is a marvelous addition to any polymer artist's toolbox. The Artway A.C.E. has been my favorite tool for over fourteen years. Designing custom disks for this tool has allowed me to expand my creative horizons. This project allows me to share my love for this tool and a technique I developed that permits the extrusion of a shape which has a consistent patterned design running throughout its length.
Read Less
ADDITIONAL SUPPLIES
glass work surface, Artway Tools A.C.E. extruder and tassel blossom 2 design disk (available from Polymer Clay Express), 2 head pins and two ear wires, small glass beads for finishing, some bakeable ultra fine glitter (optional, but it adds a nice touch)|glass work surface, Artway Tools A.C.E. extruder and tassel blossom 2 design disk (available from Polymer Clay Express), 2 head pins and two ear wires, small glass beads for finishing, some bakeable ultra fine glitter (optional, but it adds a nice touch)
Project Instructions
Getting StartedPolymer clay may stain. CLAY MAY DAMAGE UNPROTECTED FURNITURE OR FINISHED SURFACES. DO NOT USE polymer clay on unprotected surfaces. We recommend working on the Sculpey clay mat, wax paper, metal baking sheet, or disposable foil. Start with clean hands and work surface area. Knead clay until soft and smooth. For best results, clean your hands in between colors. Shape clay, pressing pieces together firmly. Bake on oven-proof glass or metal surface at 275°F (130 °C) for 30 minutes per ¼" (6 mm) thickness. For best baking results, use an oven thermometer. DO NOT USE MICROWAVE OVEN. DO NOT EXCEED THE ABOVE TEMPERATURE OR RECOMMENDED BAKING TIME. Wash hands after use. Baking should be completed by an adult.Begin by preheating oven to 275 °F (130 °C). Test temperature with oven thermometer for perfectly cured clay. For best results, condition all clay by running it through the Clay Conditioning Machine for several passes on the widest setting. Fold the clay in half after each pass and insert the fold side into the rollers first.
To create the green, mix 2 parts of Spanish Olive with 1 part of Wasabi. After it is somewhat blended, add some glitter to the mix , fold ,seal and continue to condition. Set aside.
Sheet the Wisteria, mixing in a little of the bakeable glitter, if you are using glitter in the project.
Condition the white and roll into a sheet on the medium setting of the Clay Conditioning Machine. Trim into a 9.5" long x 2 3/4" wide sheet. Set aside.
Form the Premo! Wisteria into a tear drop shape . Repeat with the Pearl and then the blended Green. Assemble as shown and press together. Because the blended Green is 1 1/2 oz , the Green tear drop will be longer and larger than the others. Trim off the extra...this should make a 1" ball. Set aside for use later in the project.

Roll with the acrylic rod and press and pinch with your hands to make a pad of clay that is about 2" wide. Use the Clay Conditioning Machine to roll to blend, fold, and continue to create a blended sheet.

Roll up this sheet so that one side is Wisteria and the other side is Green. Pinch the blend to create a 2 1/4" wide by 4 1/2" long plug which is 2x the thickness of the widest Clay Conditioning Machine setting.

Place the blended plug on the white sheet as shown. Set the Clay Conditioning Machine to its widest setting and pass the "open faced clay sandwich through the PM vertically. This will make a long strip with rough edges. Trim off the excess white and clean up the other edges. Cut this in half and stack then roll the stack through the widest setting of the Clay Conditioning Machine vertically. trim , stretch and stack. Continue to cut and stack until you have a block which is about 1' wide x 1 1/2" tall. You have created a simple stacked loaf.


Pinch this loaf into a circle . Stretch, pinch and roll until you have a 1" diameter stripe cane.