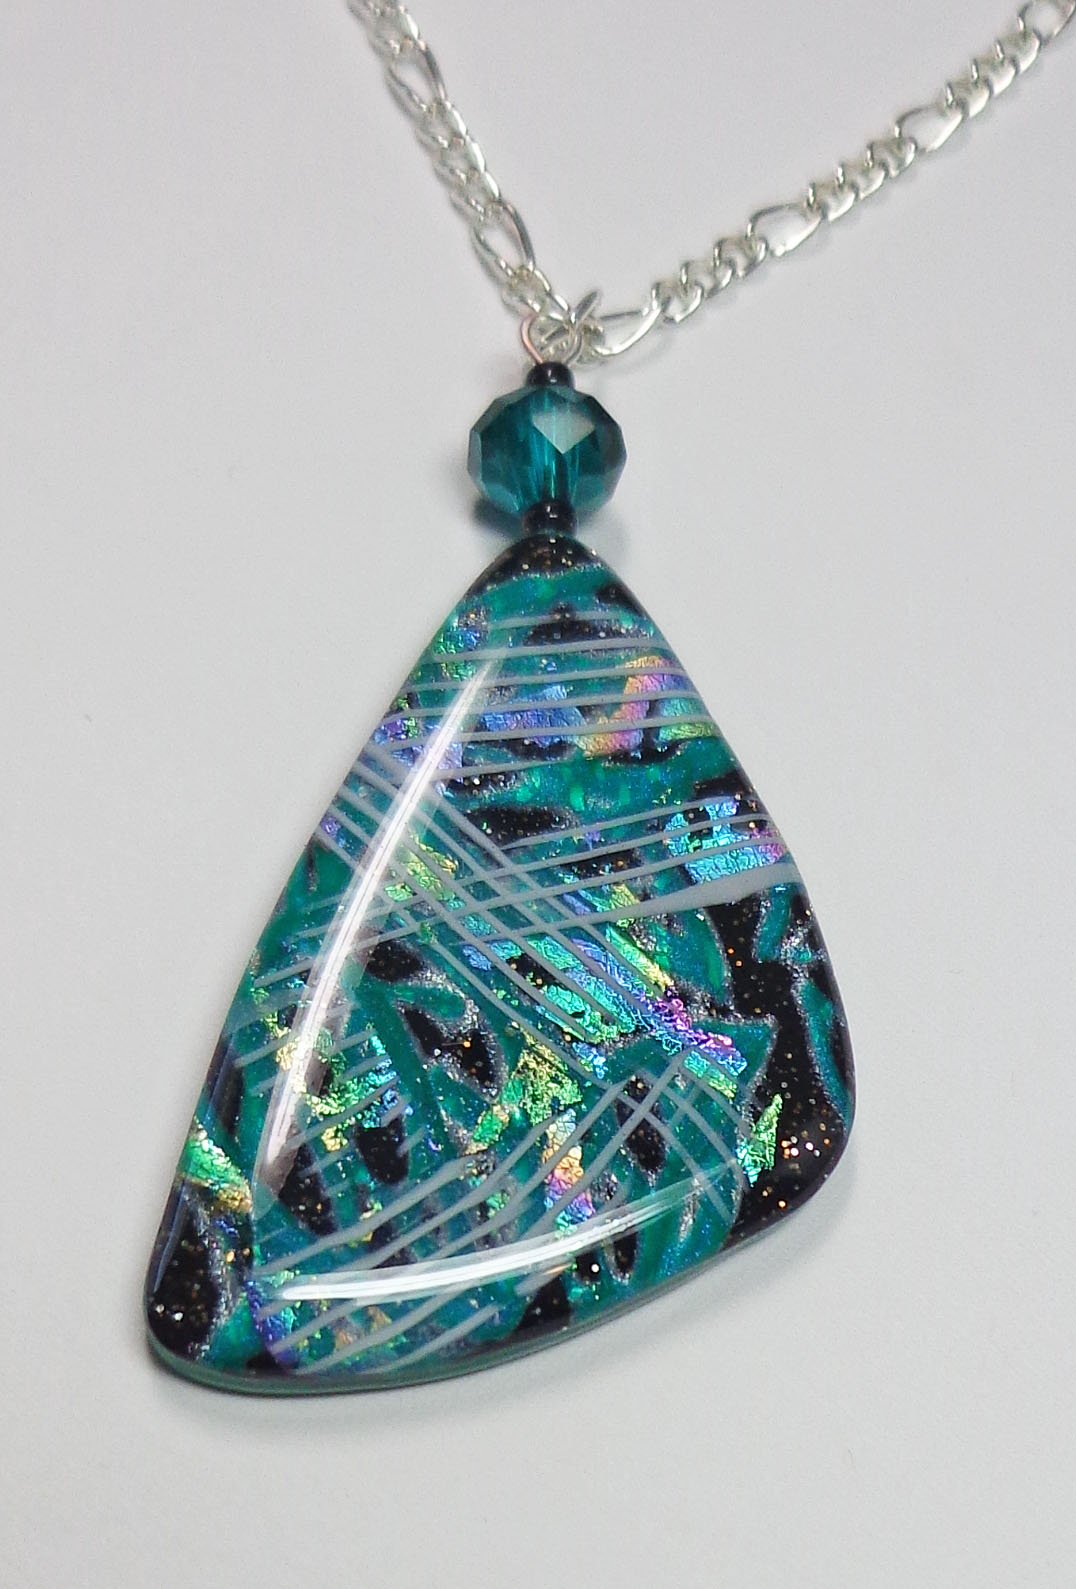
Sculpey Premo™ Dichroic-Look Pendant
Sculpey Premo™ Dichroic-Look Pendant
Designed by: Sherri Kellberg
Read More
Read Less
This beautiful necklace is perfect for spring!
ADDITIONAL SUPPLIES
- Rainbow foil

Project Instructions
Do not use unbaked clay on unprotected furniture or finished surfaces. Start with clean hands and work surface area. Good work surfaces include wax paper, metal baking sheet, or disposable foil. Knead clay until soft and smooth. For best results, clean your hands in between colors. Shape clay, pressing pieces together firmly. Bake on oven-proof glass or metal surface at 275°F (130°C) for 30 minutes per ¼" (6 mm) thickness. For best baking results, use an oven thermometer. DO NOT USE MICROWAVE OVEN. DO NOT EXCEED THE ABOVE TEMPERATURE OR RECOMMENDED BAKING TIME. Wash hands after use. Baking should be completed by an adult. Begin by preheating oven to 275°F (130 °C). Test temperature with oven thermometer for perfectly cured clay. For best results, condition all clay by running it through the clay dedicated pasta machine several passes on the widest setting. Fold the clay in half after each pass and insert the fold side into the rollers first.
Start by, conditioning a block of Twinkle, Twinkle Black clay, roll it out on the #4 setting of the clay conditioning machine. Then, roll out a sheet of Pearl on the #8 setting. Next, create a mix by blending ½ package of Peacock and a ¼ package of Emerald. Roll this out on the #1 setting. Create a stack with the Twinkle, Twinkle on the bottom, the Pearl in the middle and the mixed Peacock Pearl and Emerald on the top.

Run the completed stack through the clay conditioning machine on the #1 setting, to compress it.

Add rainbow foil to the top of the Emerald mix clay.

Dust the Sculpey texture sheet with cornstarch, as a release agent.

Place the clay stack face down, with the Emerald clay touching the texture sheet. Run this through the clay conditioning machine on the #1 setting.

Using the Super Slicer blade, shave off the raised areas of clay, to reveal the black and pearl layers below. Next, make the back of the pendant, roll out a piece of Twinkle, Twinkle on the #1 setting. Adhere these 2 layers together. Set aside.

Line Cane: To begin, condition the Translucent clay, and roll it out on the #1 setting of the clay conditioning machine. Next, condition and roll out a sheet of White clay on the #5 setting. Place one on top of the other, cut in half and stack.

Cut in half again lengthwise, and stack. Reduce, and continue to cut in half and re-stack, continue to reduce the cane until you reach the desired stripe size.

Using the Super Slicer blade take paper thin slices of the Line Cane, and add them to the top of the pendant. Cover the rainbow foil bits with the Line Cane.

Smooth the cane slices into the clay surface, using a roller. Making sure they are imbedded. Cut the pendant into an abstract shape using the Super Slicer.Add an eye pin at the top of the pendant.

After the pendant is baked according to the instructions above, lightly wet sand the pendant using 400 grit sand paper. The Translucent clay will disappear, leaving the white lines behind, with the Faux Dichroic underneath. To complete, add a sparkling bead and silver chain.


