
premo! Bubbles Scrapbook Page
premo! Bubbles Scrapbook Page
Read More
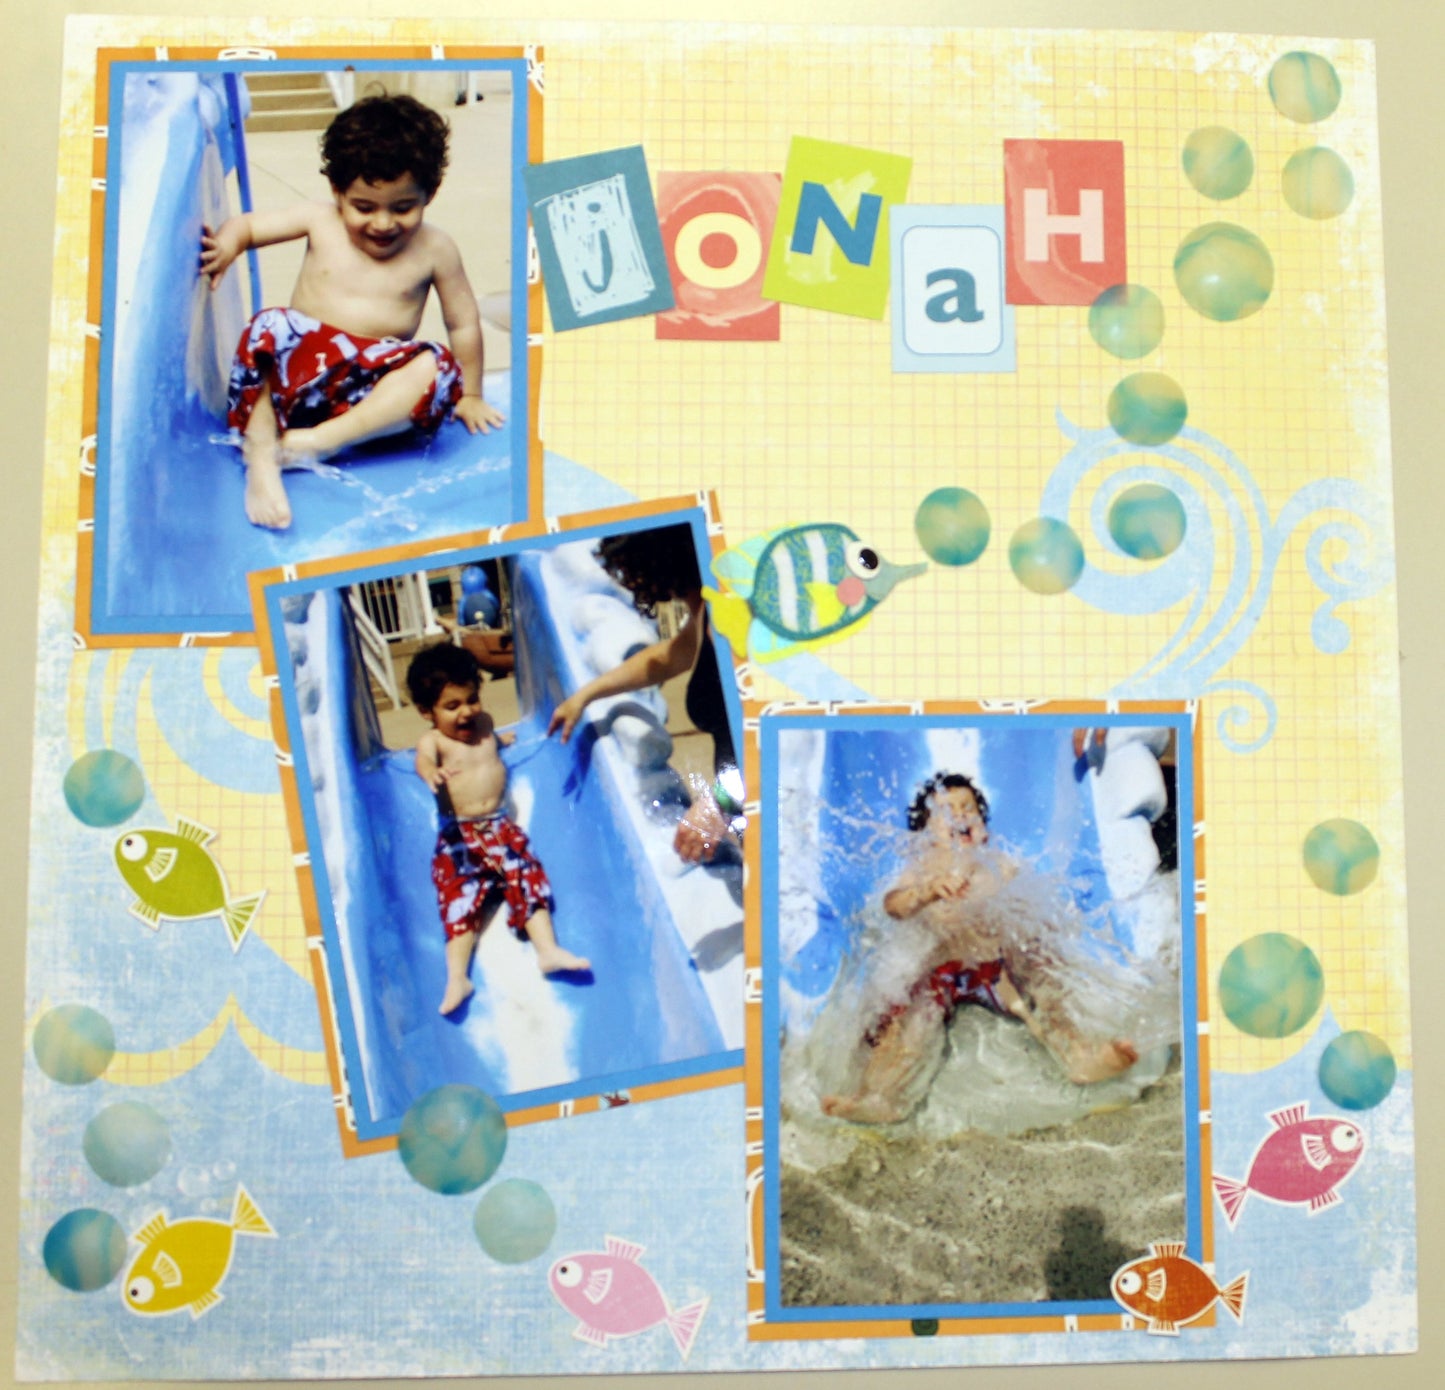
There’s nothing like the expression of surprise on a little ones face and the three dimensional water bubble embellishments will be an added surprise as well. This is a perfect way to display your Summer beach or water park photos. Embellish with premo! polymer clay water bubbles for an effect that pops.
Read Less
ADDITIONAL SUPPLIES
3 coordinating scrapbook papers, one being a solid
Optional: paper letters to form a headline
Paper “runner” adhesive
3M White quick dry glue
Craft Knife|3 coordinating scrapbook papers, one being a solid
Optional: paper letters to form a headline
Paper “runner” adhesive
3M White quick dry glue
Craft Knife
Project Instructions
Preheat oven to 275 °F. Test temperature with oven thermometer for perfectly cured clay. Condition all clay by kneading until it’s soft and smooth or running it through the Clay Conditioning Machine for several passes on the widest setting. Fold the clay in half after each pass and insert the fold side into the rollers first.When working on project hold in palm of open hand. Remember a little clay goes a long way, your pieces will double in size when pushing onto switchplate. Always start with clean hand and work area, wash hands in between using colors. Sand surface and edges of switchplate to ensure clay bonds well to the surface.
Mix Blue and White (this is base layer) just enough to have patches of White (like clouds) roll through Clay Conditioning Machine on the widest setting. Apply to switchplate, press on with fingers all over surface and edges trim off excess clay. Use Acrylic Roller to smooth surface.Use Knife from 5-in-1 Tool Set to trim out hole and use screws to poke out screw holes.

Roll Gold color through Clay Conditioning Machine on setting #2 (second thickest) and cut out a 1 1/2"x 3 1/2 " rectangle, apply and press on at bottom of plate for the brick ground, trim off excess around edges. Roll 1/4" diameter snake of Gold color, about 8-10" long for the arched window, flatten somewhat. Use Knife from 5-in-1 Tool Set to draw in bricks. Use toothpick or ceramic tool or Knife from 5-in-1 Tool Set to create diagonal lines for the window.
For the stones roll out different size and shaped balls of Gold color and apply around outside of window arch. Remember the balls will double in size when pressing them somewhat flat, Use Shaping Tool from 5-in-1 Tool Set and fingertip to close gaps between the stones.

Use a toothpick and stamp on stones to create a stone like texture. Use a tool to redefine edges of stones. Trim edge of switch plate.
Using Stringbean, roll out about 4 - 1/32” diameter coils about 4” long. Arrange the coils around archway and press onto stones, these are the grapevine trestles.
Roll out a 1/4" diameter snake flatten one edge and let rest for about 10 min, then slice 1mm thick or thinner slices with razor blade. These are the leaves, use toothpick to pick up at broad end and apply around vines. Use Exacto knife to texture in leaf veins.
Mix Purple and Stringbean to create 3 different hues of Purplish Green color and roll out a lot of 1/32” to 1/16” balls for grapes. Gently press grapes on in bunches around various places of the vines, add more leaves to tops of grape bunches, texture leaves with knife or toothpick.
I use mixed green and purple pieces for wine bottle, shape into small wine bottles and press onto switchplate, use fingers to create bottle shape, again the size will double when pressing onto switchplate, so make them half the size you want them to be.
Next cut out small flat squares of assorted scrapes for labels of wine bottles, apply and texture labels with knife. Use tools to create top of wine bottle and find tiny pieces of yellowish scraps for the wine bottle corks.

Look over and inspect your project closely, smooth out any unwanted finger prints or bumps, be sure edges are trimmed.Bake in 275 degree oven for 30 minutes. Cool completely before handling and installing to wall.