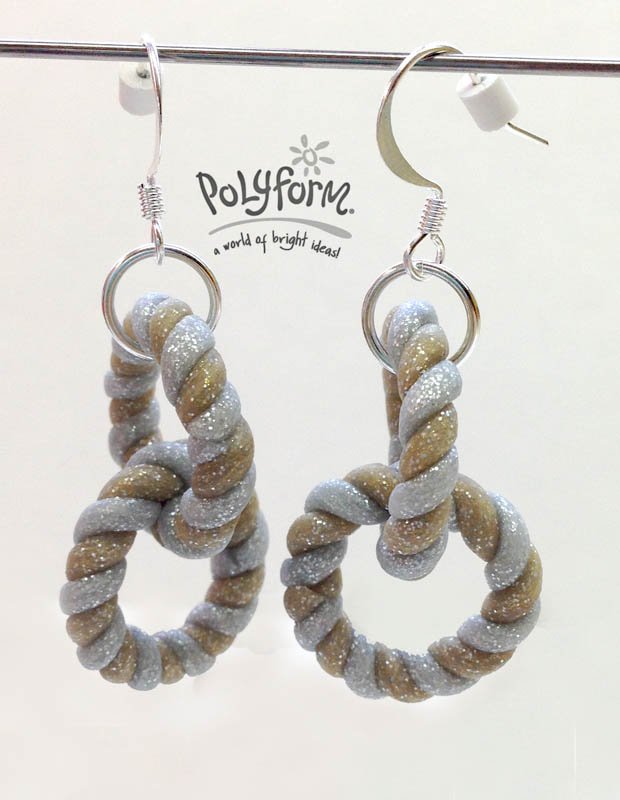
Premo! Accents Twisted Rings Earrings
Premo! Accents Twisted Rings Earrings
Read More
Read Less
Putting a new twist with our new Premo! Gold Glitter clays.
Designed by Amy Koranek
Designer’s Note - For these twisted earrings you will need to make sure that your clays are of very similar consistency so that they will twist evenly. Condition the clays well. If one feels more stiff than the other, add a very small amount of Sculpey® Mold Maker® to soften it to the same consistency as the other clay.
ADDITIONAL SUPPLIES
Jewelry pliers, Bright silver 10mm jump rings (2), Bright silver ear wires|Jewelry pliers, Bright silver 10mm jump rings (2), Bright silver ear wires

Project Instructions
Getting Started:Polymer clay may stain. CLAY MAY DAMAGE UNPROTECTED FURNITURE OR FINISHED SURFACES. DO NOT USE polymer clay on unprotected surfaces. We recommend working on the Sculpey® Work ‘n Bake Clay Mat, wax paper, metal baking sheet, or disposable foil. Start with clean hands and work surface area. Knead clay until soft and smooth. For best results, clean your hands in between colors. Shape clay, pressing pieces together firmly. Bake on oven-proof glass or metal surface at 275°F (130 °C) for 30 minutes per ¼" (6 mm) thickness. For best baking results, use an oven thermometer. DO NOT USE MICROWAVE OVEN. DO NOT EXCEED THE ABOVE TEMPERATURE OR RECOMMENDED BAKING TIME. Wash hands after use. Baking should be completed by an adult. Begin by preheating oven to 275 °F (130 °C). Test temperature with oven thermometer for perfectly cured clay. For best results, condition all clay by running it through the Clay Conditioning Machine for several passes on the widest setting. Fold the clay in half after each pass and insert the fold side into the rollers first.
Shape thin ropes of each color, not more than 1/8” thick and at least 4” long.

Twist the ropes together. Continue carefully twisting until the ropes have a tight twist to them. They should also become thinner so that the ropes twisted together are only about 1/8” thick.

Following the angle of the twists, cut off four 2” lengths (2 for each individual earring). Each length should start and end with opposite colors. For example, if a length starts with a White Gold twist, then it should end with a Yellow Gold twist.

Gently bend two of the lengths around into a circle matching the ends. Press together very gently until they stick. Reshape each circle to be very neat and round.

Gently bend the other two lengths into circles catching one of the first circles in each so that you have two circles connected to each other. Again reshape each circle to be very neat and round.

Carefully position a circle set on one of the skewers of the Bead Baking Rack sending the skewer through both circles in a set so that each circle supports its own weight on the skewer. Bake according to instructions above and allow to cool completely.

When the circles are completely cool, add a jump ring to each. Attach an ear wire to each jump ring and enjoy!

