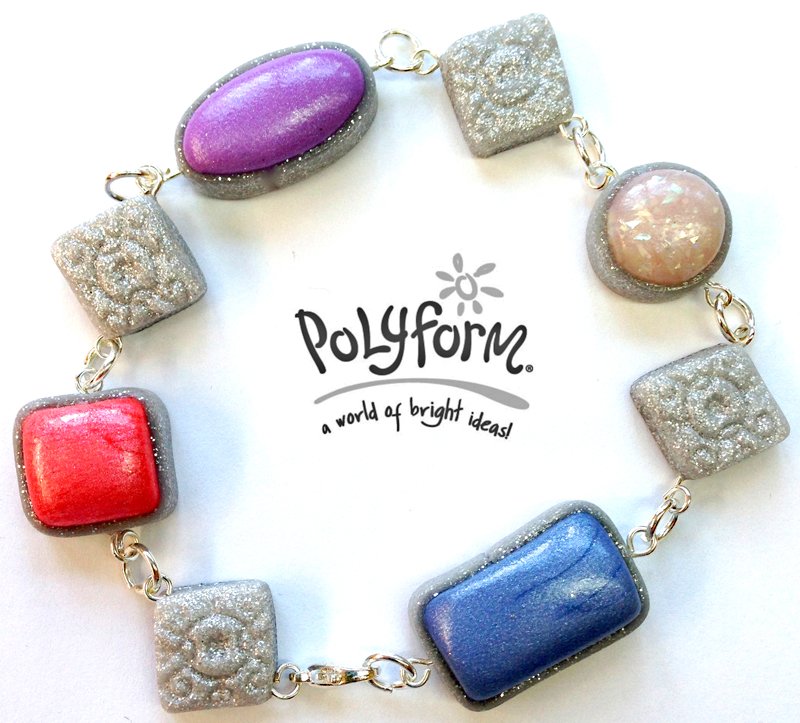
premo! Accents Geo Bracelet
premo! Accents Geo Bracelet
Read More
Designed to beautify your wrist. Enjoy our new 2015 color, premo! White Gold Glitter!
Read Less
ADDITIONAL SUPPLIES
Round jewelry pliers
Wire cutters
Sculpey® Gloss Glaze
Paint brush
Bright silver eye pins 2” (8)
Bright silver 6mm jump rings (9)
Bright silver lobster clasp|Round jewelry pliers
Wire cutters
Sculpey® Gloss Glaze
Paint brush
Bright silver eye pins 2” (8)
Bright silver 6mm jump rings (9)
Bright silver lobster clasp

Project Instructions
Getting Started:Polymer clay may stain. CLAY MAY DAMAGE UNPROTECTED FURNITURE OR FINISHED SURFACES. DO NOT USE polymer clay on unprotected surfaces. We recommend working on wax paper, metal baking sheet, or disposable foil. Start with clean hands and work surface area. Knead clay until soft and smooth. For best results, clean your hands in between colors. Shape clay, pressing pieces together firmly. Bake on oven-proof glass or metal surface at 275°F (130 °C) for 30 minutes per ¼" (6 mm) thickness. For best baking results, use an oven thermometer. DO NOT USE MICROWAVE OVEN. DO NOT EXCEED THE ABOVE TEMPERATURE OR RECOMMENDED BAKING TIME. Wash hands after use. Baking should be completed by an adult. Begin by preheating oven to 275 °F (130 °C). Test temperature with oven thermometer for perfectly cured clay. For best results, condition all clay by running it through the Clay Conditioning Machine for several passes on the widest setting. Fold the clay in half after each pass and insert the fold side into the rollers first.
Sheet White Gold through the clay conditioning machine on the #1 setting (thickest). Fold the sheet in half to double the thickness. Roll over gently with the acrylic clay roller to seal. Roll the texture wheel (wrought iron pattern) down the middle of the sheet using enough pressure to create an obvious design. Use the square mini cutter to cut out four of the designs. Poke an eye pin through each square from corner to corner. Embed the eye of the pin so that the base of the eye is just barely in the clay. Press the clay around the eye pin to secure but make sure there is enough eye still exposed to easily put the jump ring in. Repeat for all four White Gold diamond shapes


Sheet White Gold clay through the clay conditioning machine on the #1 setting (thickest). Blend a small amount of Wisteria with an equal amount of Pearl to make Wisteria Pearl. Blend a small amount of Periwinkle with an equal amount of Pearl to make Periwinkle Pearl. Shape each of the colors - Wisteria Pearl (rectangle), Periwinkle Pearl (oval), Sunset Pearl (square), and Opal (round) into thick pieces almost 1/4” thick. Press the pieces onto the White Gold sheet.

Using the mini cutters cut the following shapes: From Periwinkle Pearl cut out a rectangle. From Wisteria Pearl cut out an oval. From Sunset Pearl cut out a square. From Opal cut out a circle. Each shape will have a White Gold base attached.

Sheet White Gold through the clay conditioning machine on the #4 setting (medium). Cut 1/8” strips from the White Gold. Wrap each shape in a strip making sure the strip goes all the way down to the base. Trim the ends and smooth the seams.

Poke an eye pin through each shape. This time poke the eye pin through the square from side to side (instead of corner to corner). Embed the eye of the pin so that the base of the eye is just barely in the clay. Press the clay around the eye pin to secure but make sure there is enough eye still exposed to easily put the jump ring in.

Bake all pieces according to the instructions above. When the pieces are completely cool, trim each eye pin so there is about 3/8” remaining. Use the round pliers to create an eye. Make sure the eye closes as much as possible. Hook the pieces together with jump rings as shown in the finished photo. Attach the lobster claw to one of the jump rings. Coat each colored piece with a thin layer of glossy glaze. Allow to dry completely and enjoy!


