
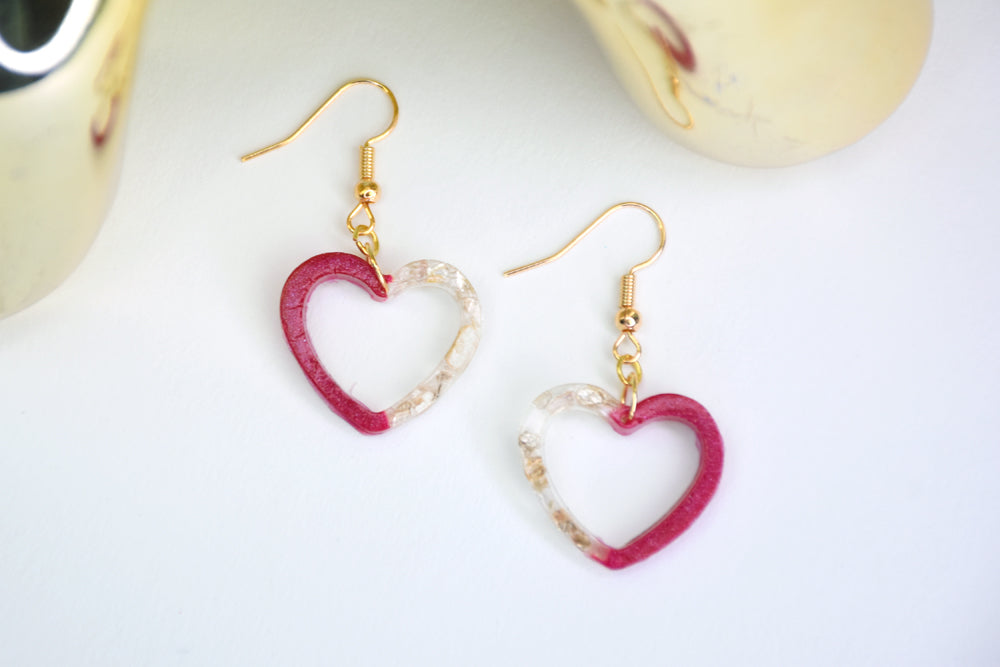
Liquid Sculpey® Open Heart Earrings
Liquid Sculpey® Open Heart Earrings
Read More
Celebrate Love with these elegant earrings that can be created in less than 2 hours. These will make great gifts but make sure to make a pair for yourself!
TIME TO COMPLETE:
75 Minutes to make, bake, and assemble
Read Less
ADDITIONAL SUPPLIES
- Paper towel
- Silicone earring mold with open hearts
- Mica flakes
- Small sharp scissors
- 6mm Gold tone jump rings (2)
- 4mm Gold tone jump rings (2)
- Gold tone ear wires (2)
- Flat nose pliers
Project Instructions
Step 1
Step 2

Step 3

Step 4


Step 5

Step 6

Step 7
