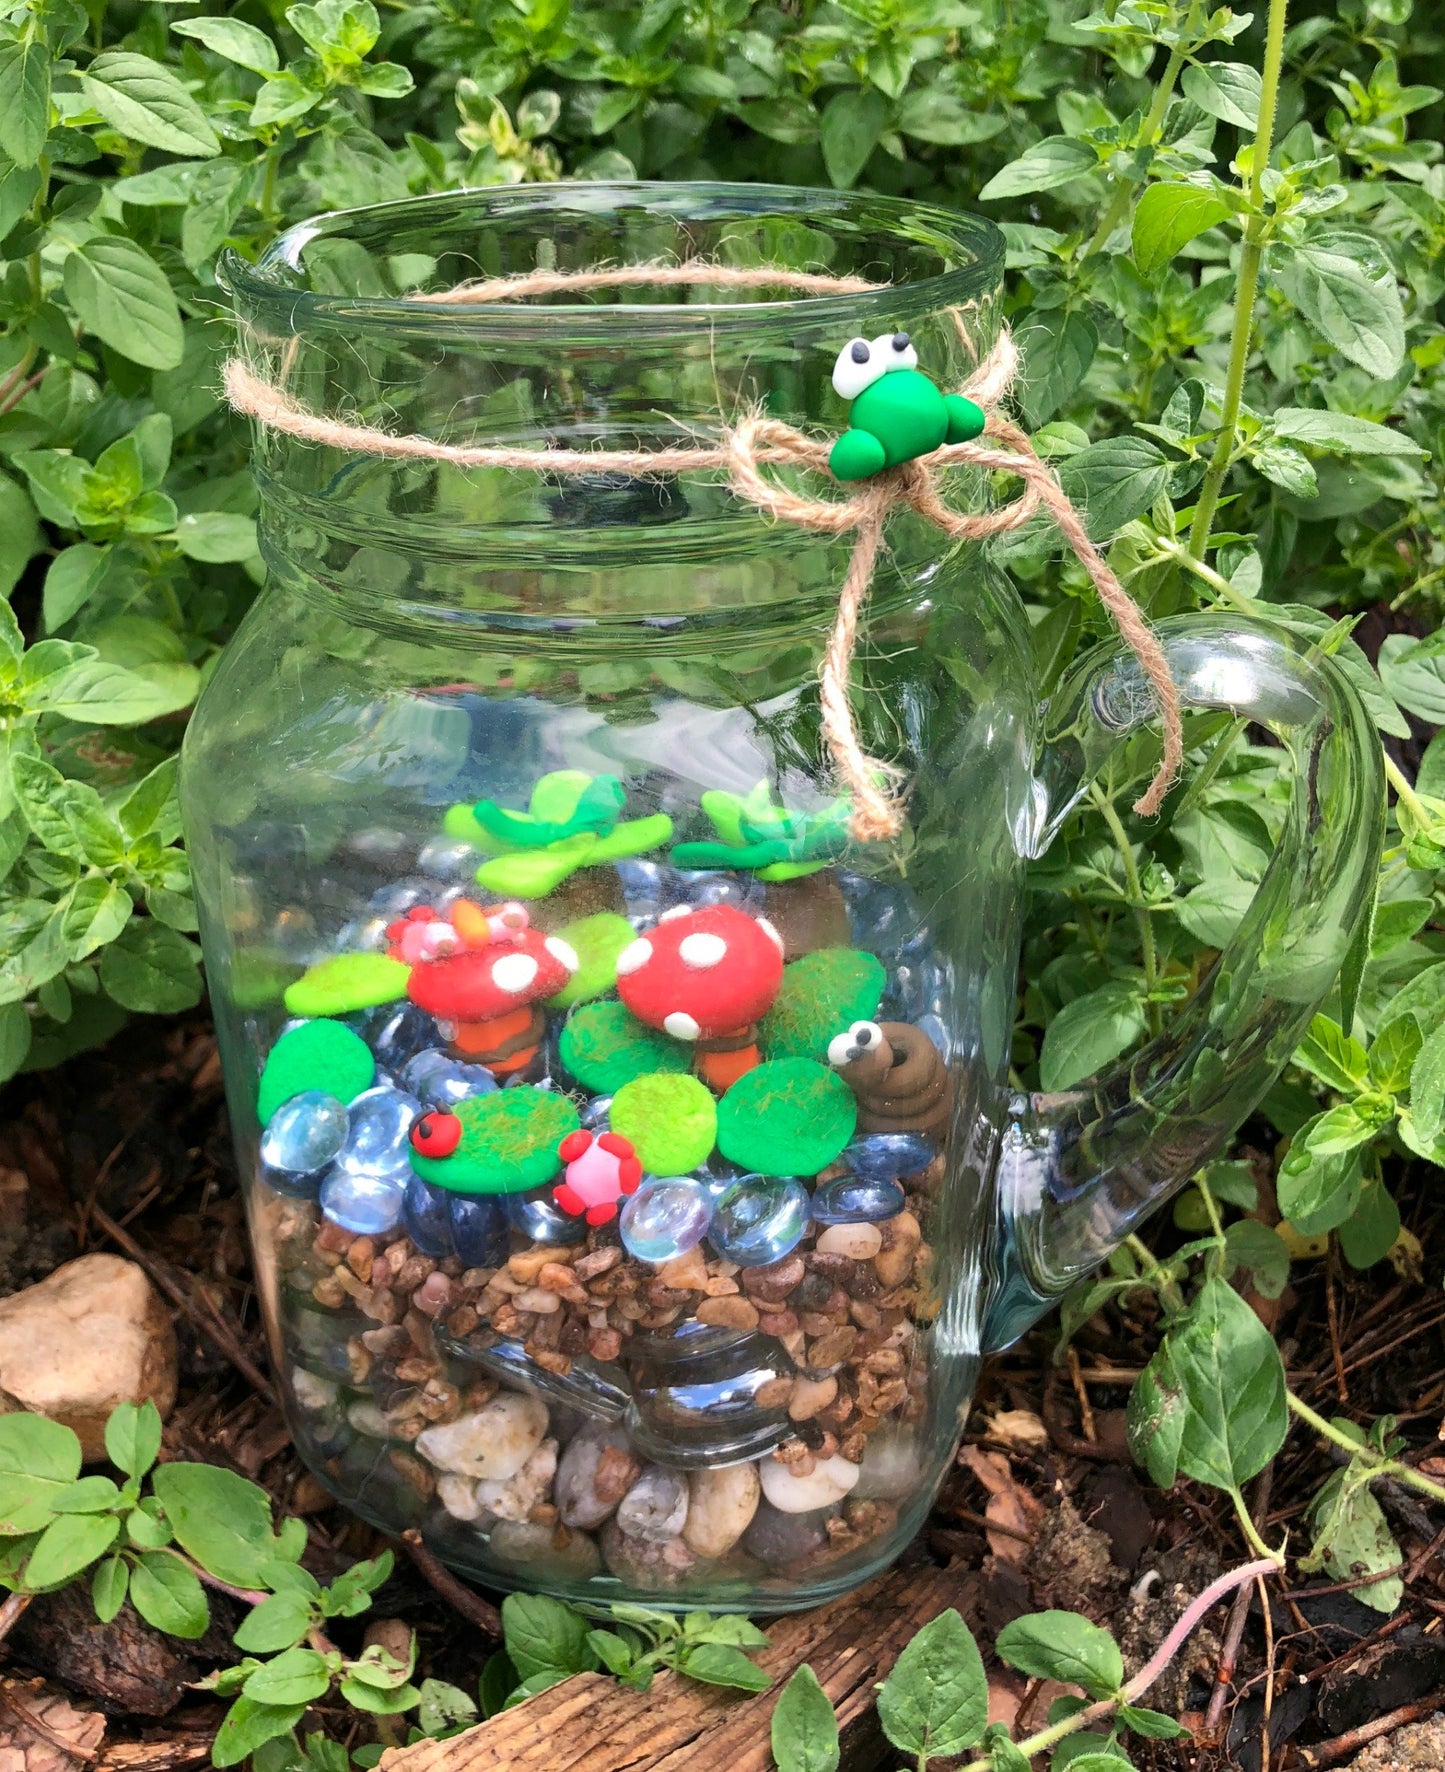
Bake Shop Terrarium
Bake Shop Terrarium
Read More
With a passion for nature and wildlife, my backyard serves as an excellent source for creative inspiration. It is fun to bring a touch of the outdoors into the home by designing a jar terrarium.
Designed By: Laura Kelly Walters
Read Less
ADDITIONAL SUPPLIES
• Jar or Vase
• Rocks
• Glass Rocks
• Aquarium Gravel
• Soil
• Twine
• Hot Glue

Project Instructions
- Getting Started:
Start with clean hands, unwrap and knead clay until soft and smooth, or condition by running clay though a Pasta Machine. We recommend using a designated machine for clay purposes only. When working with multiple colors, clean hands with soap and water or baby wipes (we have found that baby wipes work best) before switching colors. Shape clay, pressing pieces firmly together. Wash hands after use.
- Baking:
Organize your supplies and materials

Fill your jar with layers of rocks, glass rocks and gravel.

Create terrarium life with Bake Shop clay by hand forming and sculpting as shown in the photo. Be sure to create a couple of plants, mushrooms and floor covering. To create the floor coverings, roll green balls then smash them flat. If you want to add texture, press them onto a textured surface before baking. (NOTE: I added some bakeable green shreds)


Bake your terrarium pieces following the Bake Shop directions on a baking sheet
After your pieces have cooled, place them in your jar. Add twine around the top and use hot glue to add a little bug or garden creature of your making


