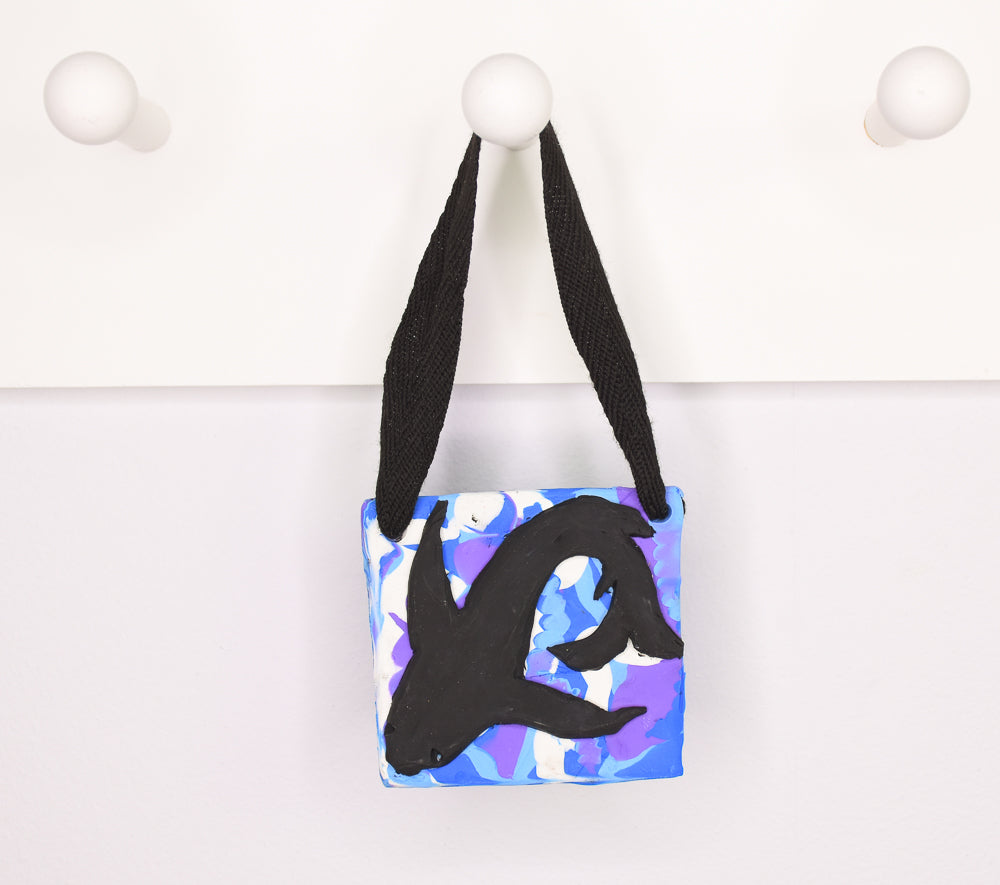
Bake Shop® Silhouette Animals
Bake Shop® Silhouette Animals
Designed by Amy Tanner
Read More
Sculpey Bake Shop® clays are front and center in this cool little wall plaque featuring a silhouette of a sea creature! This is a great project to learn about using silhouettes in art. TIME TO COMPLETION: 30 minutes to make/ 15 minutes to bake
Read Less
ADDITIONAL SUPPLIES
- Silhouette templates
- Yarn or String

Project Instructions
Getting Started with Sculpey Bake Shop® clays:
• Bake at 275 °F (121 °C), 15 minutes per 1/4 inch (6 mm) thickness.
• DO NOT MICROWAVE.
• DO NOT EXCEED THE ABOVE TEMPERATURE OR RECOMMENDED BAKING TIME.
Please make sure your work area is covered and you are not working on an unprotected surface. We recommend working on the Sculpey Tools™ Oven-Safe Work Mat, wax paper, metal baking sheet, or disposable foil. Uncured clay may damage unprotected furniture or finished surfaces. Be sure to cover your crafting area appropriately.
Each student will need: 3 sections of whatever base color they choose, one section of two different colors (For the layers) and 2 sections of black. Optional one section of white. Here we used:
Blue for the Base
Black for the shark
White and Purple for the layers
Roll out base color to about 1/4 inch, cut out a 3” x 3” square.
Blue for the Base
Black for the shark
White and Purple for the layers
Roll out base color to about 1/4 inch, cut out a 3” x 3” square.

Take a small piece of both Blue and White clay make mix together to make a light blue clay.
Then roll into thin snakes and layer these randomly onto the base color.
Then roll into thin snakes and layer these randomly onto the base color.

Take roller and lightly roll over the snakes to gently push them into the base color.

Make different size snakes of Blue, Purple and White and layer onto the base color.

Roll over the snakes to flatten them completely into the base making a marbled design. Trim project into a 3” x 3” square.

Roll out the Black clay to 1/4-inch thickness. On black clay draw or trace animal silhouette. Cut out the silhouette using the plastic knife modeling tool.

Place cut out silhouette onto to marbled base background and gently press the cut silhouette onto the background.

Using the Pointy tool end of the plastic modeling tool make two holes, one in each corner at the top of your piece. Make sure that these are not to close to the edge, you don’t want the yarn to pull through.
Bake according to the directions in Step 1 above.
Bake according to the directions in Step 1 above.

Once piece has baked and cooled, tie string into holes and hang your pieces up and enjoy.


