
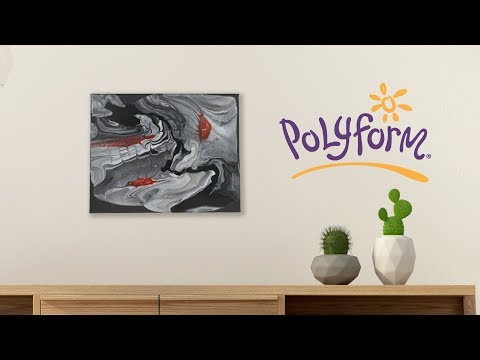
Liquid Sculpey Dirty Pour Canvas
Liquid Sculpey Dirty Pour Canvas
Read More
Create beautiful marbled pieces without waiting days for it to dry!
By: Amy Koranek
Read Less
ADDITIONAL SUPPLIES
8 X 10 stretched canvas3 oz. plastic cups - it’s important to use small cups so that you don’t waste excess product just pouring the liquid from the bottom of the cup
Red alcohol ink
You will also need a drying or cooling rack to place under the canvas and elevate it from your baking surface so that the liquid can drip.
Baking sheet lined with paper or baking parchment. Your baking sheet should be larger than your canvas.
exacto type knife
Project Instructions
Getting Started:
Polymer clay may stain. CLAY MAY DAMAGE UNPROTECTED FURNITURE OR FINISHED SURFACES. DO NOT USE polymer clay on unprotected surfaces. We recommend working on the Sculpey® Work ‘n Bake Clay Mat, wax paper, metal baking sheet, or disposable foil. Start with clean hands and work surface area. Knead clay until soft and smooth. For best results, clean your hands in between colors. Shape clay, pressing pieces together firmly. Bake on oven-proof glass or metal surface at 300°F (130 °C). For best baking results, use an oven thermometer. DO NOT USE MICROWAVE OVEN. DO NOT EXCEED THE ABOVE TEMPERATURE OR RECOMMENDED BAKING TIME. Wash hands after use.
Baking:
Baking should be completed by an adult. Begin by preheating oven to 300°F (130 °C). Test temperature with oven thermometer for perfectly cured clay. Gold, Silver, Pearl, Black, and White Liquid Sculpey may be cured at 275°F if used in conjunction with solid clays. However, Clear Liquid Sculpey® only goes perfectly clear if it is heated to at least 300°F and can be heated to as high as 325°F.
When you make a dirty pour with Liquid Sculpey®, you can create all the beauty and mystery of a rich painting, but in so much less time when Liquid Sculpey® cures in under 30 minutes. Please note that curing this much Liquid Sculpey® will cause some off-gassing. The off-gassing is completely harmless. However, you need to make sure that your baking area is very well ventilated.
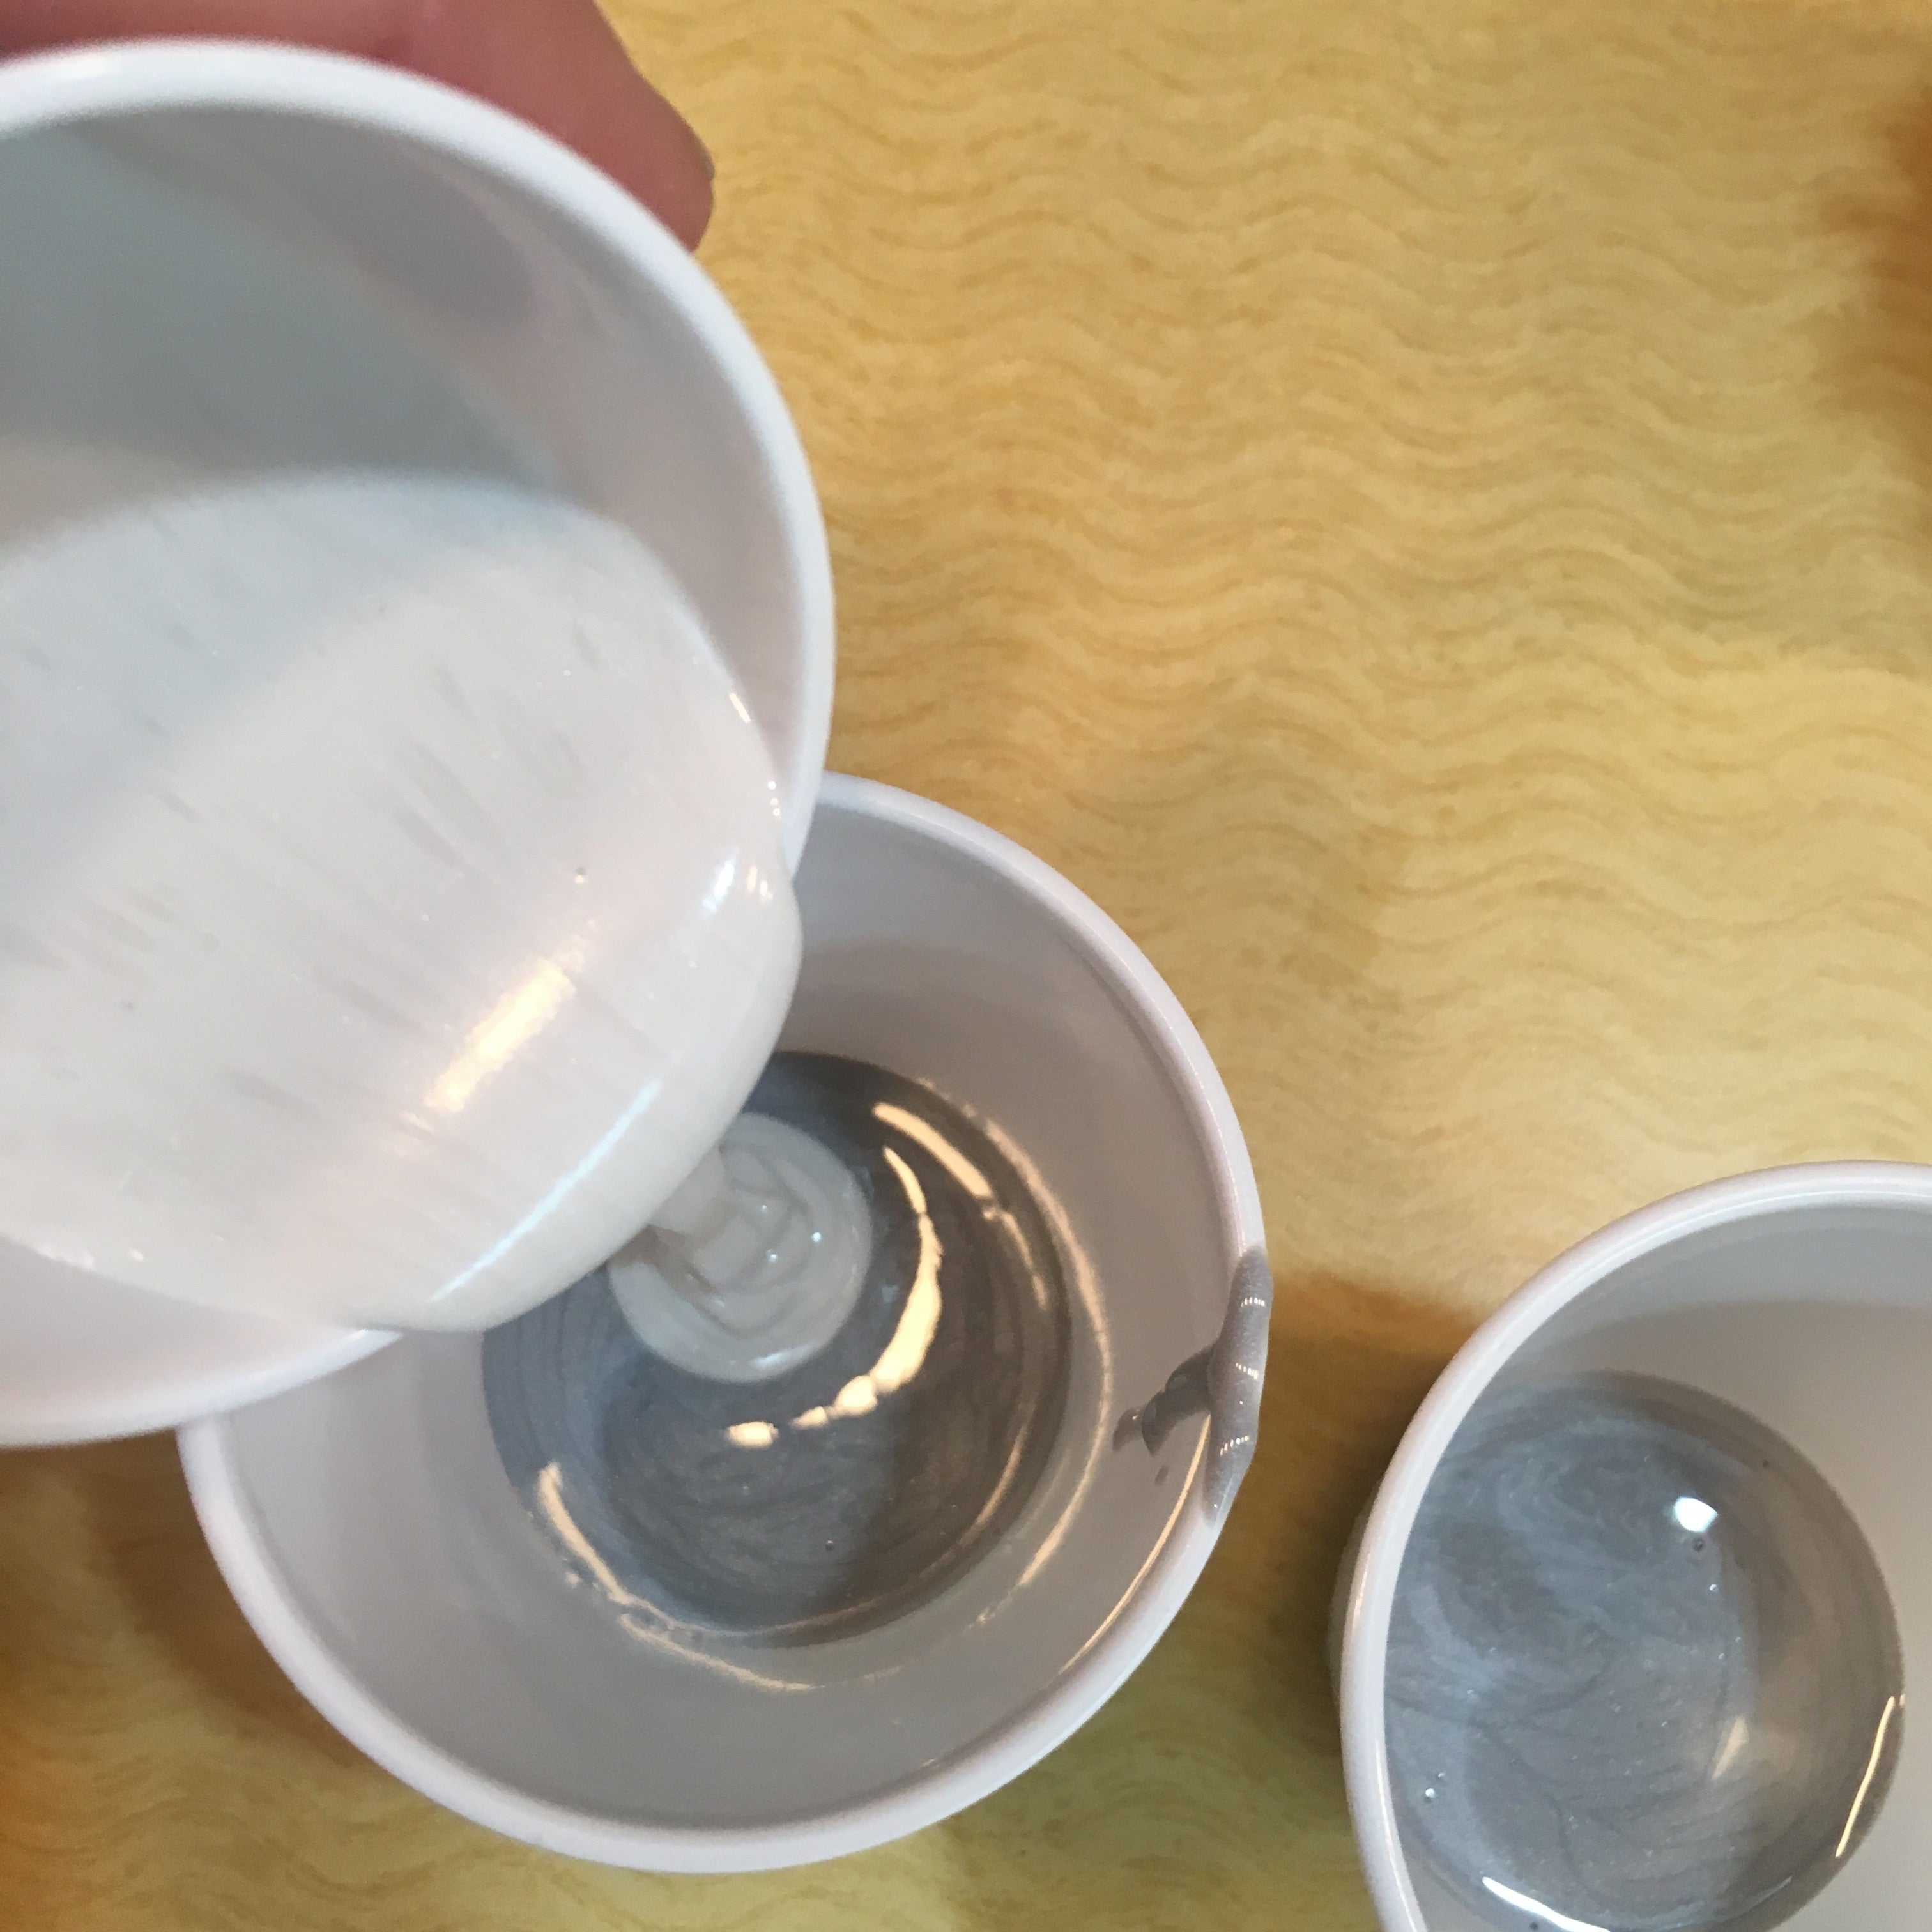
Pour an ounce of Pearl, of Black, and of Silver each in separate small plastic cups.
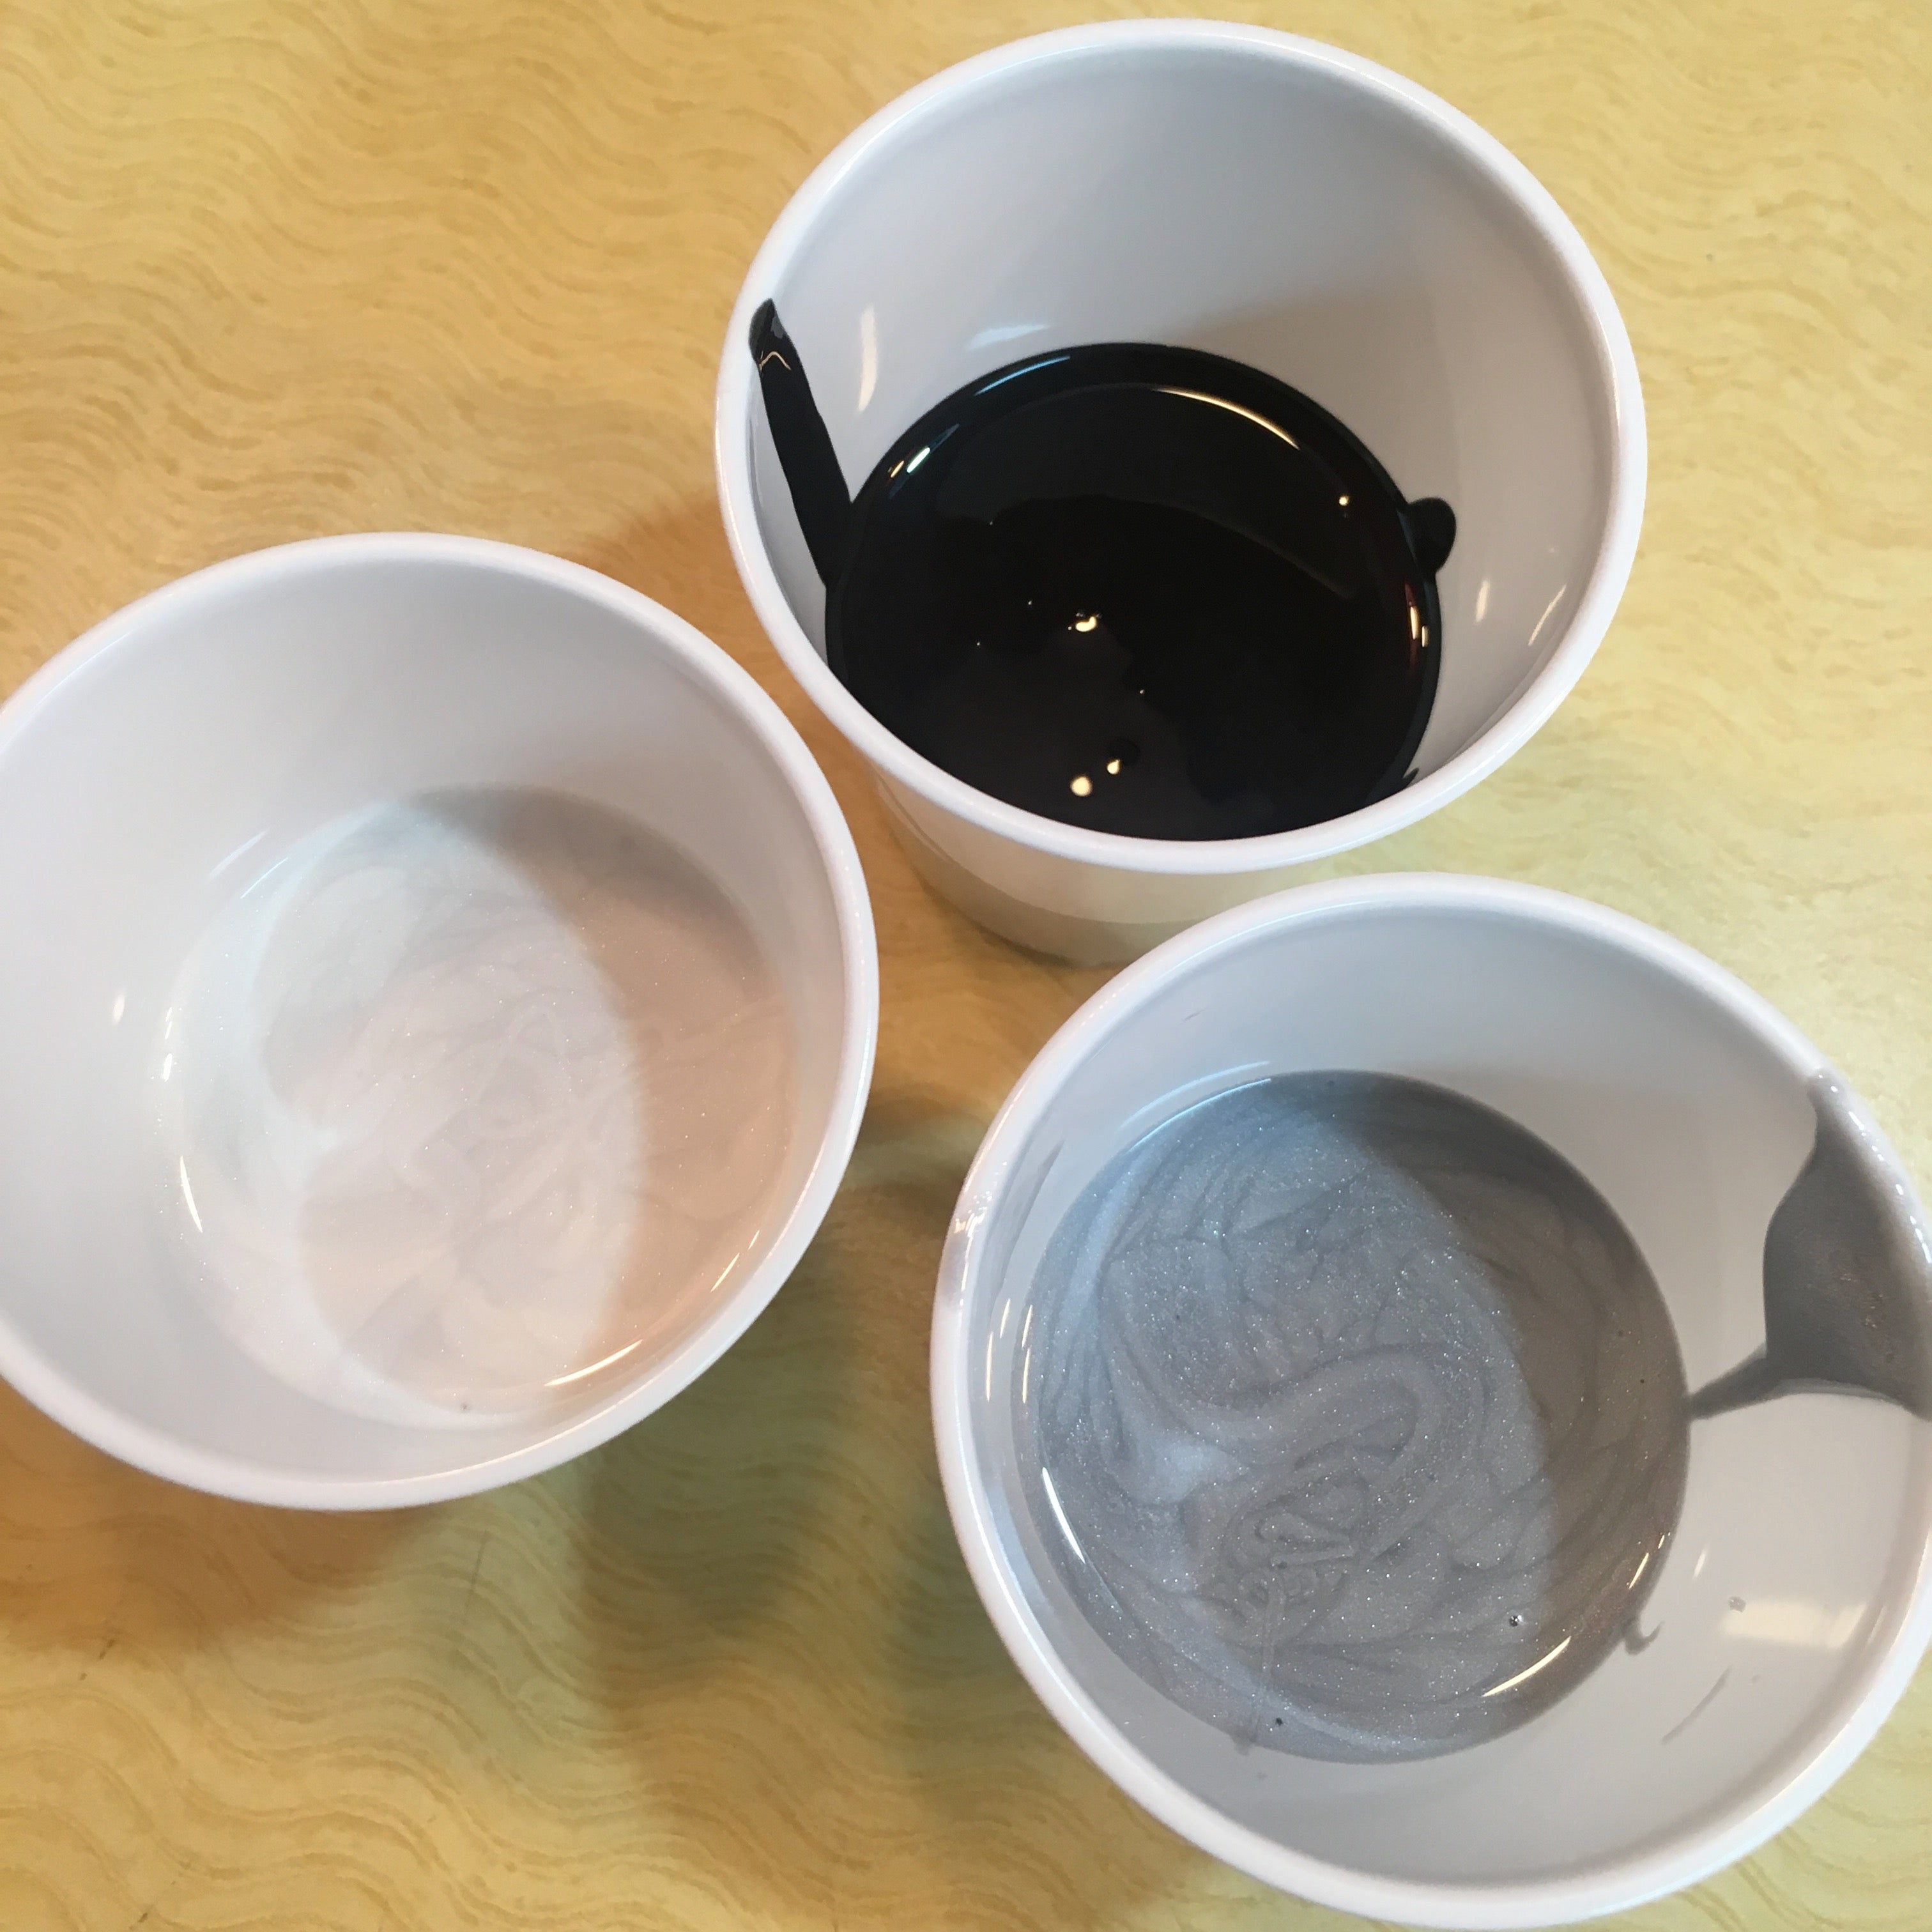
Squirt a dime sized drop of Diluent in each cup. Squirt a quarter size drop of Clear LS in each cup as well. Stir each cup completely with an Etch ’n Pearl. You want to make sure that each of your colors is the same consistency. So if one of them is thicker than the others, add more Diluent and more Clear LS to the color to thin it to the same consistency as the others.
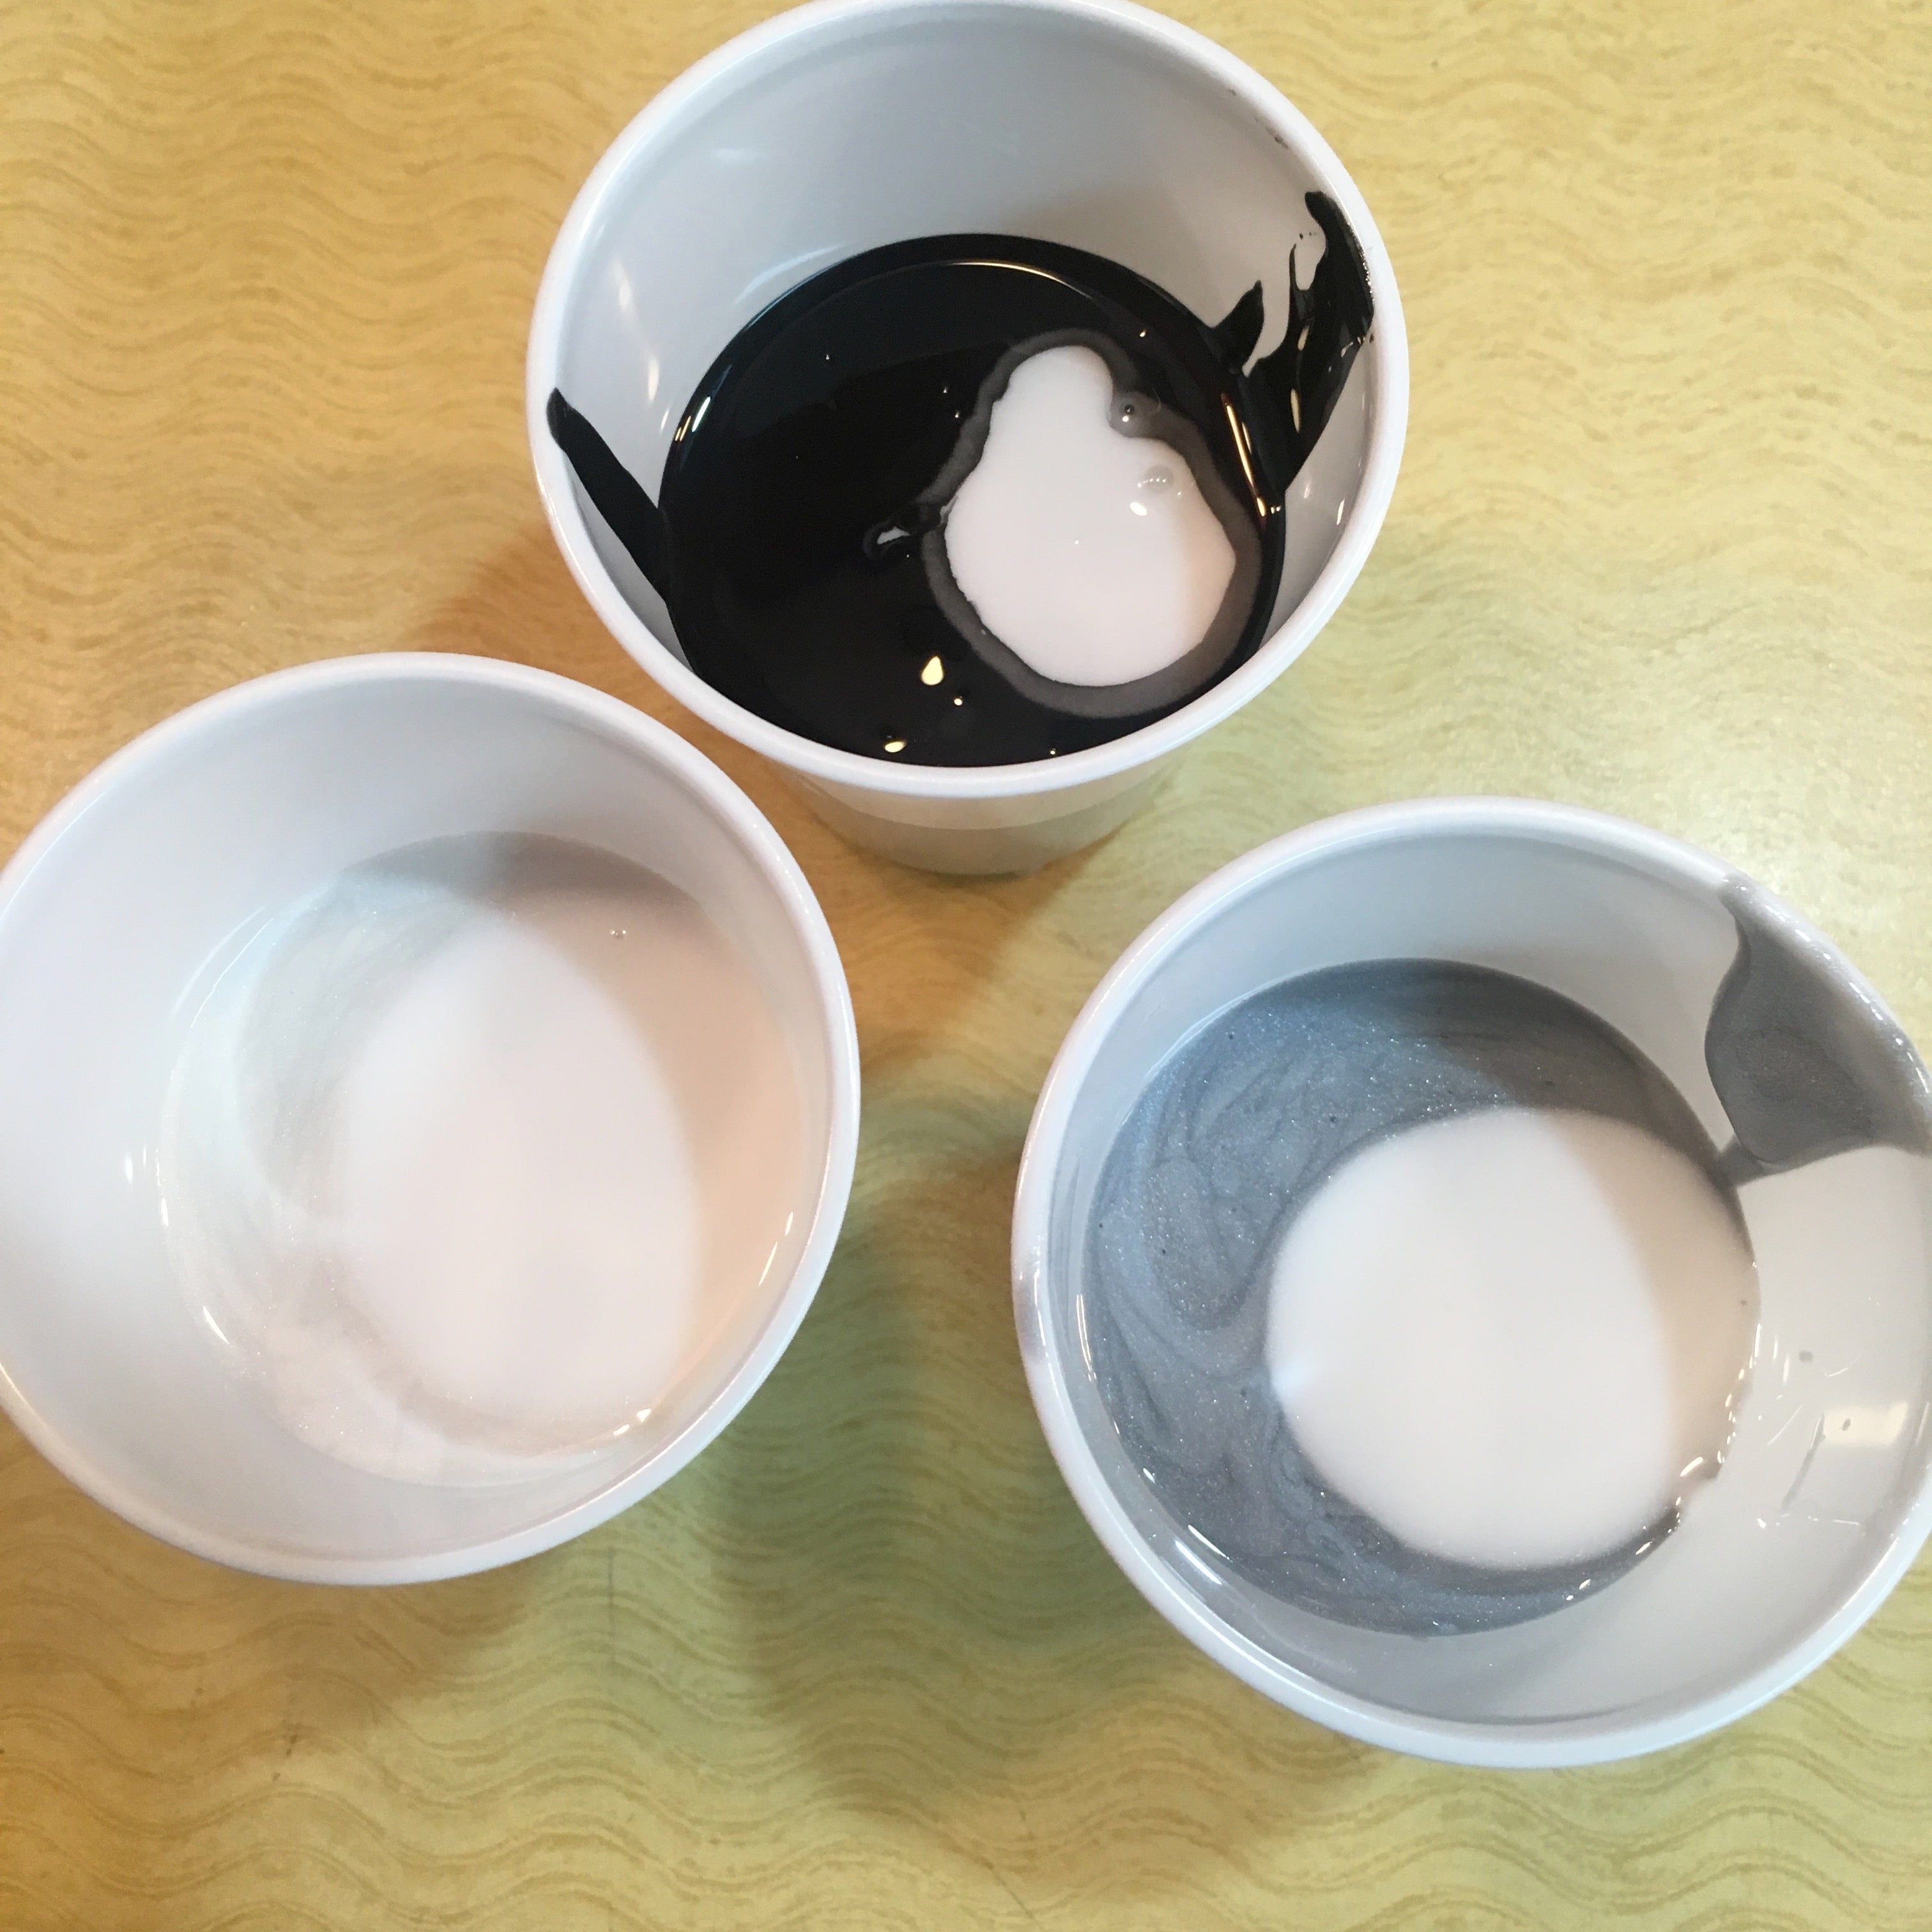
We are going to create two dirty pour cups so that we have enough liquid to cover our canvas. In two additional clean cups, pour a base layer of the Silver LS mix in the bottom of each one. Pour a layer of Pearl LS on top of the Silver LS in each of the two cups. [
Next pour a layer of Black LS on top of the Silver and Pearl in each of the two cups.

Repeat the layering process but reserve a small amount of Black LS for the next step.

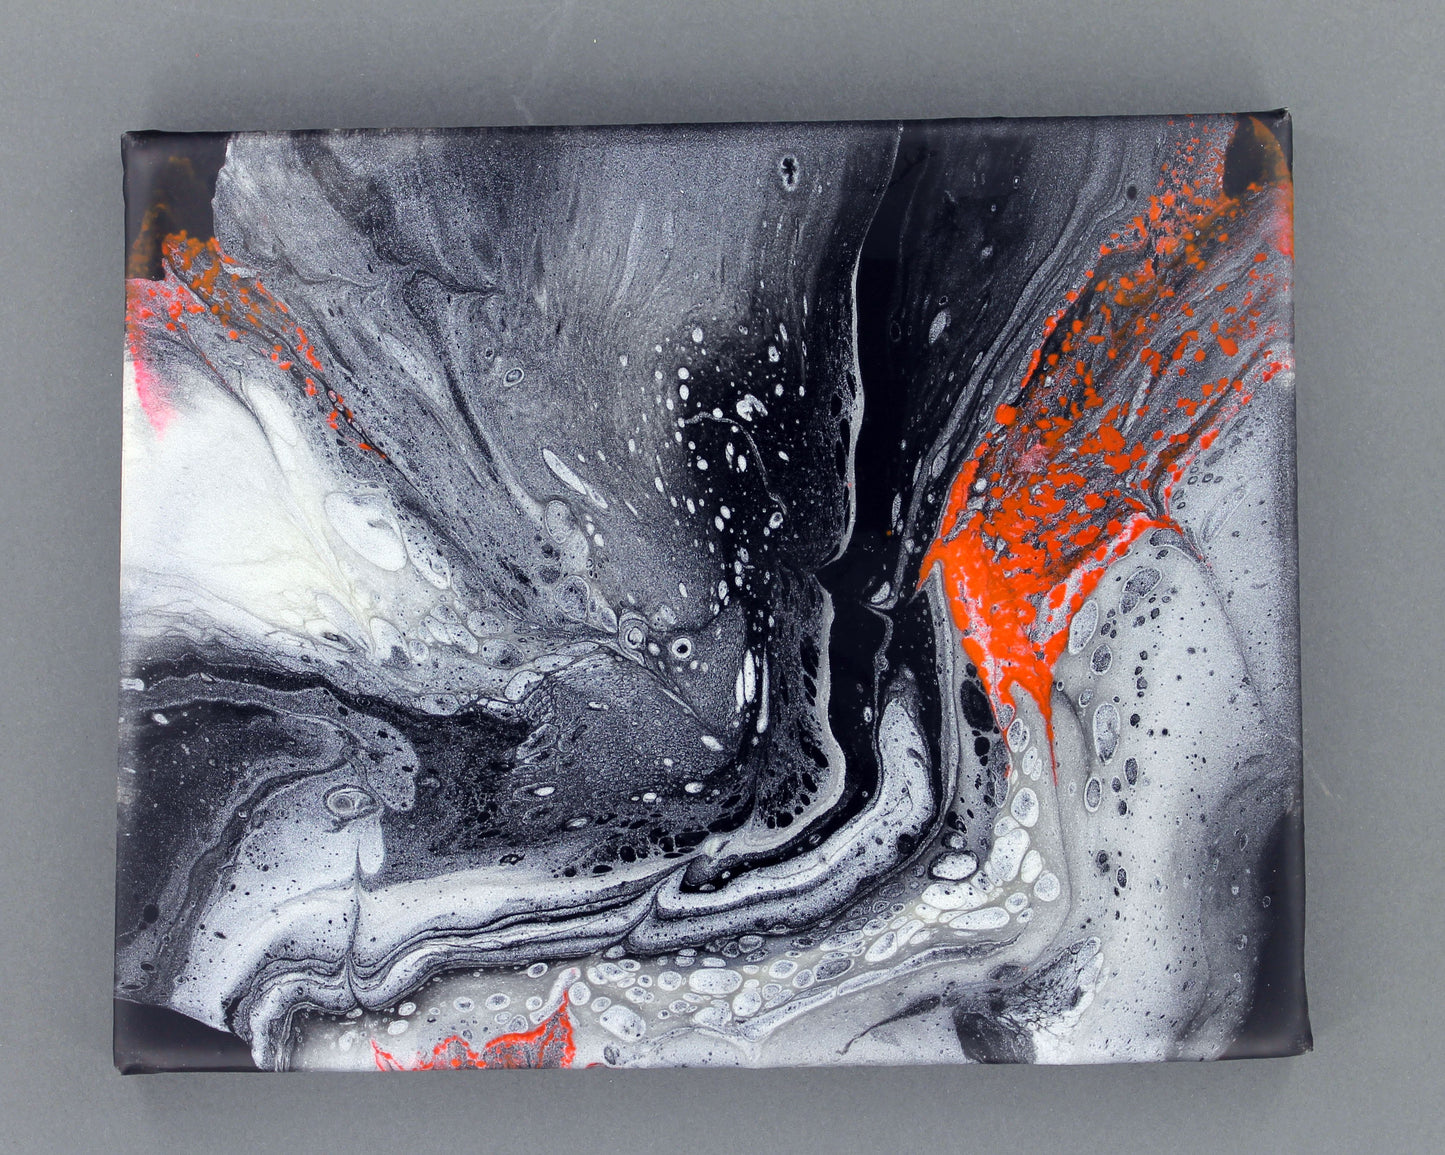
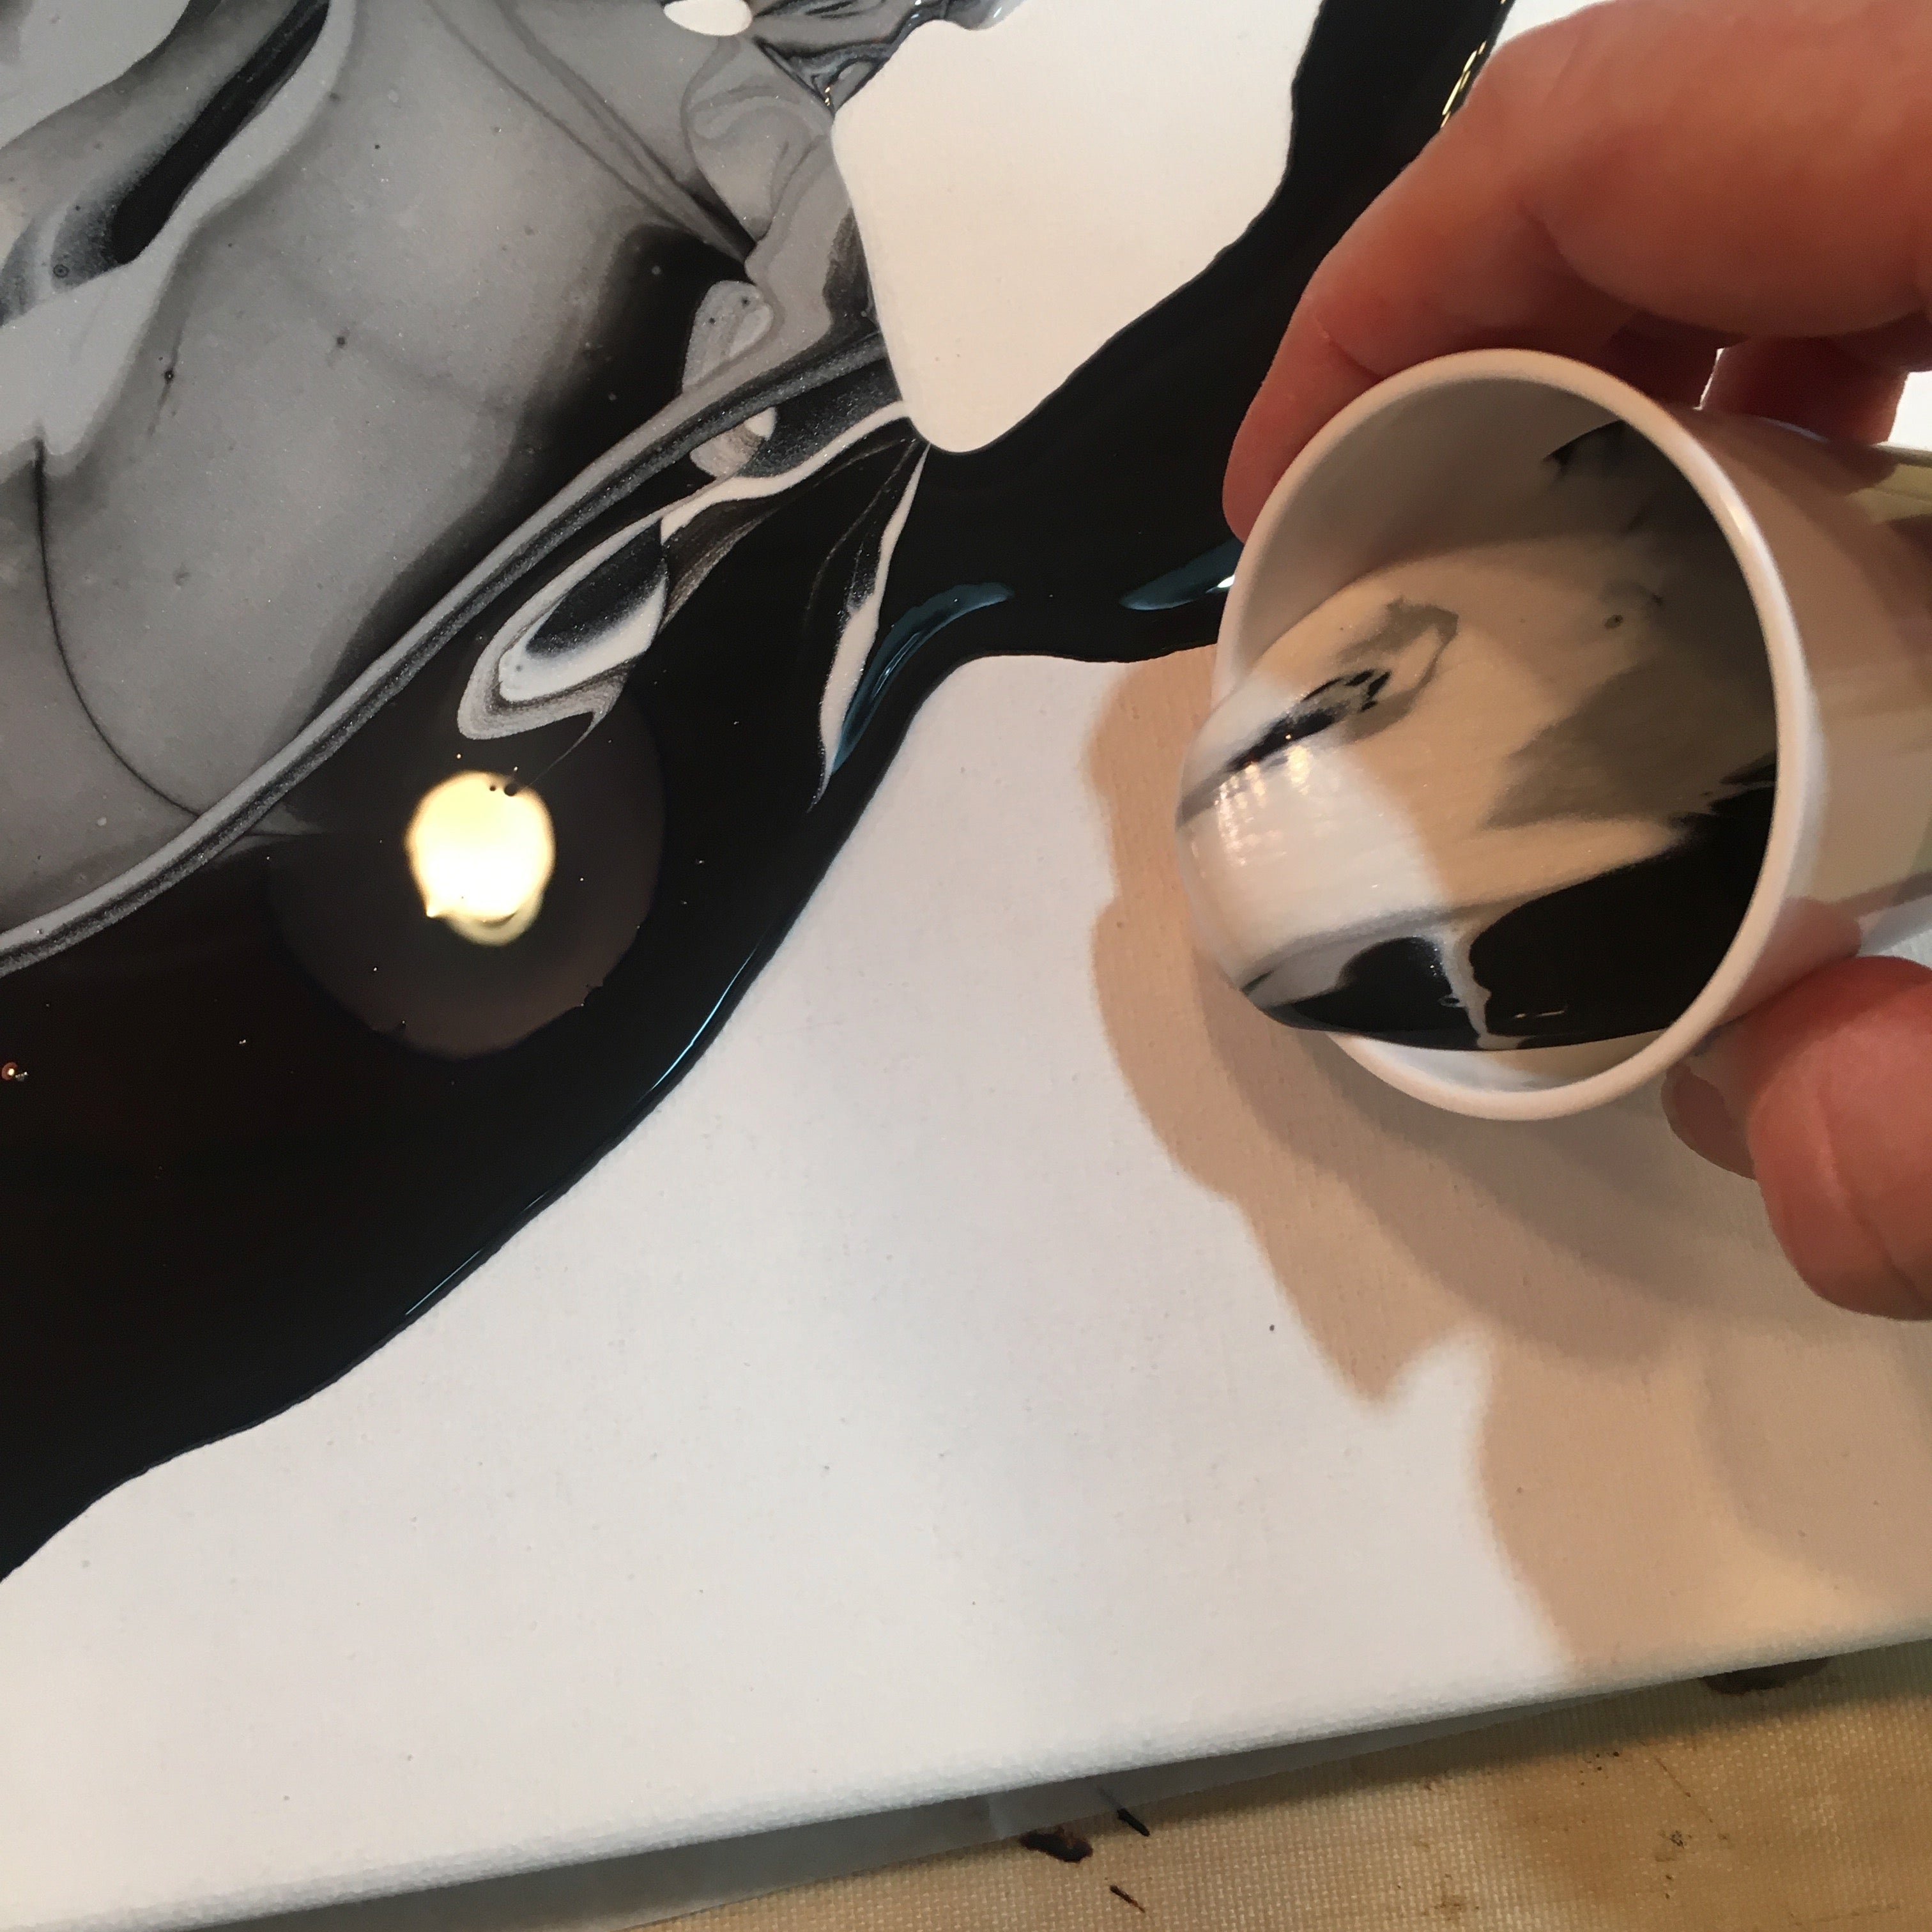
Pour the remaining Black LS down the middle of the canvas diagonally. This will create a river down the middle that will keep the two pours from running all over the canvas.

Next, pour a layered cup all out on one side of the Black. When you pour the mixture out, keep the cup very low to the canvas so the pour stays wide. If you lift the cup up high, the pour will be very narrow which will not produce a good blend.

Pour the second layered cup on the opposite side of the Black.
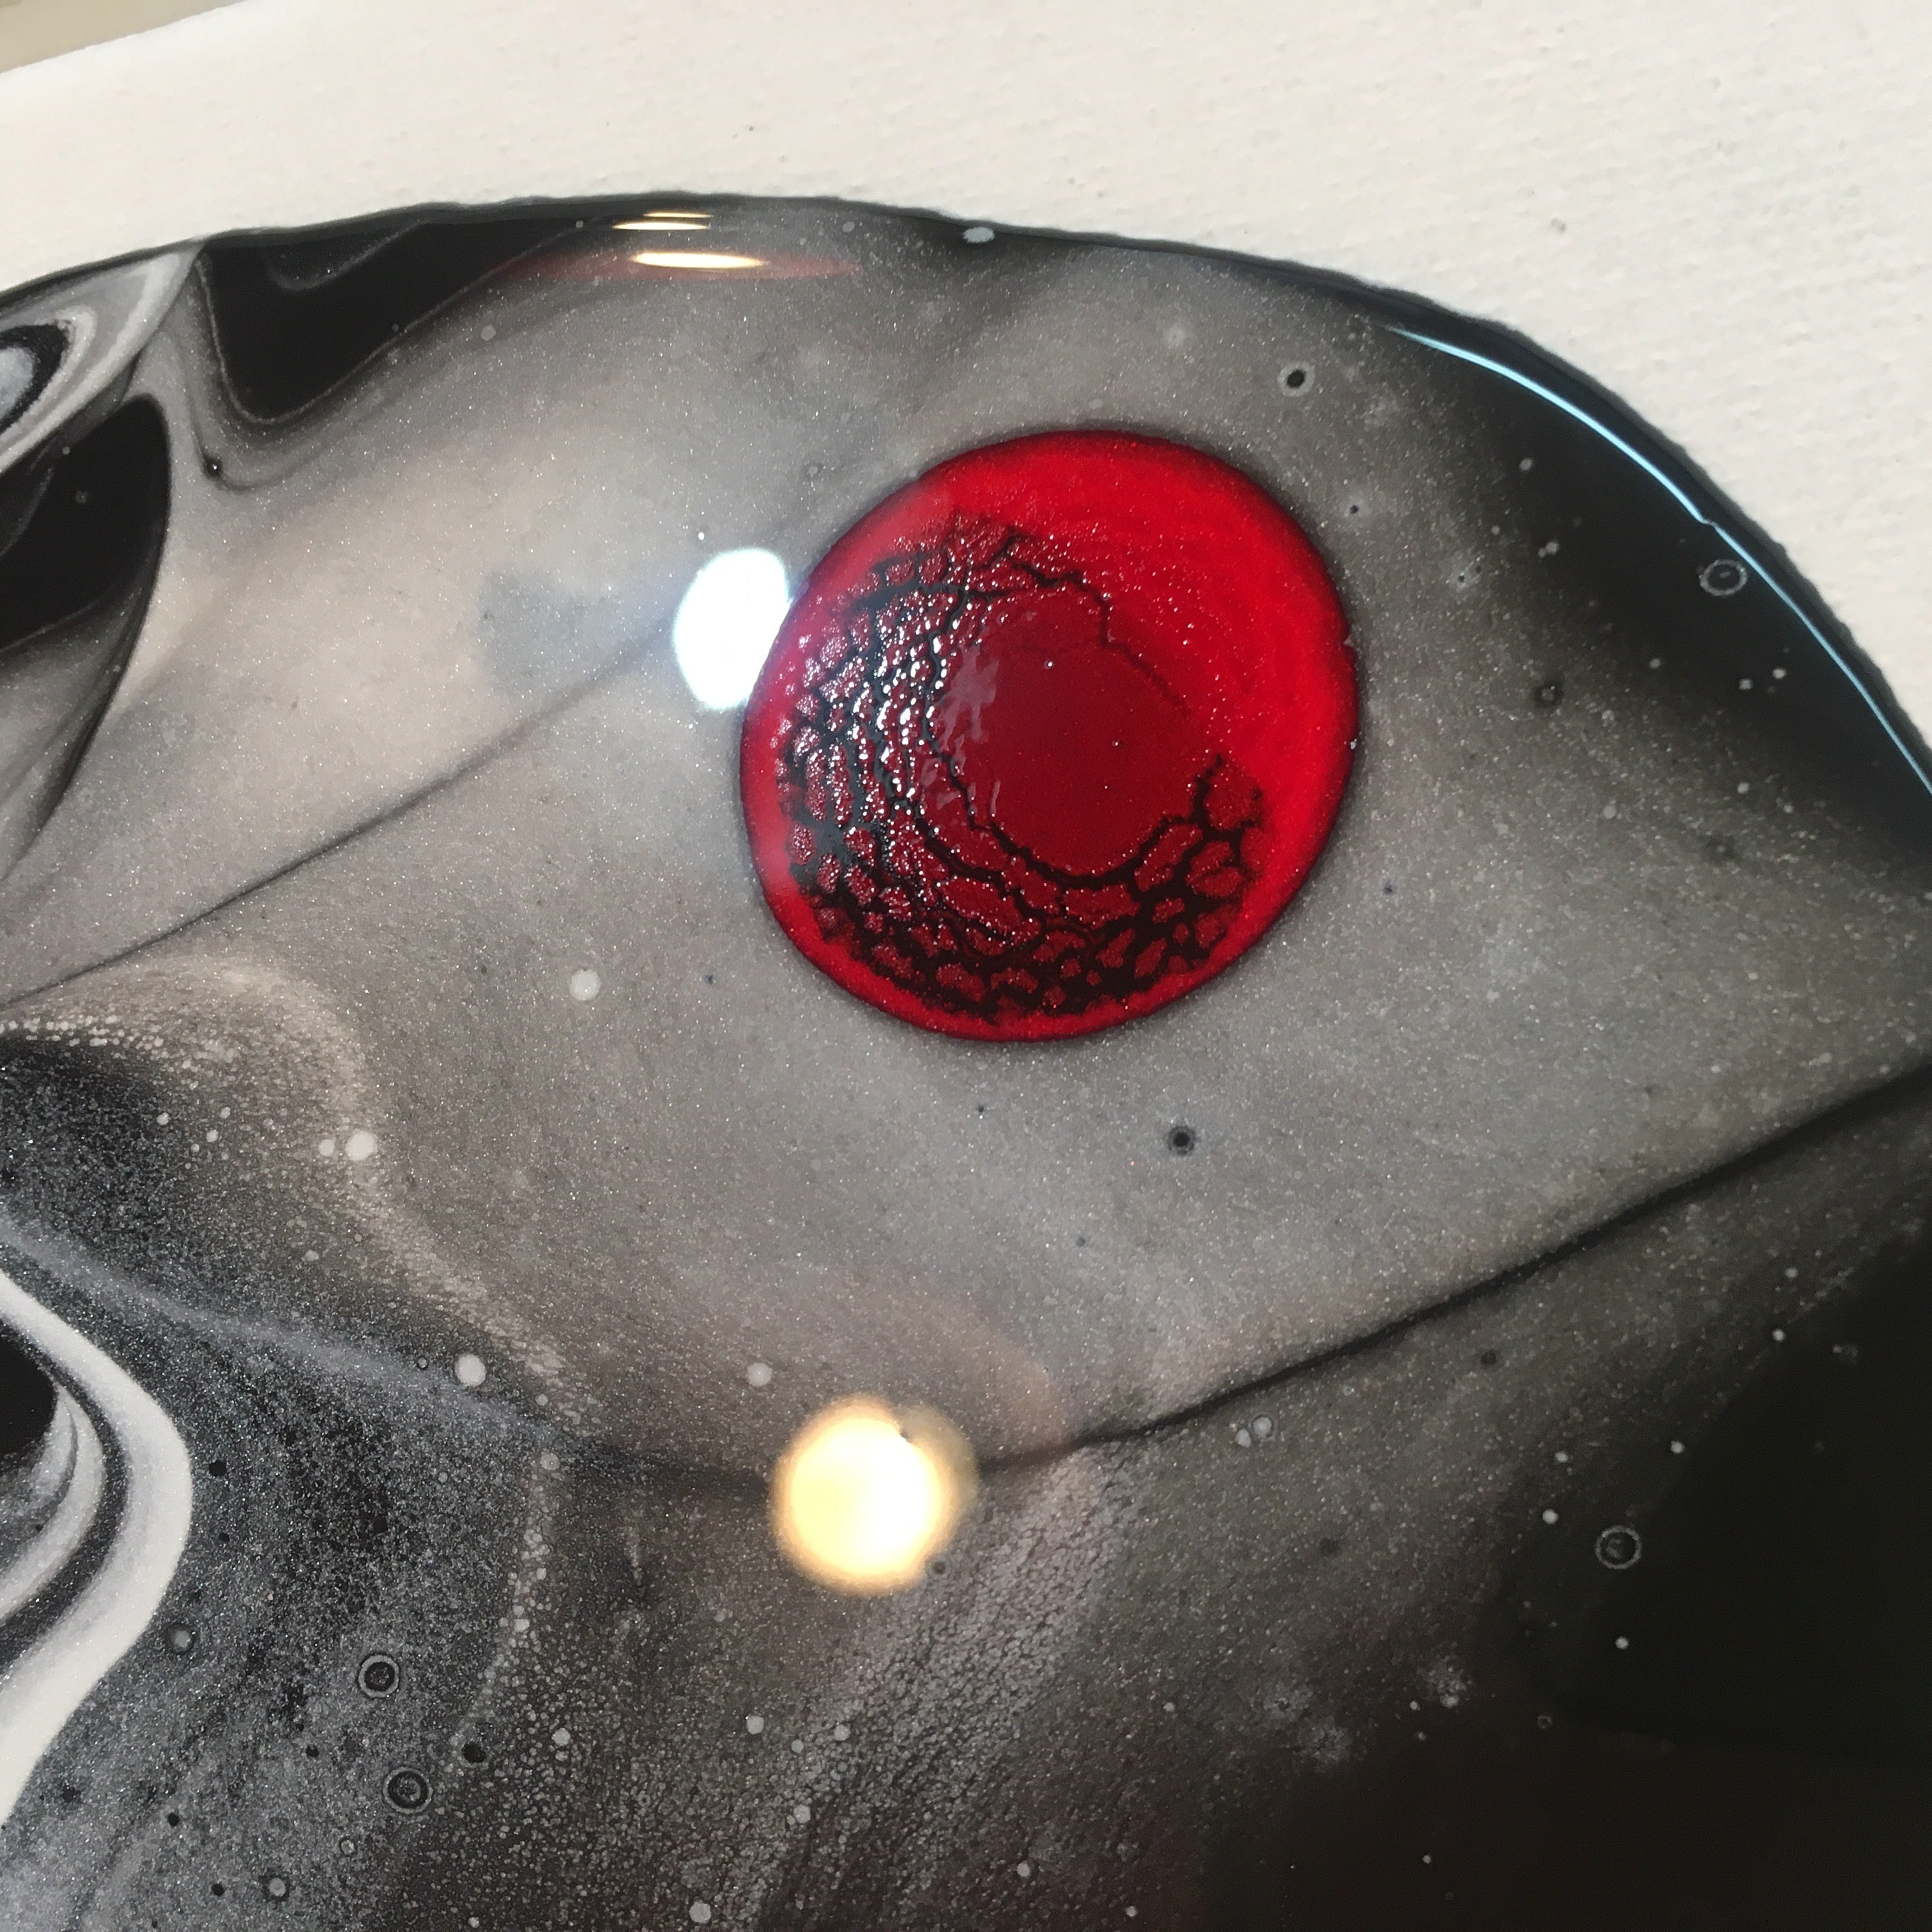
Pick up the canvas and tilt it just slightly to help the liquids cover the canvas, but don’t spread it all the way to the edges yet. Select three light colored areas and drop a drop of red ink in each one.

Allow the canvas to sit for a minute so that the red ink starts to break up and look crackly on the surface of the liquid.
Pick up the canvas and gently tilt it to spread the liquid in each direction to the edges.

Keep tilting the canvas just until areas of the liquid start dripping off the edges. Then return the canvas to the flat position. Use your finger tip to dab the drips of liquid and spread it to cover the edges of the canvas.

If you like, you can drag the red ink with the tip of an Etch n Pearl to encourage it to blend into the other colors. After you drag the tip through, allow the liquids to close the gap back in naturally.

Bake the canvas following the baking instructions above. When baking liquids, it’s very important to bake in a very well ventilated area.

When the canvas is completely cool, spread a thin layer of Clear LS all over the piece all the way to the edges with your finger.

The Clear LS should be slightly translucent to make sure it is not on too thick. Don’t put the Clear LS on the vertical edges, just spread it across the horizontal surface to the edges.

Bake the canvas again, and make sure the temperature reaches 325˚F so that the Clear LS clears completely. When the canvas is completely cool, you can carefully shave drips from the back of the canvas with an exacto blade.
