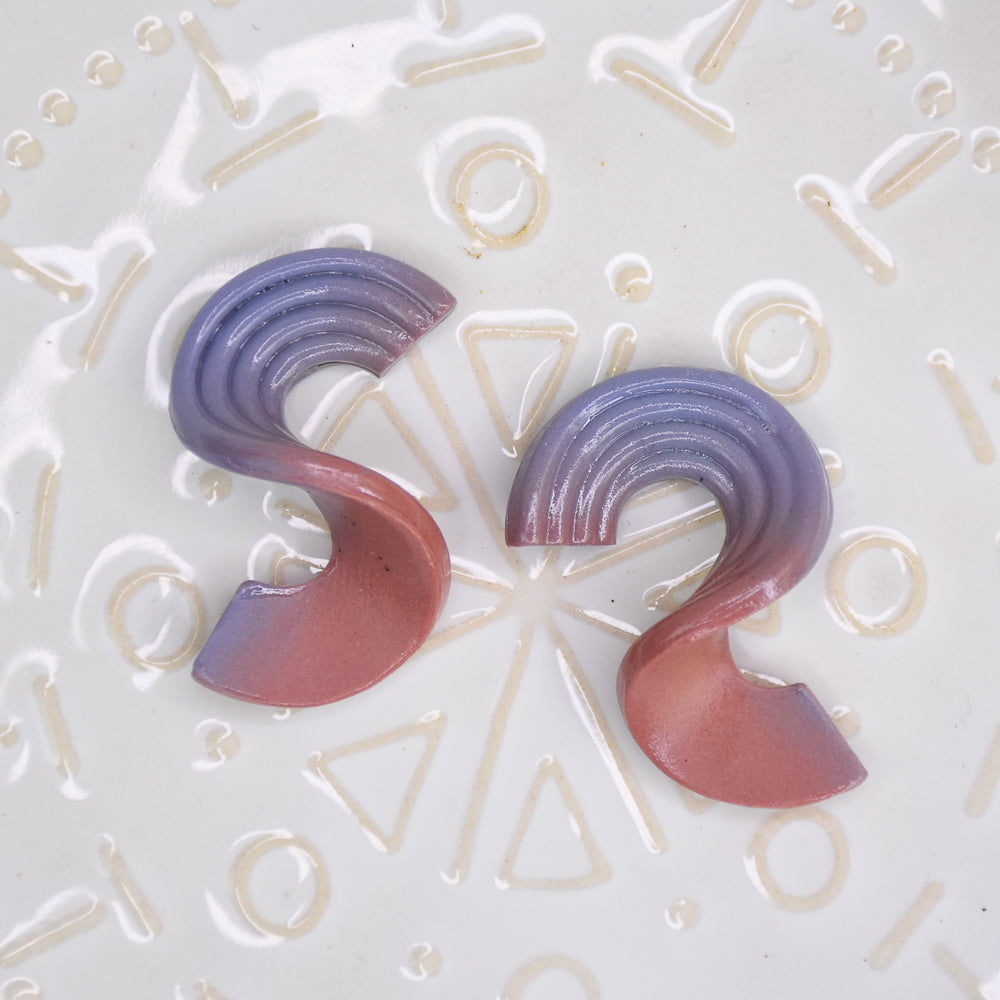
Sculpey Soufflé™ Blended Curly Earrings
Sculpey Soufflé™ Blended Curly Earrings
Read More
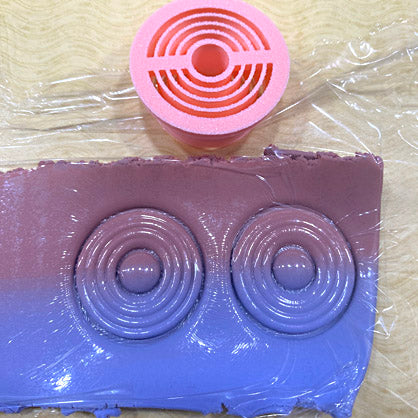
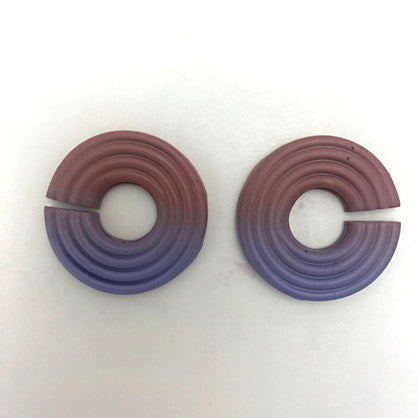
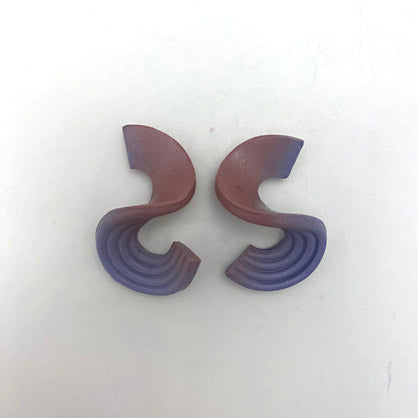
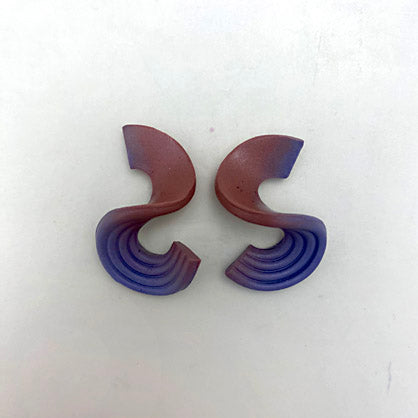
Rejuvenate some of your favorite cutters with a simple twist as shown with these gorgeous dimensional earrings.
COMPLETION TIME:
60 Minutes to make, bake, and assemble. Some time necessary for glue to dry.
Read Less
ADDITIONAL SUPPLIES
- Plastic kitchen wrap
- Circle shaped embossed cutter
- Paintbrush
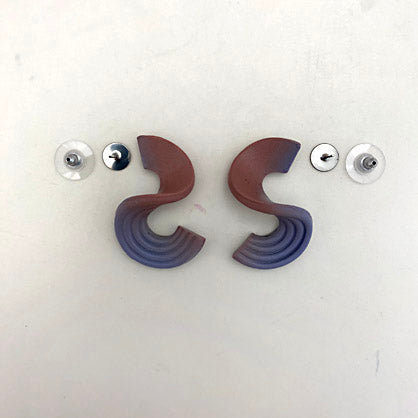
- Ear posts and backs (2 sets)
- Silicone glue or instant drying glue
Project Instructions
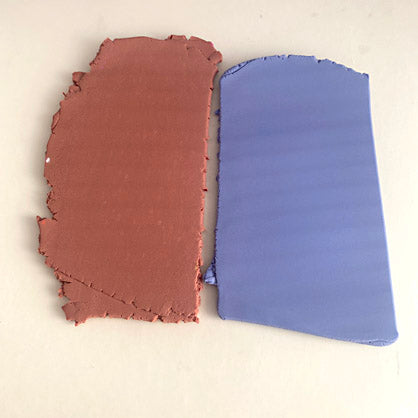
Step 1
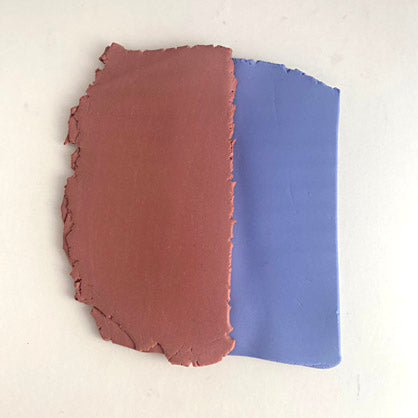
Step 2
Step 3
Step 4
Step 5
Step 6
Step 7
Step 8
Step 9

Step 10
Step 11
Step 12
Step 13