
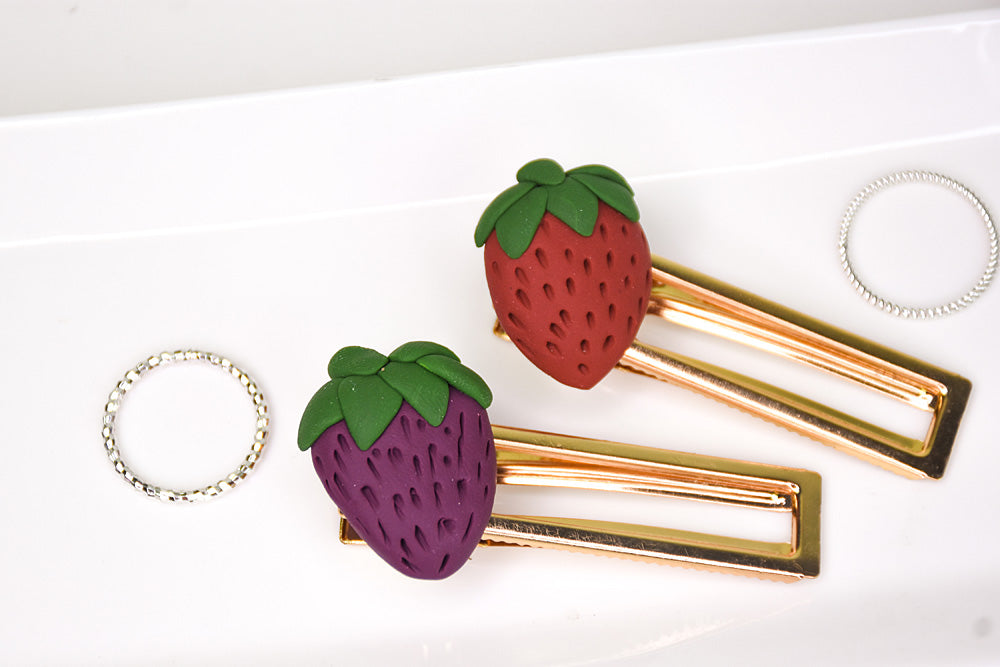
Sculpey III® Berry Barrettes
Sculpey III® Berry Barrettes
Read More
These clever barrettes are ”in season” all year long! Make a pair for yourself and then a pair for you BFF.
TIME TO COMPLETION: 45 Minutes to make, bake, and assemble. Some additional time required for glue to dry.
Read Less
ADDITIONAL SUPPLIES
- Metal hair clips
- Silicone glue like E-6000 or Goop
Project Instructions
Step 1
Step 2

Step 3

Step 4

Step 5

Step 6

Step 7

Step 8

Step 9

Step 10

Step 11
