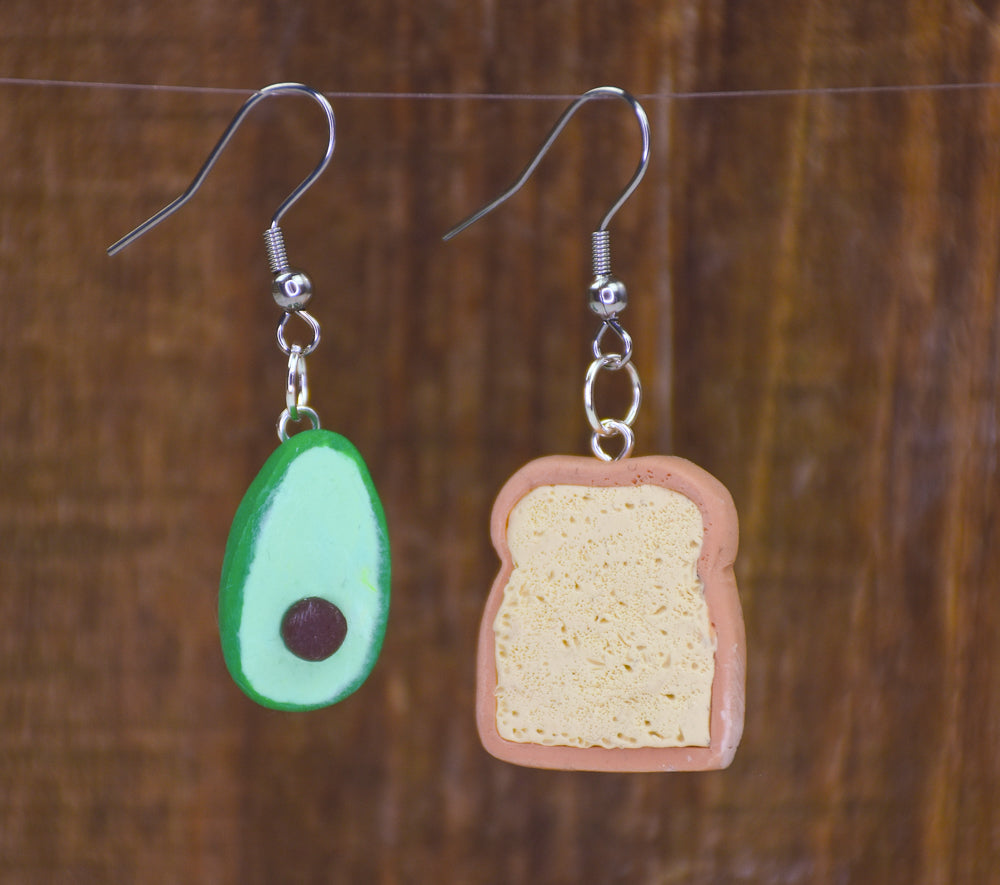
Sculpey Bake Shop® Avocado Toast Earrings
Sculpey Bake Shop® Avocado Toast Earrings
Designed by Lynniepopsicle
Read More
This cute pair of avocado toast earrings, made with Sculpey Bake Shop®, is inspired by the kawaii Japanese culture - anything tiny and sweet. They are designed as a mismatched pair of one toast and one avocado.
TIME TO COMPLETION:
45-50 minutes including baking.
Read Less
ADDITIONAL SUPPLIES
- Old toothbrush
- Gold-toned or silver-toned eye pins (2)
- Gold-toned or silver-toned ear wires (2)

Project Instructions
- Getting Started:
Start with clean hands, unwrap and knead clay until soft and smooth, or condition by running clay though a Pasta Machine. We recommend using a designated machine for clay purposes only. When working with multiple colors, clean hands with soap and water or baby wipes (we have found that baby wipes work best) before switching colors. Shape clay, pressing pieces firmly together. Wash hands after use.
- Baking (also called Curing):
To make the toast:
Mix a 1-inch ball of white clay, 1/4-inch ball of tan and 1/4-inch yellow clay. Flatten the new color with your roller and cut a 1-in square (about 1/8-in thick).

Condition a 1/2-inch ball of tan clay and roll it out into a thin strip (1/8-in wide)

Shape the toast and attach the tan clay strip around it to form the crust.

Add texture to the toast using an old toothbrush or similar.

Insert an eye pin at the top. Set aside in baking tray.

To make the Avocado earring
Mix a 1/2-inch ball of white clay with a 1/4-inch ball of green and 1/4-inch ball of yellow clay. Shape the avocado.
Mix a 1/2-inch ball of white clay with a 1/4-inch ball of green and 1/4-inch ball of yellow clay. Shape the avocado.

Roll out green clay as thin as you can, cut out a rectangle and wrap it around the avocado. Smooth it all over with your fingers so there are no gaps.

Cut the avocado in half using a sharp blade.

Create an indent for the stone and add a ball of brown clay inside.

Add an eye pin at the top.
Bake both earrings as directed above.
Bake both earrings as directed above.

Once the baked clay has cooled, you can add your ear wires and enjoy!

- Choosing a selection results in a full page refresh.
- Opens in a new window.

