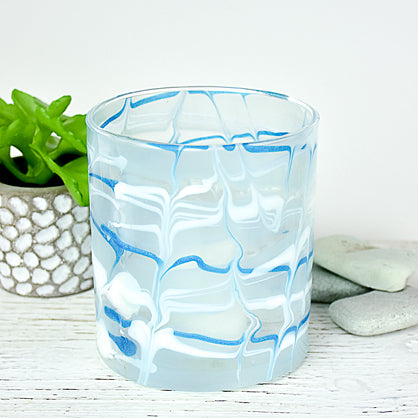
Liquid Sculpey® Translucent Swirls Vase
Liquid Sculpey® Translucent Swirls Vase
Designed by Amy Koranek
Read More
Read Less
Design a unique glass vase by creating a wraparound cling. Swirls of blue translucent tone make the vase look light and fresh.
ADDITIONAL SUPPLIES
- Paper template of your vase size
- Smooth and clear glass that is large enough to cover the paper template
- Paper towel
- 4” Tall wide mouth glass vase
- Heat gun

Project Instructions
- Getting Started:
- Baking:
Make a paper template that is the same size as your vase. The paper template should be the same height as the vase and long enough to wrap around the vase with just a little overlap. Place the template - mine is shown as the dark blue paper - under the clean and smooth glass. Orient the paper template so that it is wide as shown. NOTE: This project must be made on glass so that it will cling to the glass vase when it is complete.

Remove the caps completely from each bottle of Liquid Sculpey® (LS). Stir each color completely with the knife tool. The Clear LS will have a lump of sediment in the bottom of the bottle. Mix the lump completely into the liquid with the knife tool. Clean the knife with paper towel after stirring each color.
Make crisscrossing lines across the width of the template with the Clear LS.
Make crisscrossing lines across the width of the template with the Clear LS.

Cover most of the area with a layer of Translucent Turquoise LS (TTLS). If you make the lines fairly close together, the liquid will generally crawl and fill in small areas. Don’t put the TTLS directly over the Clear LS. You want some of the areas to remain clear after baking.

You can fill in open areas with little drops of more liquid.

Squirt lines of Blue LS horizontally across the other colors as shown.

Drag from top to bottom through the stripes with one of the flat tools as shown.

Drag lines in zig zags.

Keep adding parallel zig zag lines as shown.

Bake the LS on the glass following the baking instructions for LS

When the glass is completely cool, carefully peel the baked clay (cling) off of the glass. Trim the cling as necessary to make sure the height is perfect to the height of the vase. You can leave the length a little long if it is longer than needed. Wrap the cling around the glass vase.

If the cling is a little long, overlap it and it will want to stick to itself. If you like you can dab a little more Clear LS at the overlapping seam and then use a heat gun to instantly cure the fresh LS to create a seal that will keep the cling from coming undone. Turn the heat gun on HI. Move the heat across the area to be cured constantly moving back and forth or in circles. When the Clear LS goes completely clear and shiny, turn the heat off.

