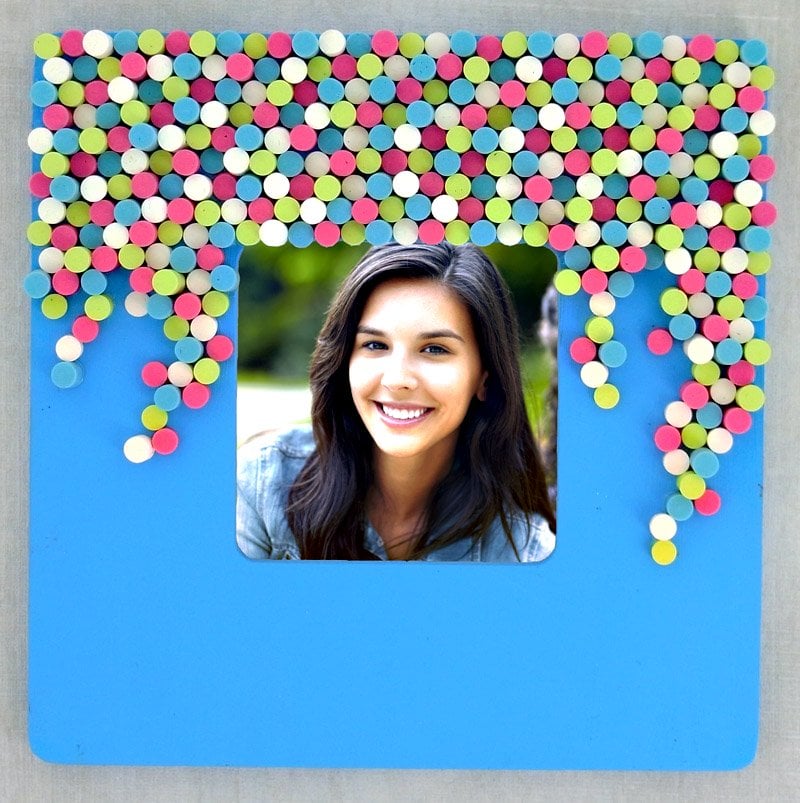
Sculpey Soufflé Puzzle Frame
Sculpey Soufflé Puzzle Frame
Read More
This fun little frame is like doing a puzzle to place the pieces so that the heights and colors are varied. Sculpey Soufflé clay is so easy to extrude and to cut after baking, you just extrude the coils of color, bake them and then cut up the pieces. Grab your glue and get busy!
Read Less
ADDITIONAL SUPPLIES
Square wooden frame (6 inches square), blue acrylic craft paint and brush to paint the frame, white glue, flat dish to put the cut pieces into (I save plastic dishes that frozen food comes in)|Square wooden frame (6 inches square), blue acrylic craft paint and brush to paint the frame, white glue, flat dish to put the cut pieces into (I save plastic dishes that frozen food comes in)

Project Instructions
Getting StartedPolymer clay may stain. CLAY MAY DAMAGE UNPROTECTED FURNITURE OR FINISHED SURFACES. DO NOT USE polymer clay on unprotected surfaces. We recommend working on the Sculpey clay mat, wax paper, metal baking sheet, or disposable foil. Start with clean hands and work surface area. Knead clay until soft and smooth. For best results, clean your hands in between colors. Shape clay, pressing pieces together firmly. Bake on oven-proof glass or metal surface at 275°F (130 °C) for 30 minutes per ¼" (6 mm) thickness. For best baking results, use an oven thermometer. DO NOT USE MICROWAVE OVEN. DO NOT EXCEED THE ABOVE TEMPERATURE OR RECOMMENDED BAKING TIME. Wash hands after use. Baking should be completed by an adult.Begin by preheating oven to 275 °F (130 °C). Test temperature with oven thermometer for perfectly cured clay. For best results, condition all clay by running it through the Clay Conditioning Machine for several passes on the widest setting. Fold the clay in half after each pass and insert the fold side into the rollers first.
Extrude about 12-14 inches of each color and cut the pieces into 4-5 inch lengths. Lay the pieces on a sheet of white paper so that the pieces are as straight as possible. Repeat for all 4 colors. Bake the pieces in a pre-heated oven according to the directions above. While the clay is baking, paint the frame!

Once the clay has baked and cooled, just cut the extruded clay into varying lengths no longer than 3/8 inches long using the Super Slicer. Cut some as thin as you can and all lengths in between. Put the pieces into the dish as you cut them, allowing the colors and lengths to mix.

Squeeze some white glue onto a discarded clay wrapper and dip each piece into the white glue before gluing the bottom row onto the frame, alternating colors and lengths as randomly as possible. The second layer will be positioned between each of the first layer pieces as shown.

Continue as shown until you reach the photo area, then allow the pieces to randomly trail up the frame so that it appears that the pieces are falling from somewhere above the frame and setting into place. Allow the glue to dry thoroughly before adding a picture.


