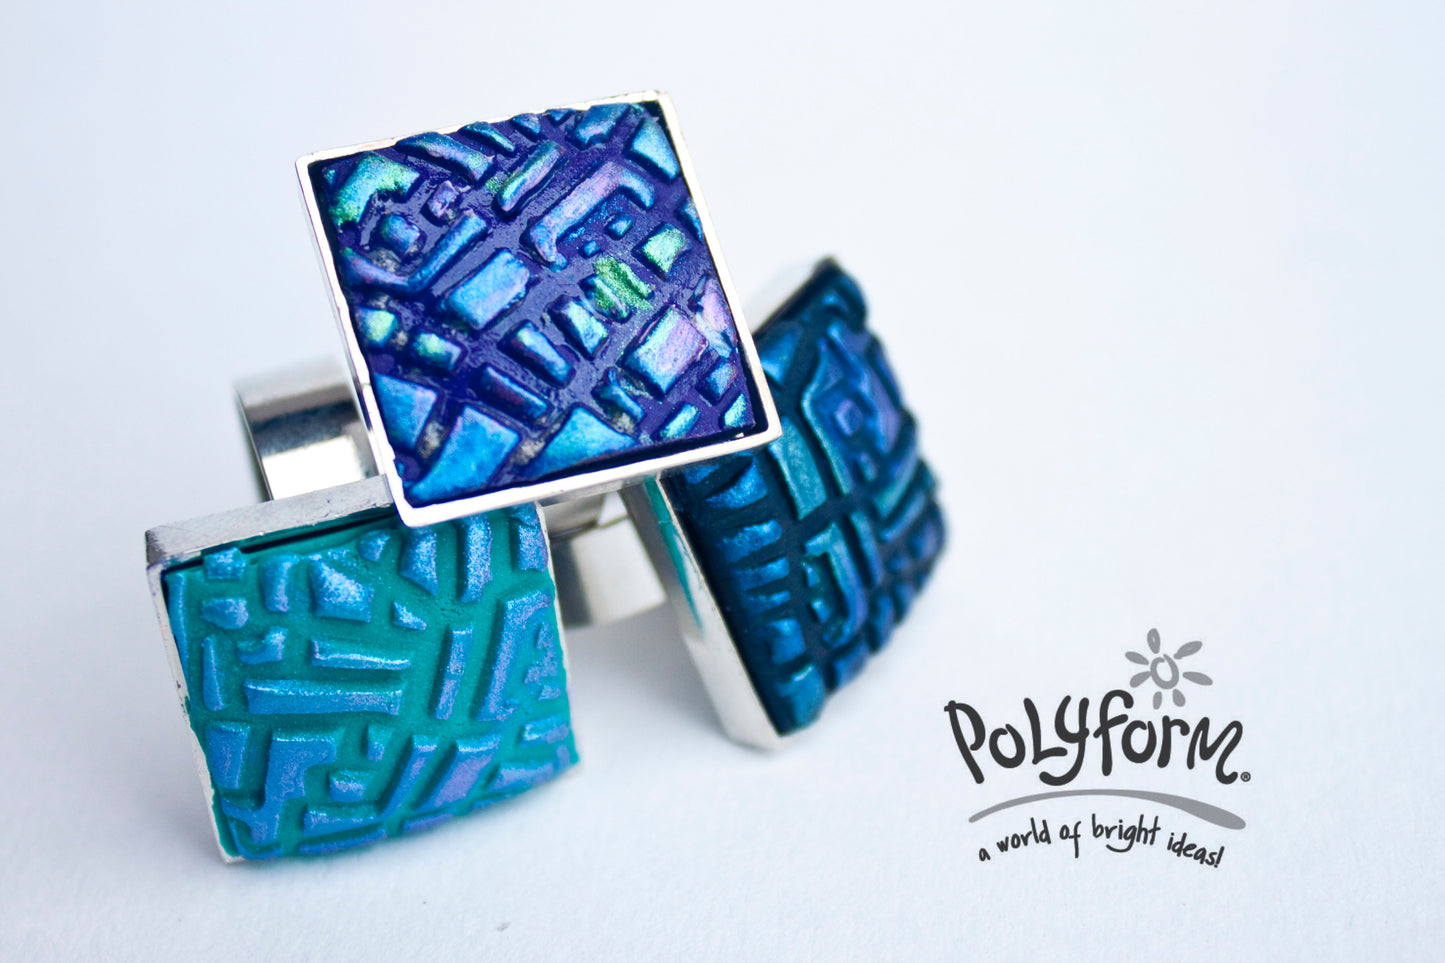
Sculpey Soufflé Computer Age Rings
Sculpey Soufflé Computer Age Rings
Read More
Sculpey Souffle clay is easily embossed and highlighted with mica powders to create a ring that is reminiscent of a computer chip. The rings use such a small amount of clay, they are great projects with that little bit of remaining clay you have on your table...
Read Less
ADDITIONAL SUPPLIES
Several colors of mica powder – I've used Pearl Ex Spring Green, True Blue and Violet, Small spray bottle of water, Clear fast drying glue|Several colors of mica powder – I've used Pearl Ex Spring Green, True Blue and Violet, Small spray bottle of water, Clear fast drying glue

Project Instructions
Getting Started Polymer clay may stain. CLAY MAY DAMAGE UNPROTECTED FURNITURE OR FINISHED SURFACES. DO NOT USE polymer clay on unprotected surfaces. We recommend working on the Sculpey clay mat, wax paper, metal baking sheet, or disposable foil. Start with clean hands and work surface area. Knead clay until soft and smooth. For best results, clean your hands in between colors. Shape clay, pressing pieces together firmly. Bake on oven-proof glass or metal surface at 275°F (130 °C) for 30 minutes per ¼" (6 mm) thickness. For best baking results, use an oven thermometer. DO NOT USE MICROWAVE OVEN. DO NOT EXCEED THE ABOVE TEMPERATURE OR RECOMMENDED BAKING TIME. Wash hands after use. Baking should be completed by an adult.Begin by preheating oven to 275 °F (130 °C). Test temperature with oven thermometer for perfectly cured clay. For best results, condition all clay by running it through the Clay Conditioning Machine for several passes on the widest setting. Fold the clay in half after each pass and insert the fold side into the rollers first.
Roll out the ¼ package of Royalty, Sea Glass and Poppy Seed clay on the #1 setting on the Sculpey Clay Conditioning Machine. Spray the ENTIRE Texture Sheet and position the sheet of clay on the city map section of the texture sheet. Roll back through the Sculpey Clay Conditioning Machine on the #1 setting.

Gently remove the clay from the texture sheet and use a dry paper towel to remove excess water from the clay. Don't press too hard!

Apply the mica powder with the tip of your finger, layering on several colors for the best effect. Gently apply to the raised areas of the design.

Place the textured sheet on another sheet of clay that you made on the clay conditioning machine on a #1 setting. Position the ring finding face down on the selected portion of the texture. Use the Super Slicer blade to trim the clay to the edge of the ring bezel.

Cut a small square of the remaining clay and position it in the center of the back of your selected clay portion. This will create a slight dome effect when placed into the bezel.

Put the completed clay assembly into the ring and use the Super Slicer to trim off any excess clay.

Add some more mica powder highlights and bake the completed ring in a preheated oven according to the directions above. Once the clay has cooled, pop out the clay use the clear fast drying glue to glue it securely back into place. Repeat steps 2 -7 for the other 2 rings using the different colors of clay.

