
Sculpey Premo™ and Soufflé™ Sparkling Water-Look Pens
Sculpey Premo™ and Soufflé™ Sparkling Water-Look Pens
Designed by syndee holt
Read More
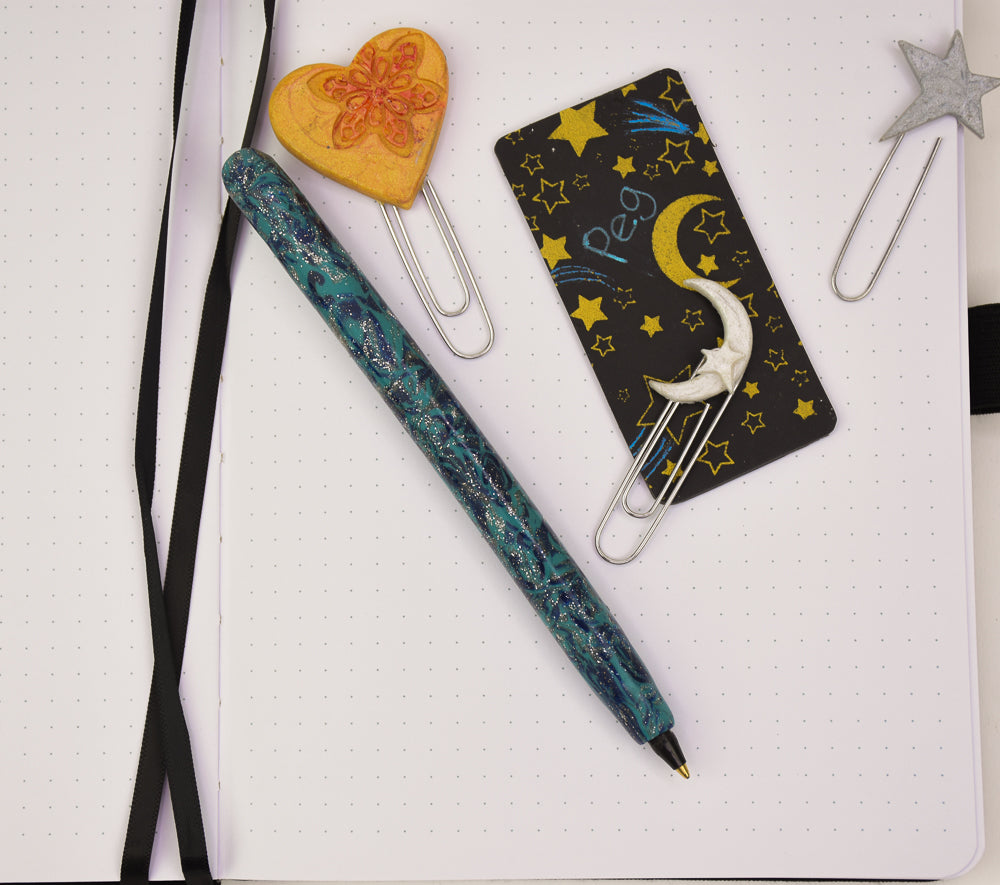
These covered pens are so fun to create and I’ve used two variations of a classic marbling technique to create them. The mix of Premo metallics with the Soufflé intense color really makes the patterns POP!
TIME TO COMPLETION: 30 minutes to make / 30 minutes to bake
Read Less
ADDITIONAL SUPPLIES
- Bic-stic type pen – not clear plastic, but the white barrel kind
- Pliers to remove the ink
Project Instructions
Step 1
- Getting Started:
Start with clean hands, unwrap and knead clay until soft and smooth, or condition by running clay though a Pasta Machine. We recommend using a designated machine for clay purposes only. When working with multiple colors, clean hands with soap and water or baby wipes (we have found that baby wipes work best) before switching colors. Shape clay, pressing pieces firmly together. Wash hands after use.
- Baking:
Step 2
Create small snakes of each of your selected colors that are about 4 inches in length and about 1/4 inch diameter.
Step 3
Twist the 3 colors together and cut in half
Step 4
Twist together again to make a long coil and then twist together again. Roll
Step 5
Press the coils together and use your fingers to create a rectangle of clay
Step 6
Use your clay blade to slice the rectangle open lengthwise.
Step 7
Use the acrylic roller to slightly flatten the two pieces and help them blend together.
Step 8
Cut the sheet of clay lengthwise in slices about 3/8 inch wide. Stack the slices so that you are looking at the cut edge of the slices. Don’t worry if they aren’t even cuts!
Step 9
Rotate the stack a quarter turn and lightly roll over the stack to ensure that the slices are fixed to each other. Rotate the stack a quarter turn again to what was the bottom edge when you first cut/stacked these pieces and you should have a nice even edge to start your cuts with.
Step 10
Cut the stack into thin pieces by holding your blade very taut as you slice.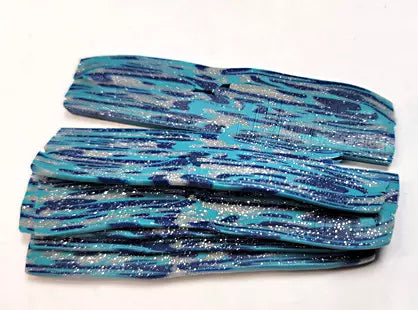
Step 11
Use the acrylic roller to flatten the slices and lengthen them slightly. We want to try to get them to a more uniform thickness if possible.
Step 12
Remove the cap from your pen and use your pliers to twist and pull the tip and ink out of the barrel. Set aside for now as we are going to work on the empty barrel.
Step 13
Lay your slices around the barrel of the pen, butting the slices up tightly against each other.
Step 14
I elected to twist the ends of the clay in opposite directions to add some motion to the pattern.Roll the barrel gently on your worksurface to smooth the clay out. Don’t worry if it goes beyond the ends of the pen

Step 15
Slice the excess clay off at the top of the pen, leaving just a small amount to tuck in and cover the top of the pen.
Step 16
I elected to cover to the tip of the black end of the pen where the ink goes in. You can also trim to just the white portion of the barrel.Make sure that the space is fully open to re-insert the ink after baking! Set aside for now.

Step 17
I had a bit of leftover patterned clay, so I chopped it all up into smallish pieces and then pressed them together as shown.
Step 18
Once again, push the clay into a rectangular shape, pressing as much air as possible
Step 19
Once again, make thin slices through the block of clay and say, “YES! I meant to do that!”
Step 20
Use the acrylic roller to gently roll the slices to thin them slightly and make the thickness more uniform.
Step 21
Lay the slices around the barrel of another pen (take the ink out!), butting the edges up tightly with each other.
Step 22
Lay the pen barrel down on your work surface and roll gently back and forth to smooth the clay along the barrel.Finish the ends of the pen as described in Steps 15 and 16 above and bake your pens.

Step 23
Once the pens have baked and COOLED, insert the ink cartridges again. Make sure that the barrels or cooled or it *may* cause the ink to heat and come out the tip.
Step 24
I elected to give the pen barrels a quick thin coat of Sculpey Gloss Glaze to better highlight the sparkles in the patterns. It is NOT necessary to do so however!