
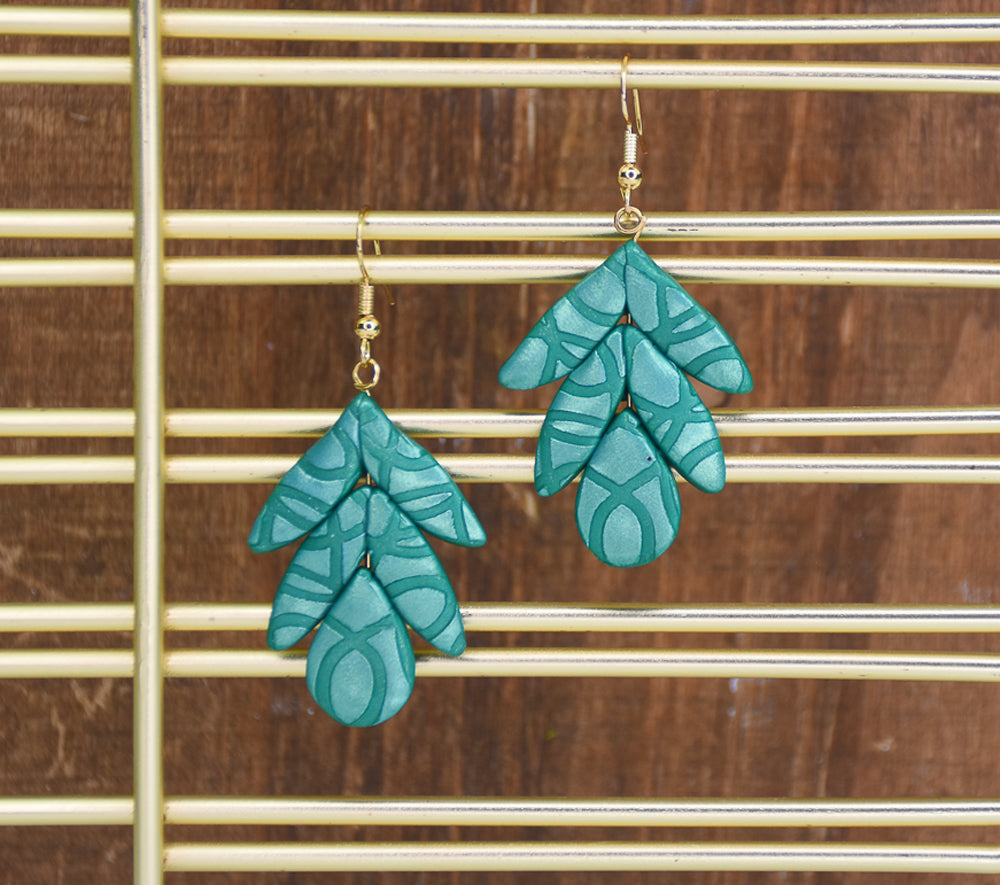
Sculpey Premo™ Mica Shift Art Deco Earrings
Sculpey Premo™ Mica Shift Art Deco Earrings
Read More
Lush colors are the star of these gorgeous flowing earrings with subtle tone on tone highlights.
TIME TO COMPLETION:
45 Minutes to make, bake, and assemble
Read Less
ADDITIONAL SUPPLIES
- Blue/green mica powder
- 2” Gold tone head pins (2)
- Gold tone ear wires (2)
- Wire cutters
- Round nose pliers
- Flat nose pliers
Project Instructions
Step 1
Step 2

Step 3

Step 4

Step 5

Step 6

Step 7

Step 8

Step 9

Step 10

Step 11

Step 12
