
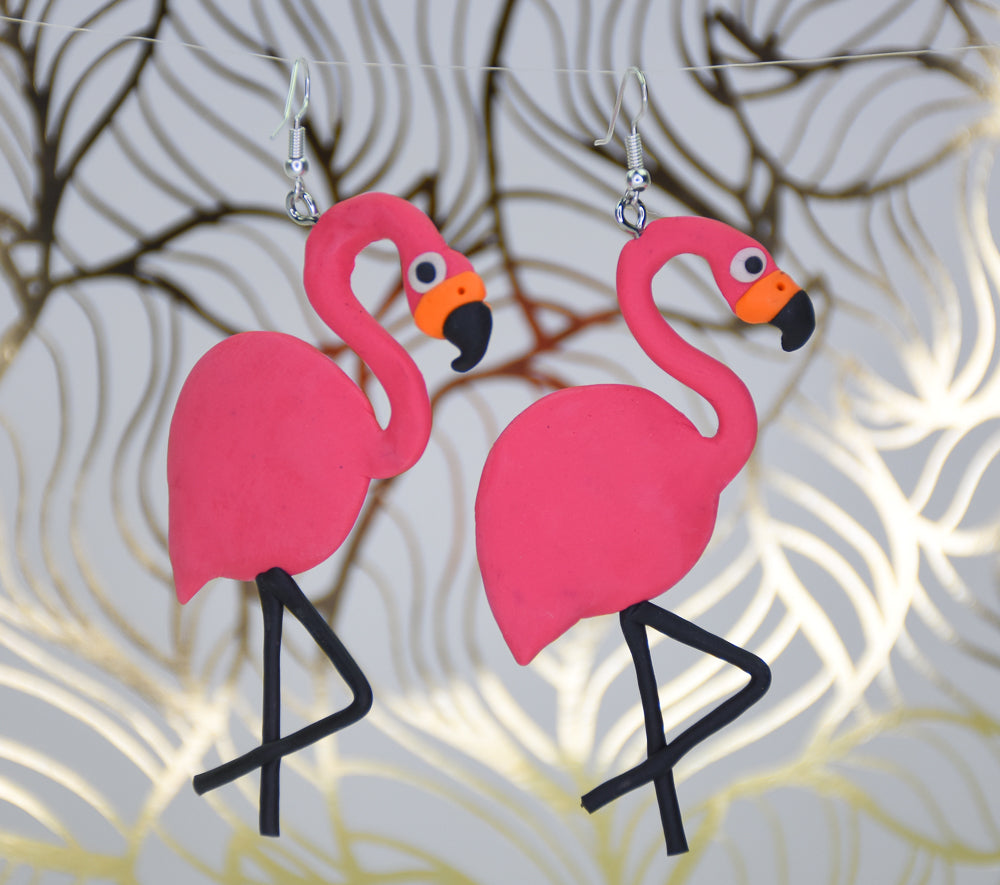
Sculpey Bake Shop® Bendy Tropical Flamingo Earrings
Sculpey Bake Shop® Bendy Tropical Flamingo Earrings
Read More
Who doesn’t love flamingos? These earrings are large and in charge, perfect for a fabulous friend in your life! This bendy clay allows for flexibility and durability all in one!
TIME TO COMPLETION: 1 hour
Read Less
ADDITIONAL SUPPLIES
- Screw eye pins
- Fish hook earring findings
- E6000 glue
Project Instructions
Step 1
Step 2

Step 3

Step 4

Step 5

Step 6

Step 7

Step 8

Step 9

Step 10
