Sculpey Bake Shop® Clay Snowman Ornaments
Sculpey Bake Shop® Clay Snowman Ornaments
Designed by Gretchen Amberg
Read More
Read Less
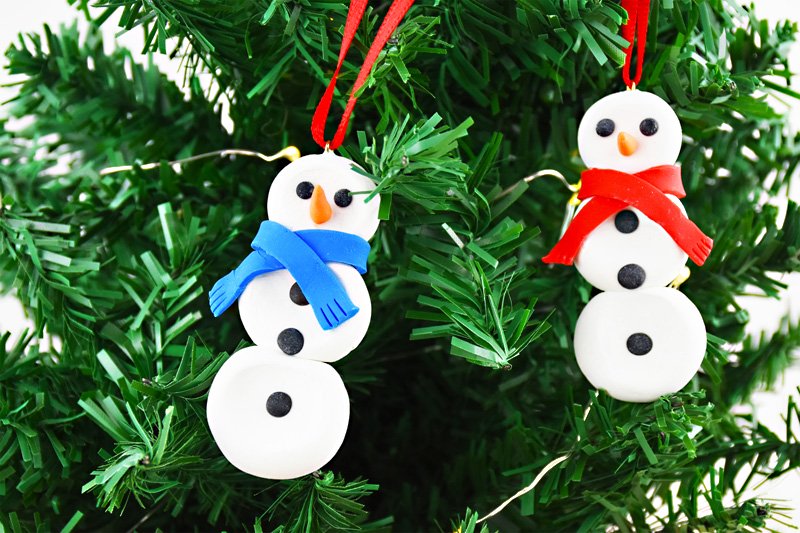
These clever snowmen ornaments are almost as fun to build with Bake Shop clays as they are with real snow!
ADDITIONAL SUPPLIES
- Eye pins (one for each snowman)
- Ribbon

Project Instructions
- Getting Started:
Start with clean hands, unwrap and knead clay until soft and smooth, or condition by running clay though a Pasta Machine. We recommend using a designated machine for clay purposes only. When working with multiple colors, clean hands with soap and water or baby wipes (we have found that baby wipes work best) before switching colors. Shape clay, pressing pieces firmly together. Wash hands after use.
- Baking:
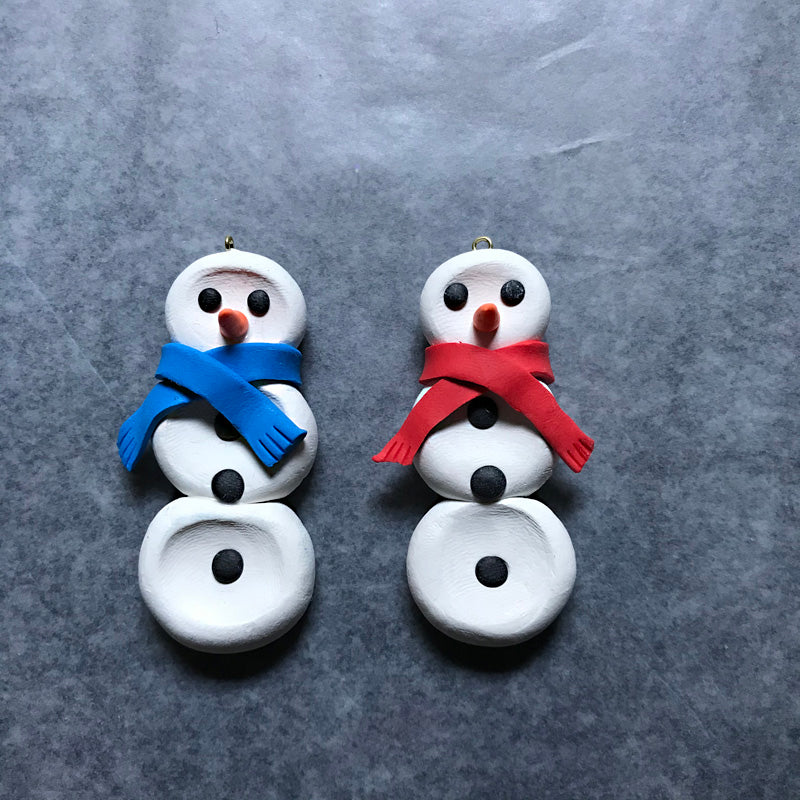
Roll three balls of White clay for the snowball body of your snowman. The smallest being approximately 1/2” in diameter and the other two slightly larger than the next. Press your finger into each White ball to flatten. Press the three flatten balls together from smallest at the top to largest at the bottom. Insert the eye pin down through the snowman’s body from the top of the head.

Roll two tiny balls of Black clay for the snowman’s eyes. Press onto the head. Roll three more small Black balls of the clay for the buttons. Press these down the center of the snowman.Roll a small ball of Orange clay. Roll into a cone/carrot shape. Trim to fit your snowman. Press on to the center of the head.

Roll out some Blue clay with your rolling pin until it is approximately 1/8” thick. Cut a thin 1/4” wide piece for the snowman’s scarf. Trim to fit and wrap around the snowman’s neck. Use your knife to create little vertical fringe lines at the ends of the scarf.


Set onto your baking sheet. Repeat and make another snowman in the same way but this time make a Red scarf. Set onto baking sheet.

Bake according to the directions in Step 1. Allow to cool and enjoy!


