Skip to product information
1 of 1

Sculpey Bake Shop® Bendy Bow Necklace

Sculpey Bake Shop® Bendy Bow Necklace

Designed by Phoebe Doehring
Read More
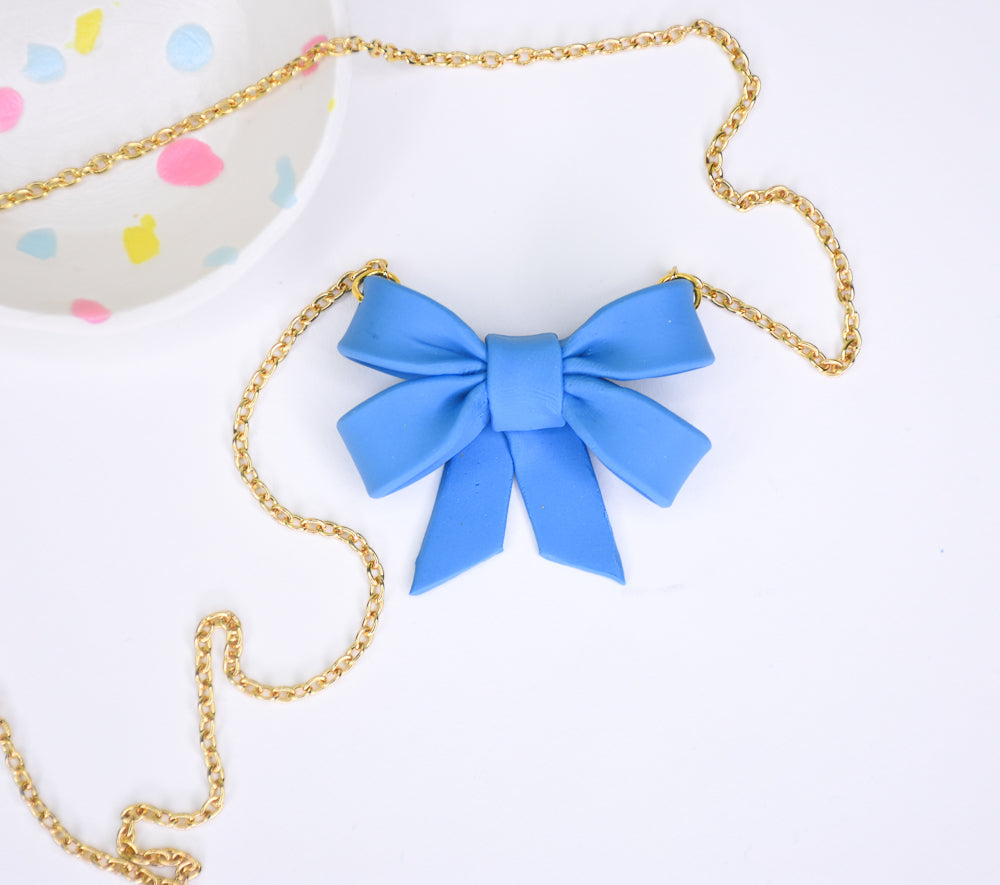
Create this wonderful little bow pendant in under an hour! Once you have created one, you will want to create more in each color combination. TIME TO COMPLETION: 20 minutes to make, 20 minutes to bake/cure
Read Less
ADDITIONAL SUPPLIES
  • Gold toned Jump Rings (2)
  • Gold toned Chain
  • Gold toned Clasp
  • Jewelry Pliers
View full details
Project Instructions

Step 1

Product Instruction

  • Bake at 285 °F (130 °C) 20 minutes per 1/4 inch (6 mm) thickness.
  • DO NOT MICROWAVE.
  • DO NOT EXCEED THE ABOVE TEMPERATURE OR RECOMMENDED BAKING TIME.

Please make sure your work area is covered and you are not working on an unprotected surface. We recommend working on the Sculpey Tools™ Oven-Safe Work Mat, wax paper, metal baking sheet, or disposable foil. Uncured clay may damage unprotected furniture or finished surfaces. Be sure to cover your crafting area appropriately.

Step 2

Combine ¼ block of Bendy Blue and ¼ Block of Bendy White clays to make a medium shade of Blue.

Roll this medium Blue into a long thin snake that is approximately ¼” thick by 8” long. Cut four 1” sized pieces off the snake from
this snake.

Step 3

Use your acrylic roller and flatten each one of these pieces.

Pinch the ends of one piece and then fold it in half to make one bow loop.  Do this with the remaining three pieces as well. 

Step 4

Assemble these four folded loops into a bow shape.  Try to pinch the four ends together in thecenter.

Cut another piece from your remaining snake ¾” in size.  Flatten this small piece with your roller. 

Wrap this piece around the center of the bow and join in the back.  Trim away any excess if you need to.

Cut two more 1” long pieces from your snake. Flatten them both and then cut angles at the ends of each. Attach these to the back of the bow to make the tail ends.

Step 5

Use a toothpick or your 5 in 1 tool and make a hole at the upper top side of each bow loop large enough to accommodate a jump ring.  Bake according to package directions.  Allow to cool completely.

Step 6

Use your jewelry pliers to attach a jump ring in each hole that you made. 

Cut the chain to the desired length you want. (18” shown here) Cut the chain in half.  Attach each half of chain to a jump ring on the side of the bow.  Close the jump ring with your pliers.  Attach your clasp to the other ends of your chain using your pliers.