
Sculpey Premo™ Marbled Stone Bracelet
Sculpey Premo™ Marbled Stone Bracelet
Designed by Precious Nunez
Read More
Read Less
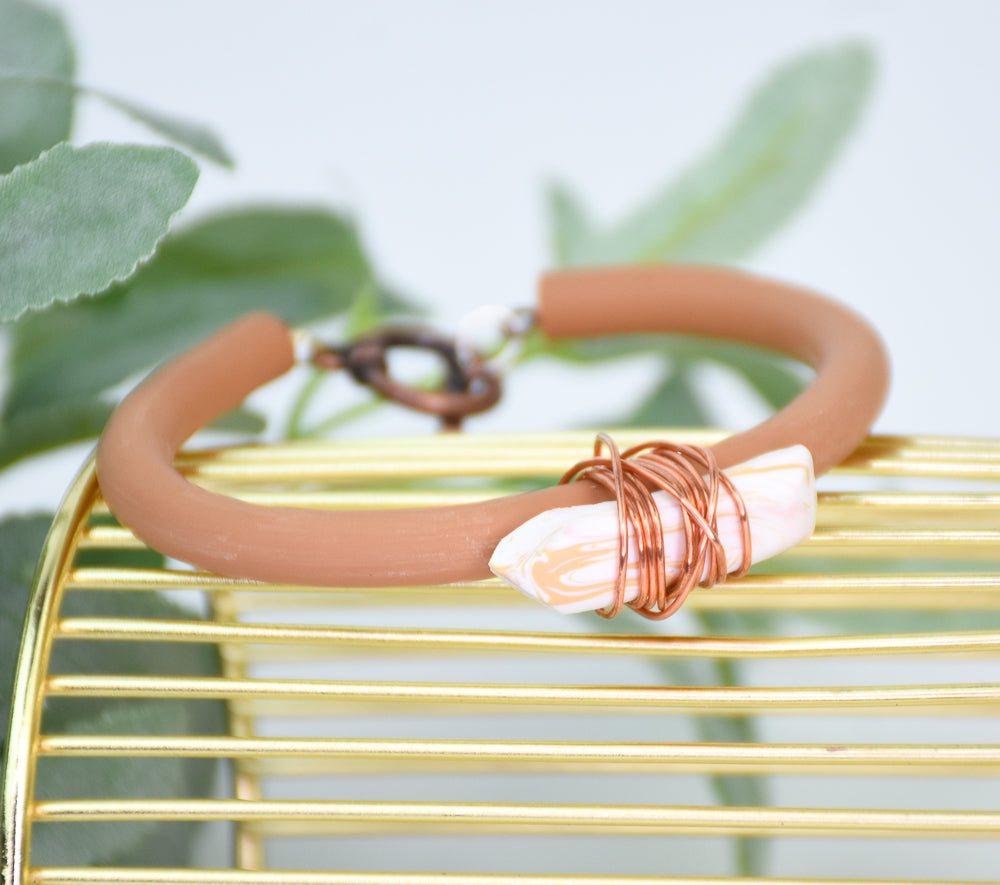
Create these faux marbled bracelets with a cool mid-century modern vibe! Match these with casual neutral tones to complete a trendy outfit!
Time to complete:Sculpting time approximately 20 minutes, baking time 30 minutes
ADDITIONAL SUPPLIES
- Clay extruder
- 20-gauge (0.8mm) Copper craft wire
- Copper toggle findings
- 2 copper eye screws
- 8 mm copper jump rings
- Flat nose pliers
- Wire cutters
- Small craft drill
Project Instructions
- Getting Started:
Start with clean hands, unwrap and knead clay until soft and smooth, or condition by running clay though a Pasta Machine. We recommend using a designated machine for clay purposes only. When working with multiple colors, clean hands with soap and water or baby wipes (we have found that baby wipes work best) before switching colors. Shape clay, pressing pieces firmly together. Wash hands after use.
- Baking (also called Curing):
Mix 1.5 parts Raw Sienna and 1 part White (I used the scored fractions on Sculpey blocks). Condition well and place in the clay extruder with the largest round disc attached. Form into a “C” shape large enough to fit around your wrist.

Mix White clay with small amounts of Ecru and Light Pink to create a marbled effect.

Sculpt the marbled clay from Step 3 into a rectangular shape and slice the edges and corners of the rectangle to create and stone/gem shape leaving the bottom side completely flat.

Squeeze a small amount of Translucent Liquid Sculpey across the middle center of the bracelet and apply pressure making sure the stone bends into the bracelet curve.

Bake according to Step 1.

Place one end of the craft wire on the underside of the stone and wrap fully around the stone and bracelet. Continue to wrap till you get your desired look.
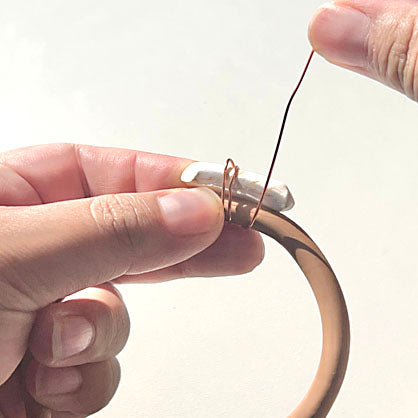
Snip the excess wire with a wire cutter.
Hide the end piece into the rest of the wire to avoid visible wire cuts.
Hide the end piece into the rest of the wire to avoid visible wire cuts.

Use the craft drill to make a small hole of each end piece of the bracelet for the connection loops, screw in the eye screws.

Use your flat nose pliers to attach a jump ring to each side and place the loop, close the jump ring.

Repeat these steps with the other connector.
