Skip to product information
1 of 1

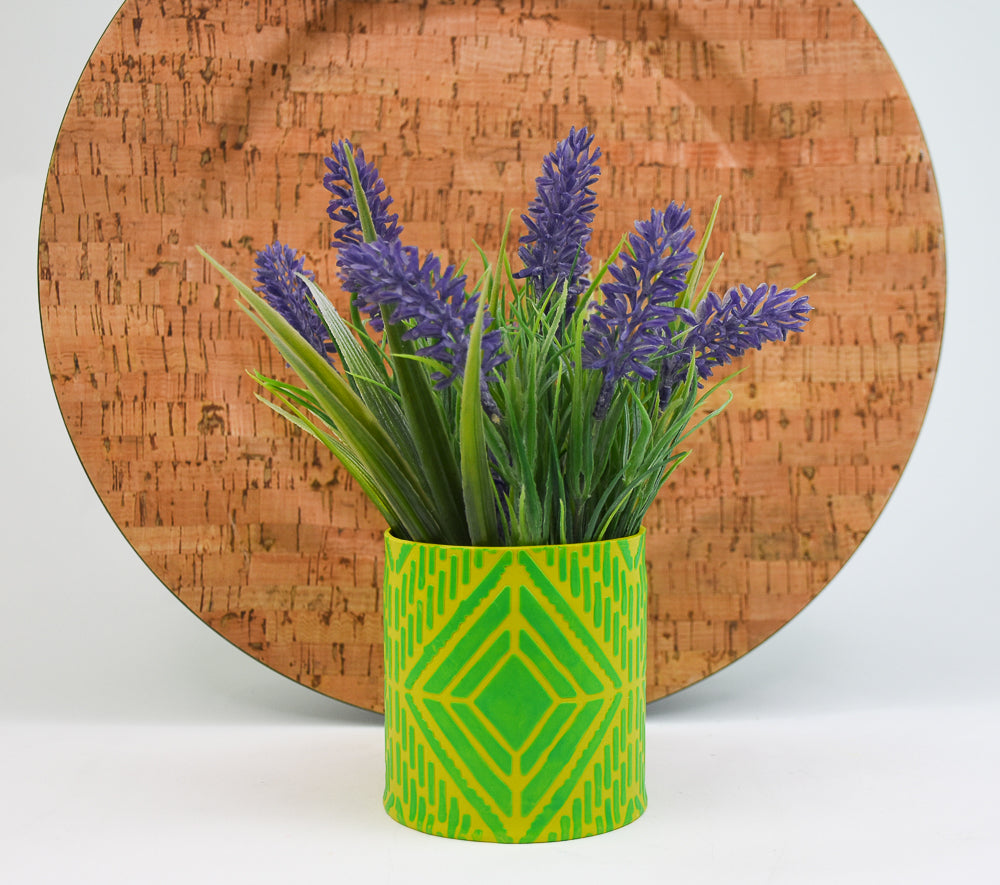
Sculpey Soufflé™ and Liquid Sculpey® Painted Planter

Sculpey Soufflé™ and Liquid Sculpey® Painted Planter

Designed by Amy Koranek
Read More
In this tutorial we will use a stencil and Liquid Sculpey® like “paint” to create a unique planter or desk cup. TIME TO COMPLETION: 60 Minutes to make and bake; however, the stenciled clay will need to rest for several hours or even overnight once the LS is applied
Read Less
ADDITIONAL SUPPLIES
  • Clean empty tin or can
  • Stencil
  • Paper towel
  • Rubbing alcohol
  • Portable work surface like a large baking sheet
  • Disposable gloves
View full details
Project Instructions

Step 1

Getting Started with Souffle Clay:

Please make sure your work area is covered and you are not working on an unprotected surface. We recommend working on the Sculpey® Oven-Safe Work Mat, wax paper, metal baking sheet, or disposable foil. Uncured clay may damage unprotected furniture or finished surfaces. Be sure to cover your crafting area appropriately.

Start with clean hands, unwrap and knead clay until soft and smooth, or condition by running clay though a Pasta Machine. We recommend using a designated machine for clay purposes only. When working with multiple colors, clean hands with soap and water or baby wipes (we have found that baby wipes work best) before switching colors. Shape clay, pressing pieces firmly together. Wash hands after use.

Baking (also called Curing):

Begin by preheating oven to 275 °F (130 °C). After you are done creating; for best results bake/cure clay on an oven-proof surface such metal, aluminum foil, an index card or the Sculpey® Clay Mat at 275°F (130 °C) for 30 minutes per 1/4" (6
mm) thickness according to package directions. Oven safe glass or ceramic
surfaces are also acceptable for baking/curing; however please note that the
baking/curing times may take longer as the glass or ceramic surfaces take
longer to heat up. For best baking results, use an oven thermometer. DO NOT USE
MICROWAVE OVEN. DO NOT EXCEED THE ABOVE TEMPERATURE OR RECOMMENDED BAKING TIME.

Getting Started with Liquid Sculpey:

Please make sure your work area is covered and you are not working on an unprotected surface. We recommend working on the Sculpey® Oven Safe Work Mat, wax paper, metal baking sheet, or disposable foil. Uncured Liquid Polymer Clay may damage unprotected furniture or finished surfaces. Be sure to cover your crafting area appropriately. - Stir Liquid Sculpey® completely. Thin with Sculpey® Liquid Clay Softener as needed - Wash hands after use (we have found that baby wipes work best) .

-If your liquid project has become yellowed or discolored in the oven, when you remake it, tent it by placing either – folding an index card in half and placing your project under it by using aluminum foil over your project.
Step 2

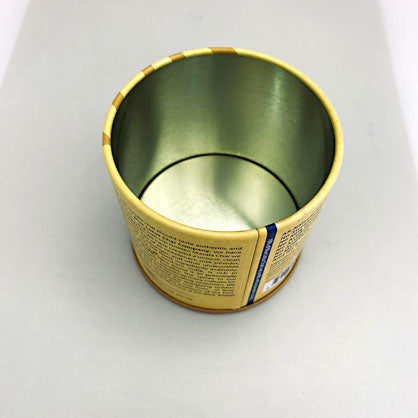
For my little planter (which can also be used for a desk top pencil cup) I’ve selected
a small metal tea container. If you want to use the finished design as a
planter you may want to consider poking holes in the bottom of the can for
drainage or using it as a holder for a small plastic planter.

Step 3

Wrap the stencil to be used around the empty can to visualize how the stencil will play out on the finished can. In this photo the stencil looks like it will come up
just shy of wrapping the design completely around my can. However, I’m
confident that with a tiny bit of clay stretching I can make this design match
up perfectly.

Step 4

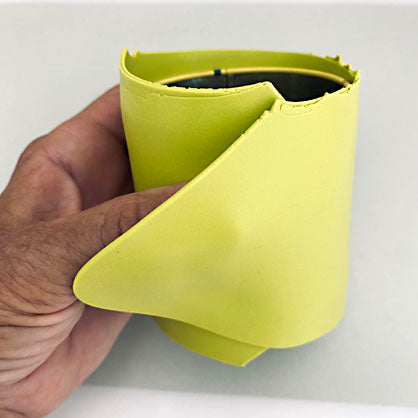
Next roll clay with a Clay Roller or through a pasta machine to a long narrow sheet.
The thickness and shape of your clay depends entirely on the size of can you
are using. A simple guideline is to wrap the can in a layer of clay that is
slightly under 1/8” thick which is very close to the first or second thickness
on a pasta machine. Here I’m satisfied that I can wrap all the way around the
can with one long sheet and I will only have one seam which is optimal.

Step 5

DESIGNERS NOTE: the clay will need to sit for several hours before handling once the LS is applied through the stencil. You may want to consider performing the next step on a large baking sheet or other work surface that can be re-located to an area where it will remain undisturbed for several hours.

Remove the clay sheet from the can and lay it flat in front of you. Roll the clay to
the work surface so there are no wrinkles or air bubbles.

Place the stencil over the top, lining up the pattern in the stencil with the clay.
Note that here, I have not completely trimmed the clay yet, and I am centering
the stencil design horizontally on the clay sheet.

Roll over the stencil with a Clay Roller until the clay is at least level in all the
stencil openings.

Step 6

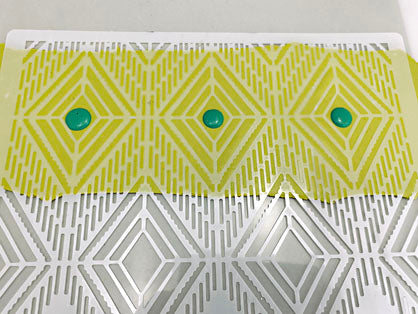
Add a few dots of Green Liquid Sculpey (LS) to the top of the stencil.

Step 7

Use fingertips to distribute the LS through the openings in the Stencil. (You may want to use disposable gloves for this step!)

Step 8

Add more dots of LS to uncovered areas.

Step 9

Keep spreading the LS with your fingertips.

Step 10

Repeat Steps 8 and 9 until the whole design is covered. Look closely for areas that
may be uneven and try to even out the LS so that it has equal coverage in all
of the openings.

Step 11

Carefully peel back the stencil from one corner.

Lay the stencil on a paper towel. Any excess LS that can be squeegeed away with your fingertips can be placed back into the open bottle. Clean residual LS from the
stencil with a paper towel pad dampened with rubbing alcohol.

Step 12

Allow the stenciled clay to rest for several hours or even overnight until the LS on
the surface soaks in and is no longer movable even when touched.

Step 13

After letting the clay rest, test the LS by tapping it carefully with fingertips. If
the LS can be touched without disturbing it, we are ready to proceed.

Trim a straight edge along one of the short ends of the clay.

Trim the height of the clay to match your can. Note that I trimmed my clay about 1/2” taller than my can allowing the top edge of the clay to extend above the edge of the can and preserving the stenciled design

Step 14

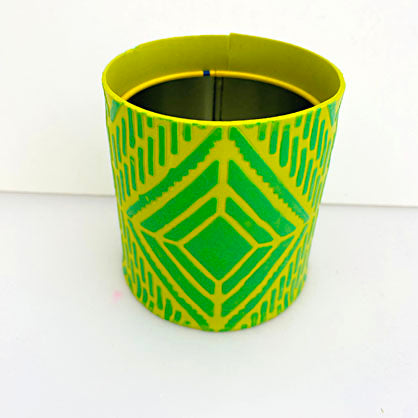
Carefully wrap the clay sheet around the can.

Step 15

Meet the seams as closely as possible at the back of the can. Trim as needed.

Step 16

Bake the can following the baking instructions for Sculpey Soufflé™.

Allow to cool completely before handling.