Skip to product information
1 of 1

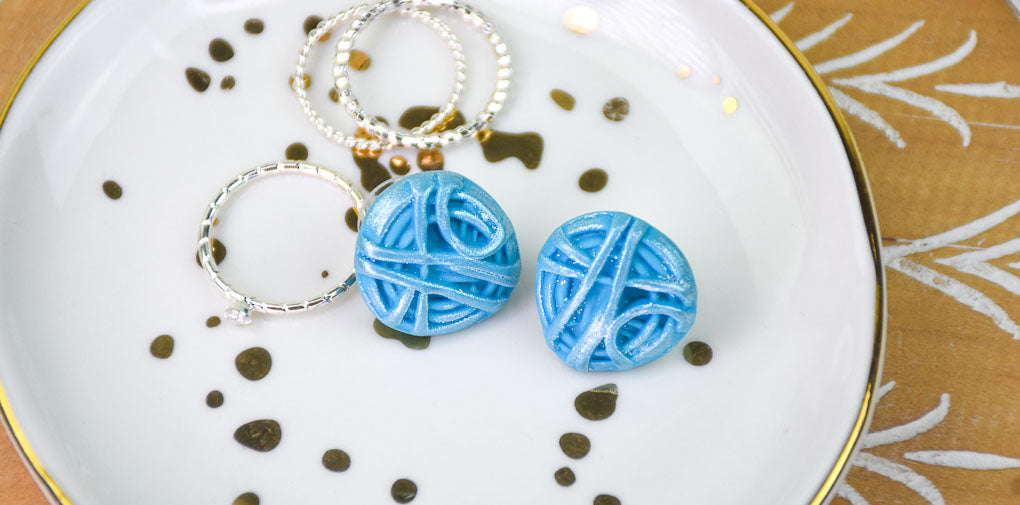
Sculpey Premo™ Knit Ball Molded Earrings

Sculpey Premo™ Knit Ball Molded Earrings

Designed by Amy Koranek
Read More
In this tutorial we will make a mold from a metal button or other object of your choice. The mold can then be used to reproduce copies to make identical pieces for earrings. COMPLETION TIME: 30 Minutes to make and bake the mold 45 Minutes to make, bake, and assemble earrings - drying time needed for glue
Read Less
ADDITIONAL SUPPLIES
  • Small metal (yarn ball shaped) button or other object to mold
  • Corn starch
  • Small paintbrush
  • Pearl mica powder
  • Earring posts with backs (2)
  • Silicone glue or instant drying glue
View full details
Project Instructions

Step 1

Getting Started:

Please make sure your work area is covered and you are not working on an unprotected surface. We recommend working on the Sculpey® Oven Safe Work Mat, wax paper, metal baking sheet, or disposable foil. Uncured clay may damage unprotected furniture or finished surfaces. Be sure to cover your crafting area appropriately.

Start with clean hands, unwrap and knead clay until soft and smooth, or condition by running clay though a Pasta Machine. We recommend using a designated machine for clay purposes only. When working with multiple colors, clean hands with soap and water or baby wipes (we have found that baby wipes work best) before switching colors. Shape clay, pressing pieces firmly together.  Wash hands after use.

Baking:

Begin by preheating oven to 275 °F (130 °C). After you are done creating; for best results bake clay on an
oven-proof surface such as metal, aluminum foil, an index card or the Sculpey®
Oven Safe Work Mat at 275°F (130 °C) for 30 minutes per ¼" (6 mm) of thickness according
to package directions. Oven safe glass or ceramic surfaces are also acceptable
for baking; however please note that the baking times may take longer as the
glass or ceramic surfaces take longer to heat up. For best baking results,
use an oven thermometer. DO NOT USE MICROWAVE OVEN. DO NOT EXCEED THE ABOVE
TEMPERATURE OR RECOMMENDED BAKING TIME.

Step 2

We will create the mold first.

Condition a small amount of Mold Maker - about twice as much molding material as the size of the original metal button. Make a little patty. Swipe corn starch across the face of the Mold Maker patty. Swipe corn starch across the surface of the metal button. Brush away excess corn starch from both the patty and the button with a paintbrush. You don’t need to be able to see the corn starch on the surface.

Push the button, decorative side down, into the Mold Maker patty.

Step 3

Carefully remove the button from the Mold Maker. A tip is to use the Needle Tool by running it through the button shank to help lift the button out.

You can also bake the metal button in the mold if you prefer. Then remove it by gently flexing the mold after it is baked and cooled.

Bake the Mold Maker mold following the baking instructions.

Allow to cool completely before using the mold.

Step 4

Make a small Turquoise ball just large enough to fill the mold.

Swipe the mold with more corn starch and brush excess away with the paintbrush.

Step 5

Push the ball of Turquoise into the mold.

Step 6

Carefully flex the mold to release the Turquoise shape. Do not bake raw clay in the mold.

Step 7

Repeat Steps 4-6 for a second molded piece.

Step 8

Swipe just the raised areas with pearl mica powder on your fingertip.

Bake the pieces following the baking instructions for Sculpey Premo™.

Allow to cool completely before handling.

Step 9

Here’s the layout for the earrings.

Step 10

Glue the posts to the backs of the earrings and allow to dry completely.