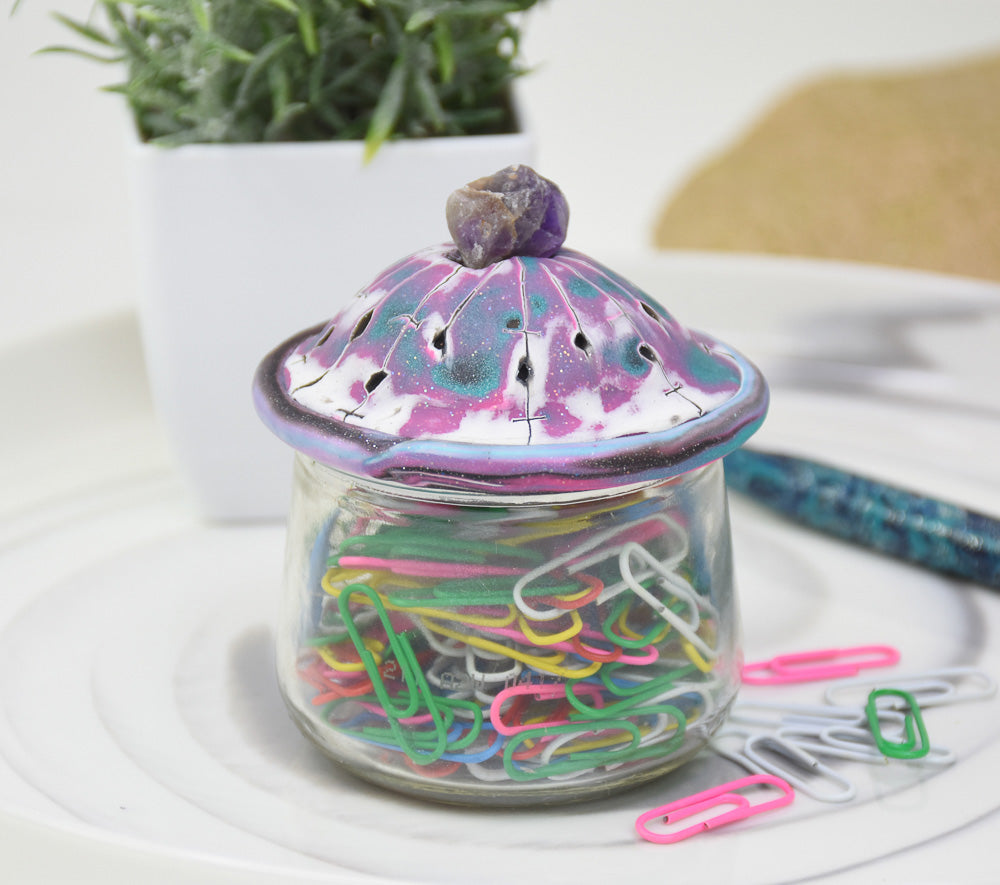
Sculpey III® Upcycled Yogurt Jar
Sculpey III® Upcycled Yogurt Jar
Designed by Amy Koranek
Read More
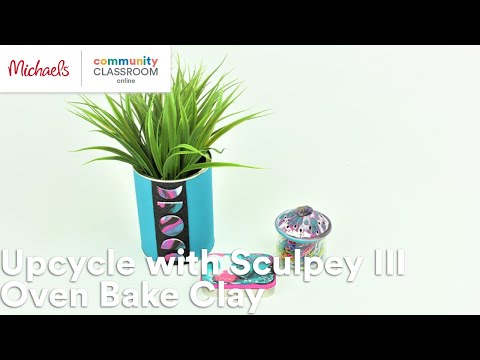
This is the third part in a series on using items from around the home to upcycle them into functional decorative pieces. All three pieces can be made from a single bar of each color clay listed below. COMPLETION TIME:
60 Minutes to make and bake
Read Less
ADDITIONAL SUPPLIES
- Empty, clean glass yogurt jar or small food jar
- Crystal, or glass, or sea glass item to use as a handle or decorative accent on the top of the lid
- Silicone glue like GOOP or E-6000

Project Instructions
- Getting Started:
Start with clean hands, unwrap and knead clay until soft and smooth, or condition by running clay though a Pasta Machine. We recommend using a designated machine for clay purposes only. When working with multiple colors, clean hands with soap and water or baby wipes (we have found that baby wipes work best) before switching colors. Shape clay, pressing pieces firmly together. Wash hands after use.
- Baking (also called Curing):
We will focus first on making the decorative part of the lid which is done in a Mokume Gane technique. Start with equal amounts of each color of clay. The pieces shown are 1/8” thick and 1-1/2” x 1-1/2” square.

Stack the squares up as shown.

Roll over the stack with the Acrylic Clay Roller to flatten it to a rectangle twice the length of the square, so about 3” long.

Divide the rectangle in half with the Blade.

Stack the two halves up again.

Roll over the stack again doubling it in length once more.

In this photo I’m just trimming away the wavy edge to keep it rectangular in shape.
Divide the sheet in half again.

Stack the halves up one more time

Roll over the sheet once more just to press out air bubbles with the roller. Make sure the size of the sheet is large enough to make a lid for the top of the little jar.

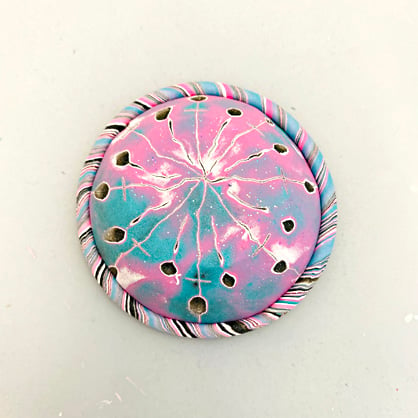
We will use the 5-in-1 tool next and its various magnetic heads to make marks in the clay slab. Divide the slab as shown by scoring with the Needle.

Add more Needle marks radiating from the center.

Impress divots with the 6 mm Ball.

Add hash marks with the Flat Chisel.

Heal the impressions by rolling over the sheet with the Roller. Using enough pressure to burnish the sheet down to your work surface will be helpful for the following slicing steps.

Carefully slice very thin layers off the top of the sheet with the Clay Blade parallel to the work surface.

Lay the slices aside.

Continue slicing away thin pieces until the whole top layer is removed showing the pattern that was impressed inside

Once more make sure the patterned piece is large enough to make a lid for the jar. If not, you can either roll it with the Clay Roller or gently stretch it with your fingertips.

We will use up scrap clays next to make filler to dome up the jar lid. Roll scraps of clay up into a ball.

Shape the ball into a dome.

Make sure the dome is about the same size as the opening of the jar.

Cut a circle that is large enough to cover the dome from the patterned clay using the Blade.

Place the decorative circle over the dome. Press the decorative top over the dome completely covering the dome.

Take scraps from the Mokume Gane stack to create a rim.

Roll and twist the scraps to make a cool twisted rope.

Cut an angled edge following the stripes with the Blade.

Wrap the twisted rope around the outside of the domed lid starting and ending with an angled cut that follows the stripes. Blend the seam with your fingertips. Now the lid should be large enough to balance on the top of the jar rim.
From Black Glitter clay make a patty that is the same size as the inside area of the jar opening.

Press the Black Glitter disc to the bottom of the decorative lid.

This will make a little rim that keeps the lid from sliding off the jar.

If you want to glue a crystal, or other decorative object to the top of the lid, impress its shape into the top of the lid. Remove the decoration and then bake the lid following the baking instructions for Sculpey III®.

Allow the lid to cool completely and then permanently glue the decoration to the top using silicone glue.
