Skip to product information
1 of 1

Sculpey Bake Shop Bendy® Cute Lil Horse

Sculpey Bake Shop Bendy® Cute Lil Horse

Designed by Phoebe Doehring
Read More
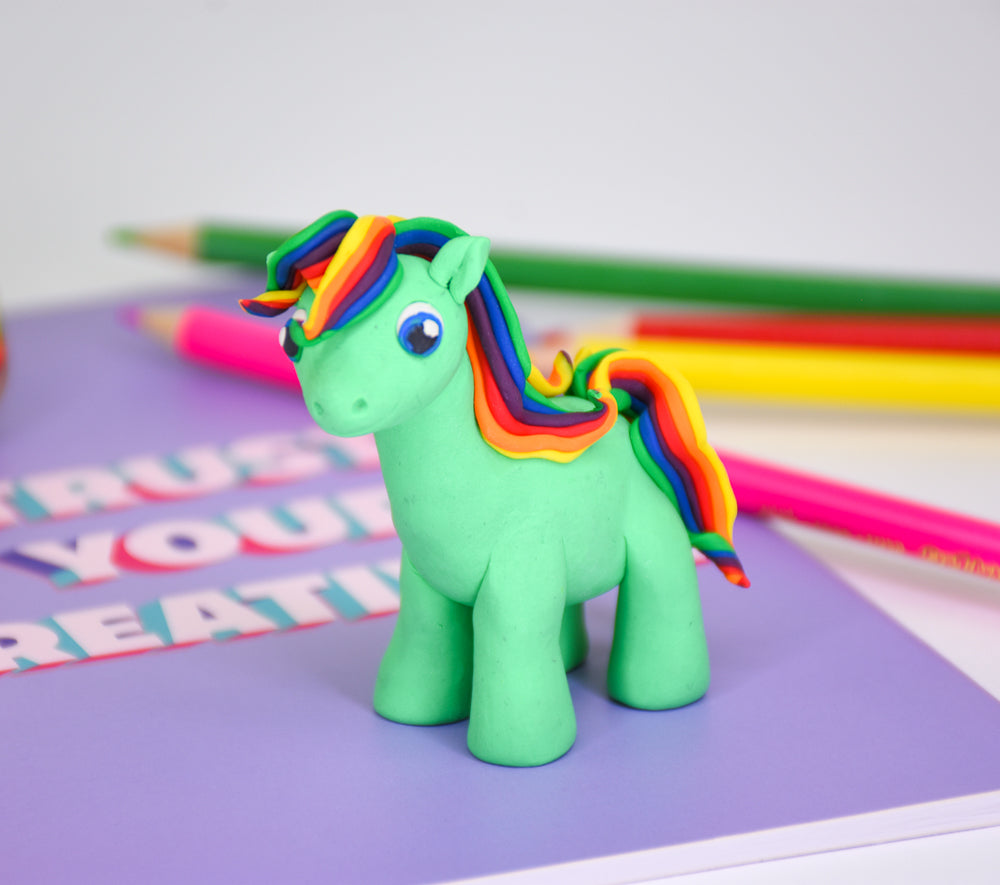
Create this cute little pony to display on your desk or bedside in less than an hour! It makes a great gift as well. TIME TO COMPLETION: About 30 minutes
Read Less
View full details
Project Instructions

Step 1

Getting Started:

Do not use unbaked clay on unprotected furniture or finished surfaces.  Start with clean hands and work surface area.  Good work surfaces include wax paper, metal baking sheet, or disposable foil.  Knead clay until soft and smooth.  For best results, clean your hands in between colors.  Shape clay, pressing pieces together firmly. 

Baking(also called Curing):

Bake on oven-proof glass or metal surface at 285 degrees F ( 130 C) for 20 minutes per ¼” (6mm) thickness.  For best baking results, use and oven thermometer.  DO NOT USE MICROWAVE OVEN.  DO NOT EXCEED THE ABOVE
TEMPERATURE OR RECOMMENDED BAKING TIME. Wash hands after use.  Baking should be completed by an adult.

Begin by preheating oven to 275 degrees F ( 130 C).  Test temperature with oven thermometer for perfectly cured clay. 

Step 2

Combine ½ block of White and ½ block of Green to create a lighter shade of Green.

Roll the following balls out of this Light Green clay:

1 - ball approximately 1 ½” in size (body)

1 – ball 1” in size (head)

4 – balls ½” in size (legs)

2 – balls ¼” in size (ears)

Step 3

Take your largest ball and shape it into an oval body with a neck that is about ¾ to 1” long.  Use your clay knife and cut the top of the neck at an angle to accommodate the head.

Take your 1” ball and shape into into the horse’s head.  Make an oval with a narrower nose. 

Attach the head to the body.

Take the four ½” balls and roll them out into cylinder shapes approximately 1” or so long.  Make the top of each leg slightly narrower than the bottom.  Cut angles at the top of each leg. 

Attach the four legs to the body.  Press firmly and marry a bit of the seams to
make sure they are secure.

Take the two ¼” size balls and shape them into teardrop shapes.  Fold the pointed end to make a crease.  Attach the ears to either side of the horse’s head.

Step 4

Combine ¼ brick of Red and Blue together to make Purple.

Roll very thin, long snakes of : Yellow, Orange, Red, Purple, Blue, and Green.  You will be making rainbow strips from these for the mane and tail.

Cut strips from these snakes that range from 1” to 2” long.  Arrange them in rainbow patterns.  You will need at least 8 rainbow stacks.

Press the rainbow stacks together to make flat rainbow strips.  Trim uneven excess if needed.  Pinch each end together.

Step 5

Attach the rainbow pieces to the horse’s head.  Attach the shorter ones in the front of the head curling and waving off to the side.  Curl tips.

Attach three more strips down the length of the neck to the mid-back.  Wave each piece as it goes down the neck and then curl the tips up.

Attach three strips or so on the horse’s rump for the tail.  Waving the strips and curling the ends.

Roll two tiny balls of White clay approximately 1/8” in size.  Roll two tiny Blue balls even smaller than the White.  Roll two tiny Black balls even smaller than the Blue. 
Roll two teeny weeny balls of White.

Create two eyes by layering the White on the bottom, Blue next, Black next as the pupil.  Press on the teeny White balls as a dot of light to each eye.  Attach the eyes to the head.  Use a toothpick to make two nostrils.  Use your clay knife to create a happy mouth.

Set the horse on your baking tile.  Inspect to make sure it is standing firmly
and that all attached pieces are secure and looking the way you want them to.

Bake according to package directions.