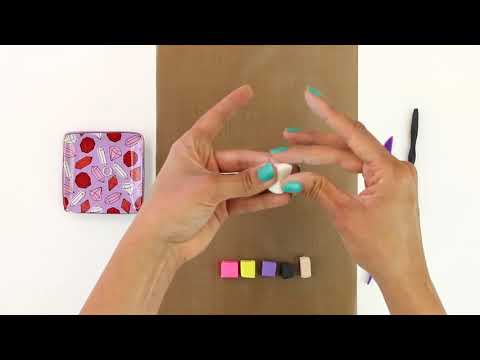
Sculpey® Bake Shop Boys Backpack Charms
Sculpey® Bake Shop Boys Backpack Charms
Read More
These backpack charms are perfect for the little man in your life, and will be a great addition to any cool kid backpack!
Read Less
ADDITIONAL SUPPLIES
• Backpack clips
• Wire or string
• toothpick|• Backpack clips
• Wire or string
• toothpick


Project Instructions
Preheat oven to 275 °F. Test temperature with oven thermometer for perfectly cured clay. Condition all clay by kneading until it’s soft and smooth or running it through the Clay Conditioning Machine for several passes on the widest setting. Fold the clay in half after each pass and insert the fold side into the rollers first.
Divide Translucent clay into 8 equal parts (1/4 block for each part out of two blocks of clay), and condition all but the last piece of clay. Take tiny pieces of your choice color of clay and press into each piece-be sure each piece of clay is slightly larger than the last. Set this one aside for now. NOTE: transparent inks can be used instead of clay for this step.

Mix all clays well until colors are fully blended using Clay Conditioning Machine.

Roll clay thinner on successive settings on the machine. Stretch the clay as thinly as possible without breaking it. It should end-up approximately the same size as a sheet of leafing

Lay the sheet of clay ON TOP of the foil, trim with clay blade to size. Stack the colors gradated from lightest to darkest on top of one another.

Roll several different-sized balls of colored and clear clay (these balls can have leafing in them)

Press the colored balls into the clay back FIRMLY.

This is how the outcome should look (bottom and top, left, right.)

Using a very smooth work surface (glazed tile) press down between the little hills made by the balls of clay, so that the clay adheres to the work surface. Shave the tops off the little hills. Sit the shavings aside for now.

Once the original stack of clay has had several shavings taken, it will look similar to this.

Tint the largest sheet of remaining clay you set aside in step 1. Roll it thinly on the Clay Conditioning Machine and set the tin on it.

Use the Clay Knife to cut around it (for the bottom and top of the tin.)

Be sure there are no bubbles between the surfaces of the tin and the clay. Trim around all edges with blade.

Begin laying on the trimmings and cuttings from your Mokume Gane (step 8).

Once you've covered the entire top with shavings and arranged them to your liking, use the Acrylic Clay Roller to press the shavings flat.

The resulting top should resemble this close-up.

Cut a ribbon of leftover clay to trim out the sides of the box-bake at 275 °F for ½ hour, allow it to cool.
OPTIONAL: If desired, carefully sand with 600 grit automotive wet/dry sandpaper, and buff using a bench grinder fitted with loose-leaved muslin buffs, or you can rub with a swatch of denim.
Preheat oven to 275 °F. Test temperature with oven thermometer for perfectly cured clay. Condition all clay by kneading until it’s soft and smooth or running it through the Clay Conditioning Machine for several passes on the widest setting. Fold the clay in half after each pass and insert the fold side into the rollers first.
Divide Translucent clay into 8 equal parts (1/4 block for each part out of two blocks of clay), and condition all but the last piece of clay. Take tiny pieces of your choice color of clay and press into each piece-be sure each piece of clay is slightly larger than the last. Set this one aside for now. NOTE: transparent inks can be used instead of clay for this step.

Mix all clays well until colors are fully blended using Clay Conditioning Machine.

Roll clay thinner on successive settings on the machine. Stretch the clay as thinly as possible without breaking it. It should end-up approximately the same size as a sheet of leafing

Lay the sheet of clay ON TOP of the foil, trim with clay blade to size. Stack the colors gradated from lightest to darkest on top of one another.

Roll several different-sized balls of colored and clear clay (these balls can have leafing in them)

Press the colored balls into the clay back FIRMLY.

This is how the outcome should look (bottom and top, left, right.)

Using a very smooth work surface (glazed tile) press down between the little hills made by the balls of clay, so that the clay adheres to the work surface. Shave the tops off the little hills. Sit the shavings aside for now.

Once the original stack of clay has had several shavings taken, it will look similar to this.

Tint the largest sheet of remaining clay you set aside in step 1. Roll it thinly on the Clay Conditioning Machine and set the tin on it.

Use the Clay Knife to cut around it (for the bottom and top of the tin.)

Be sure there are no bubbles between the surfaces of the tin and the clay. Trim around all edges with blade.

Begin laying on the trimmings and cuttings from your Mokume Gane (step 8).

Once you've covered the entire top with shavings and arranged them to your liking, use the Acrylic Clay Roller to press the shavings flat.

The resulting top should resemble this close-up.

Cut a ribbon of leftover clay to trim out the sides of the box-bake at 275 °F for ½ hour, allow it to cool.
OPTIONAL: If desired, carefully sand with 600 grit automotive wet/dry sandpaper, and buff using a bench grinder fitted with loose-leaved muslin buffs, or you can rub with a swatch of denim.


