
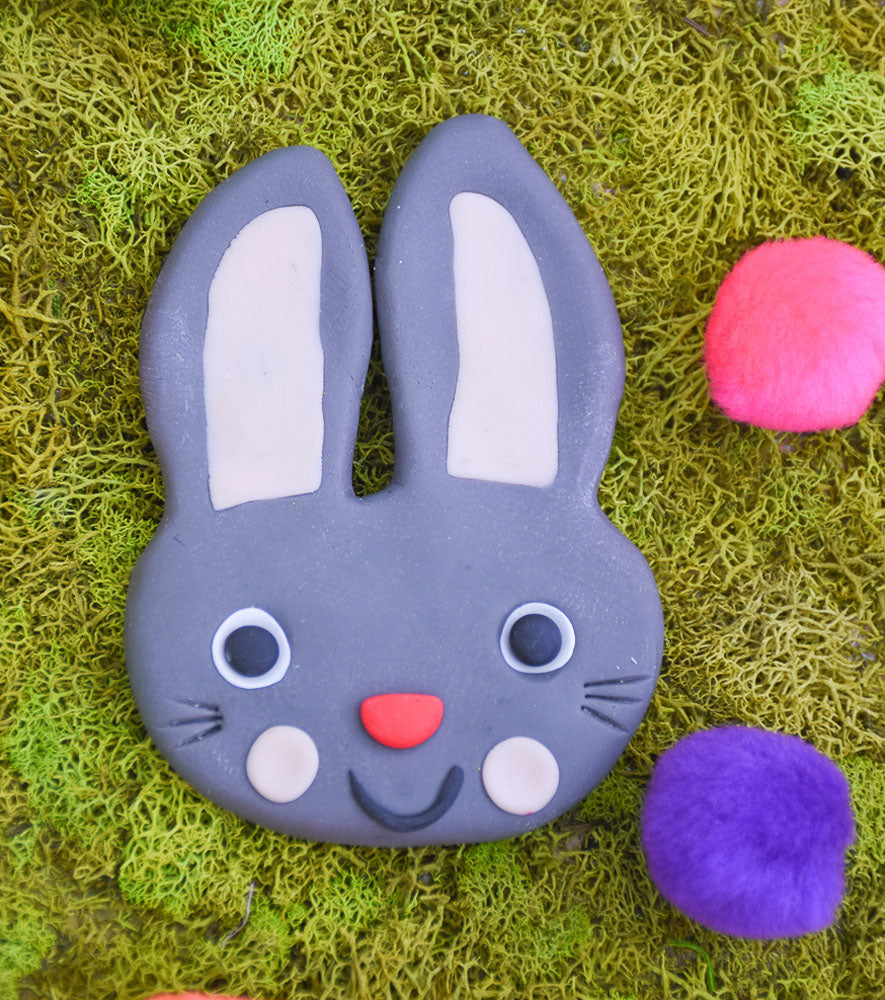
Bake Shop® Bendy Clay Bendy Bunny
Bake Shop® Bendy Clay Bendy Bunny
Read More
View full details
The key to making fun toys that bend after baking is to use Bake Shop Bendy Clay. Be sure to follow the baking instructions. This clay bakes a little hotter than other Sculpey products, and this is important so that the piece bends after its cured.
COMPLETION TIME:
40 Minutes to make and bake
Read Less
Project Instructions
Step 1
Step 2

Step 3

Step 4

Step 5

Step 6

Step 7

Step 8

Step 9

Step 10

Step 11
